Epson LQ-850 Product Information Guide - Page 4
LQ - 850/950/1050 DOT- MATRIX PRINTER, The Cut Sheet Feeder, The Multi, Font Module - manual
 |
View all Epson LQ-850 manuals
Add to My Manuals
Save this manual to your list of manuals |
Page 4 highlights
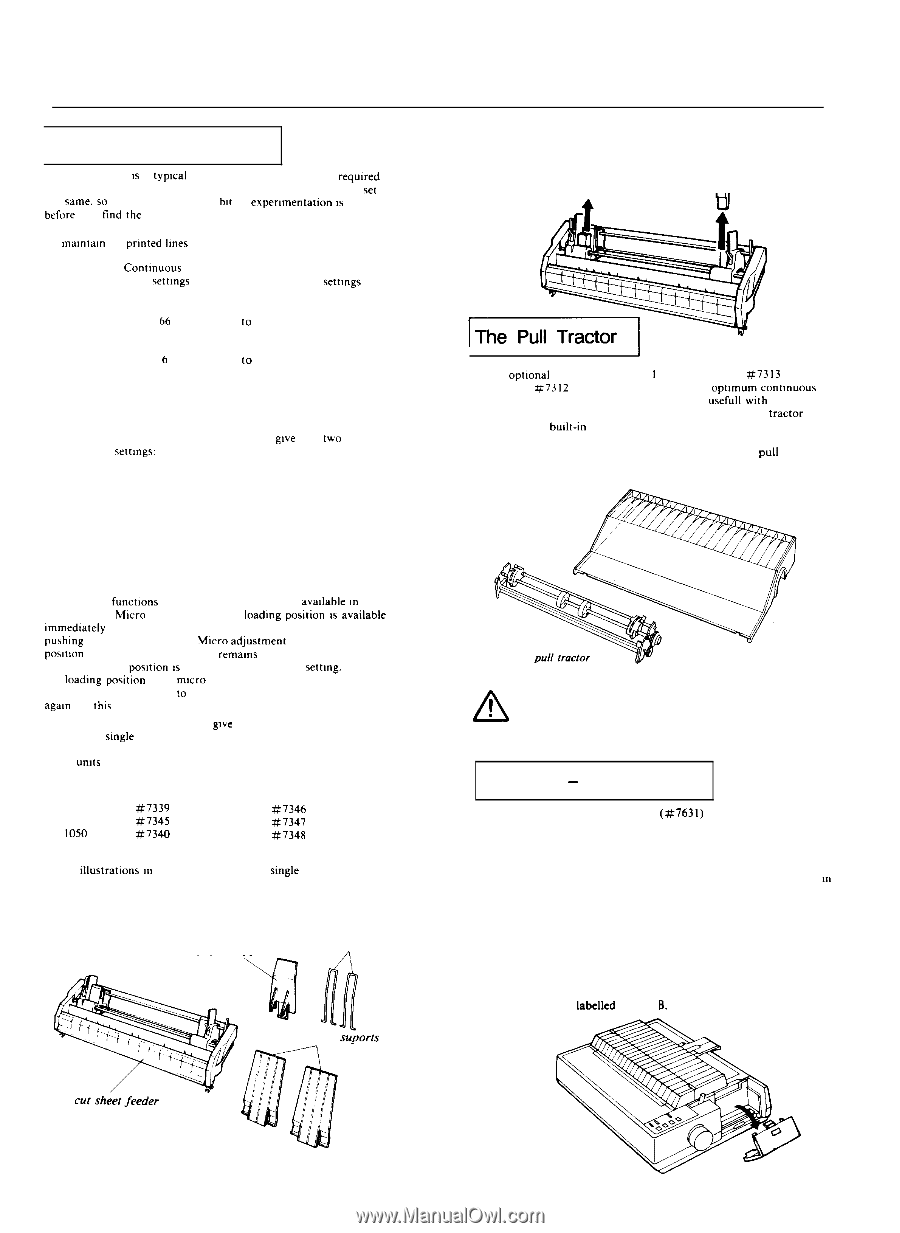
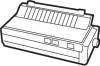
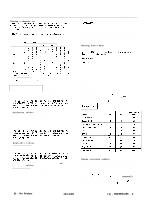
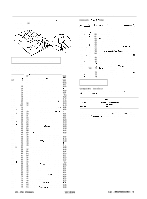
LQ - 850/950/1050 DOT- MATRIX PRINTER The Cut Sheet Feeder The following IS a typical example of a software setup reqmred for proper operation of your cut sheet feeder. Not all software is set up the vame. 50 you may find that a bit of experimentation IS required before you tind rhe best equivalent settings to use. To mamtaln 54 prmted lmes per page: Contmuous form \ettmgs Cut sheet feeder settmgs Change Page Length from 66 10 61 Change Top Margin from 6 10 4 Change Bottom Margin from 6 to 3 Many word processors and other software gwe you two ways to change these \ettmgs' l You can change the settings in each individual file you print or; l You can change the program's default settings so that every time you use the program, these new settings are in effect. If your program has additional features, such as headers and footers, you have to compensate accordingly. Control panel operation All of the functions from the control panel are avadable m cut sheet feeder mode. Muzro adjustment of the loadmg posltion IS avadable lmmedlately after loading a sheet using the LOAD/EJECT button and purhing the ON LINE button. Micro adJustmeW sets a new sheet loading posItIon for as long as the power remams on. If the power IS turned off. the loading posltion IS returned to the factory settmg. Changing the loadmg positmn with micro adjustment affects the number of lines per page. You may need lo change your software margin settings agaIn for thts new page length. The optional cut sheet feeders gwe you easier and more efficient handling of smgle sheet paper Up to 150 sheets of standard bond paper can be fed automatically into the printer without reloading. These umts can also automatically feed envelopes. Printer LQ-850 LQ-950 LQ- 1050 Single bin #7339 #7345 #7340 Dual bin $7346 #7347 #7348 The dlustratlons m this chapter show the smgle bin feeder for the LQ-1050. but the others work in the same way. For the dual bin feeders, see the manual that comes with them for assembly instructions. You can select the second bin with a software command (ESC EM) or the control panel. paper support paper feeder rests n front stacker suporis After checking to see that you have all of the parts shown in the figure above, remove the foam packaging from between the paper rests and rollers. Keep the packing materials in the original box in case you need to store or transport the cut sheet feeder. In I I The optlonal pull tractor (A731 I for the LQ-850, #7313 for the LQ-950. or q7312 for the LQ-1050) provides optimum contmuous paper handling. The pull tractor IS especially usefull wth continuous multi-part forms and labels. For best results, use the pull tractor along with the budt-in push tractor. as described in this section. After making sure that you have both parts of the pull tractor option as shown below, remove the packing material and save it in case you need to ship the unit later. pull tractor cover A! The short tear-off function cannot be used with the pull tractor. Before you start printing with the pull tractor, make sure that DIP switch 2-7 is set to off. (See the section on setting DIP switches in Chapter 3.) The Multi - Font Module The optional Multi-Font Module (#7631) gives you seven additional fonts for your LQ printer. Once you install it in either slot A or slot B, the following fonts are available: Courier, Prestige, Script, OCR-A, OCR-B, Orator, and Orator-S. The Multi-Font Module is installed in one of the slots (A or B) m the printer. See the manual that comes with the module for full information on using the font module. Using the Multi-Font Module To install a font module, follow these steps: 1. Make sure the printer is turned off. 2. Open the font compartment cover. Inside the compartment are two connectors labelled A and 8. LQ - 850/950/1050 - 4 12/12/88 24 - Pin Printers
-
 1
1 -
 2
2 -
 3
3 -
 4
4 -
 5
5 -
 6
6 -
 7
7
 |
 |