Epson PowerLite 77c Product Information Guide - Page 4
Image Size and Projection Distance, Turning On the Projector - manual
 |
View all Epson PowerLite 77c manuals
Add to My Manuals
Save this manual to your list of manuals |
Page 4 highlights
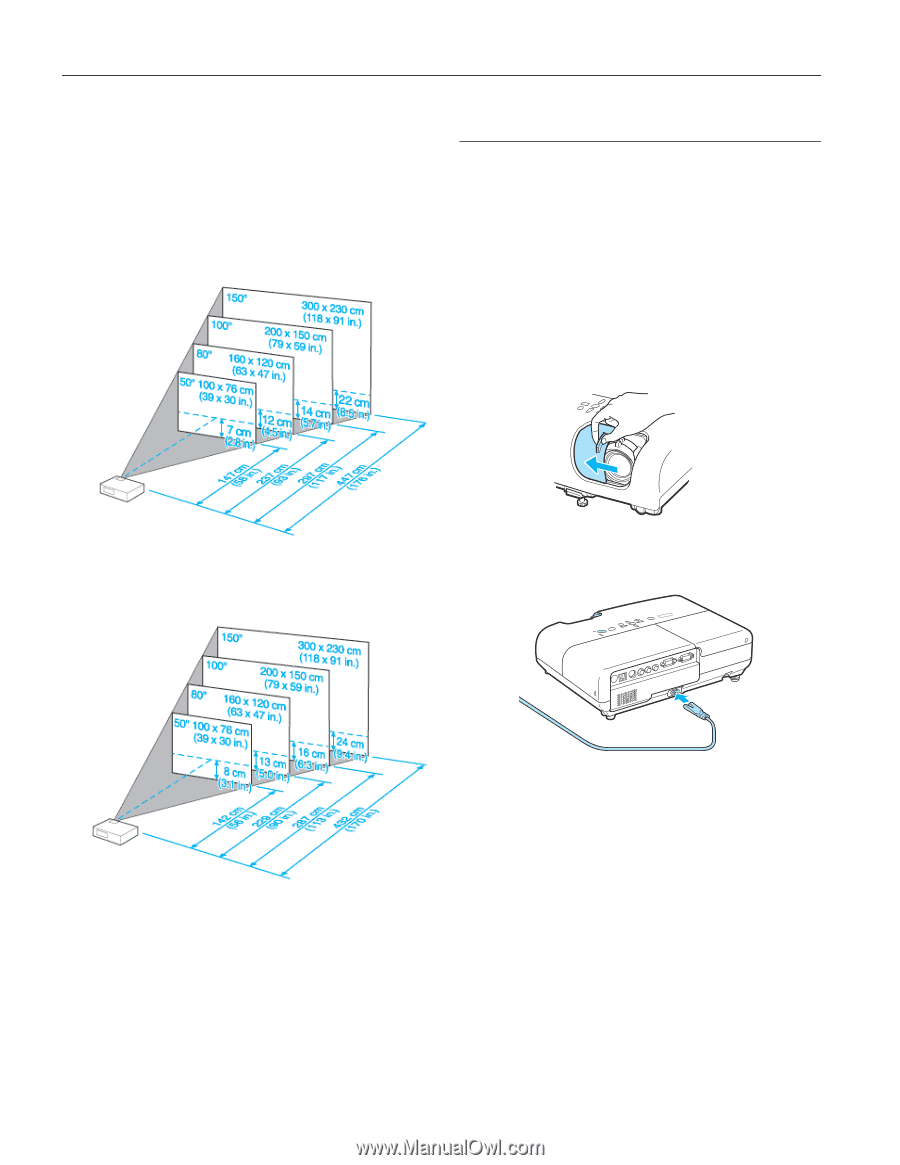
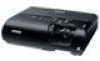
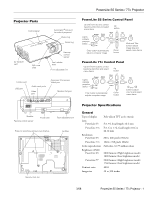
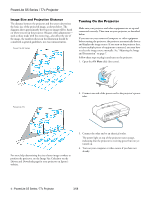
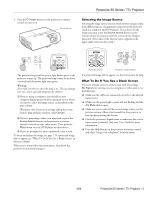
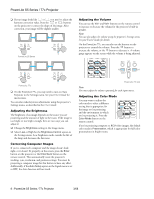
PowerLite S5 Series / 77c Projector Image Size and Projection Distance The distance between the projector and the screen determines the basic size of the projected image, as shown below. The diagrams show approximately how big your image will be, based on where you set up the projector. Because other adjustments- such as those made with the zoom ring-also affect the size of the image, the numbers shown in the illustration should be considered as general guidelines, not exact measurements. PowerLite S5 Series Turning On the Projector Make sure your projector and other equipment are set up and connected correctly. Then turn on your projector, as described below. If you turn on your connected computer or video equipment before starting the projector, the projector automatically detects and displays the image source. If you turn on the projector first, or have multiple pieces of equipment connected, you may have to select the image source manually. See "Adjusting the Image and Presentation" on page 7. Follow these steps to plug in and turn on the projector: 1. Open the A/V Mute slide (lens cover). PowerLite 77c 2. Connect one end of the power cord to the projector's power inlet. For more help determining the size of your image or where to position the projector, try the Image Size Calculator on the Drivers and Downloads page for your projector on Epson's website. 3. Connect the other end to an electrical outlet. The power light on top of the projector turns orange, indicating that the projector is receiving power but not yet turned on. 4. Turn on your computer or video source if you have not already. 4 - PowerLite S5 Series / 77c Projector 3/08
-
 1
1 -
 2
2 -
 3
3 -
 4
4 -
 5
5 -
 6
6 -
 7
7 -
 8
8 -
 9
9 -
 10
10 -
11
-
12
-
13
-
14
-
15
 |
 |