Epson R340 Start Here Card - Page 6
Macintosh - stylus photo driver
 |
UPC - 010343855632
View all Epson R340 manuals
Add to My Manuals
Save this manual to your list of manuals |
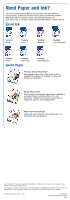
Page 6 highlights
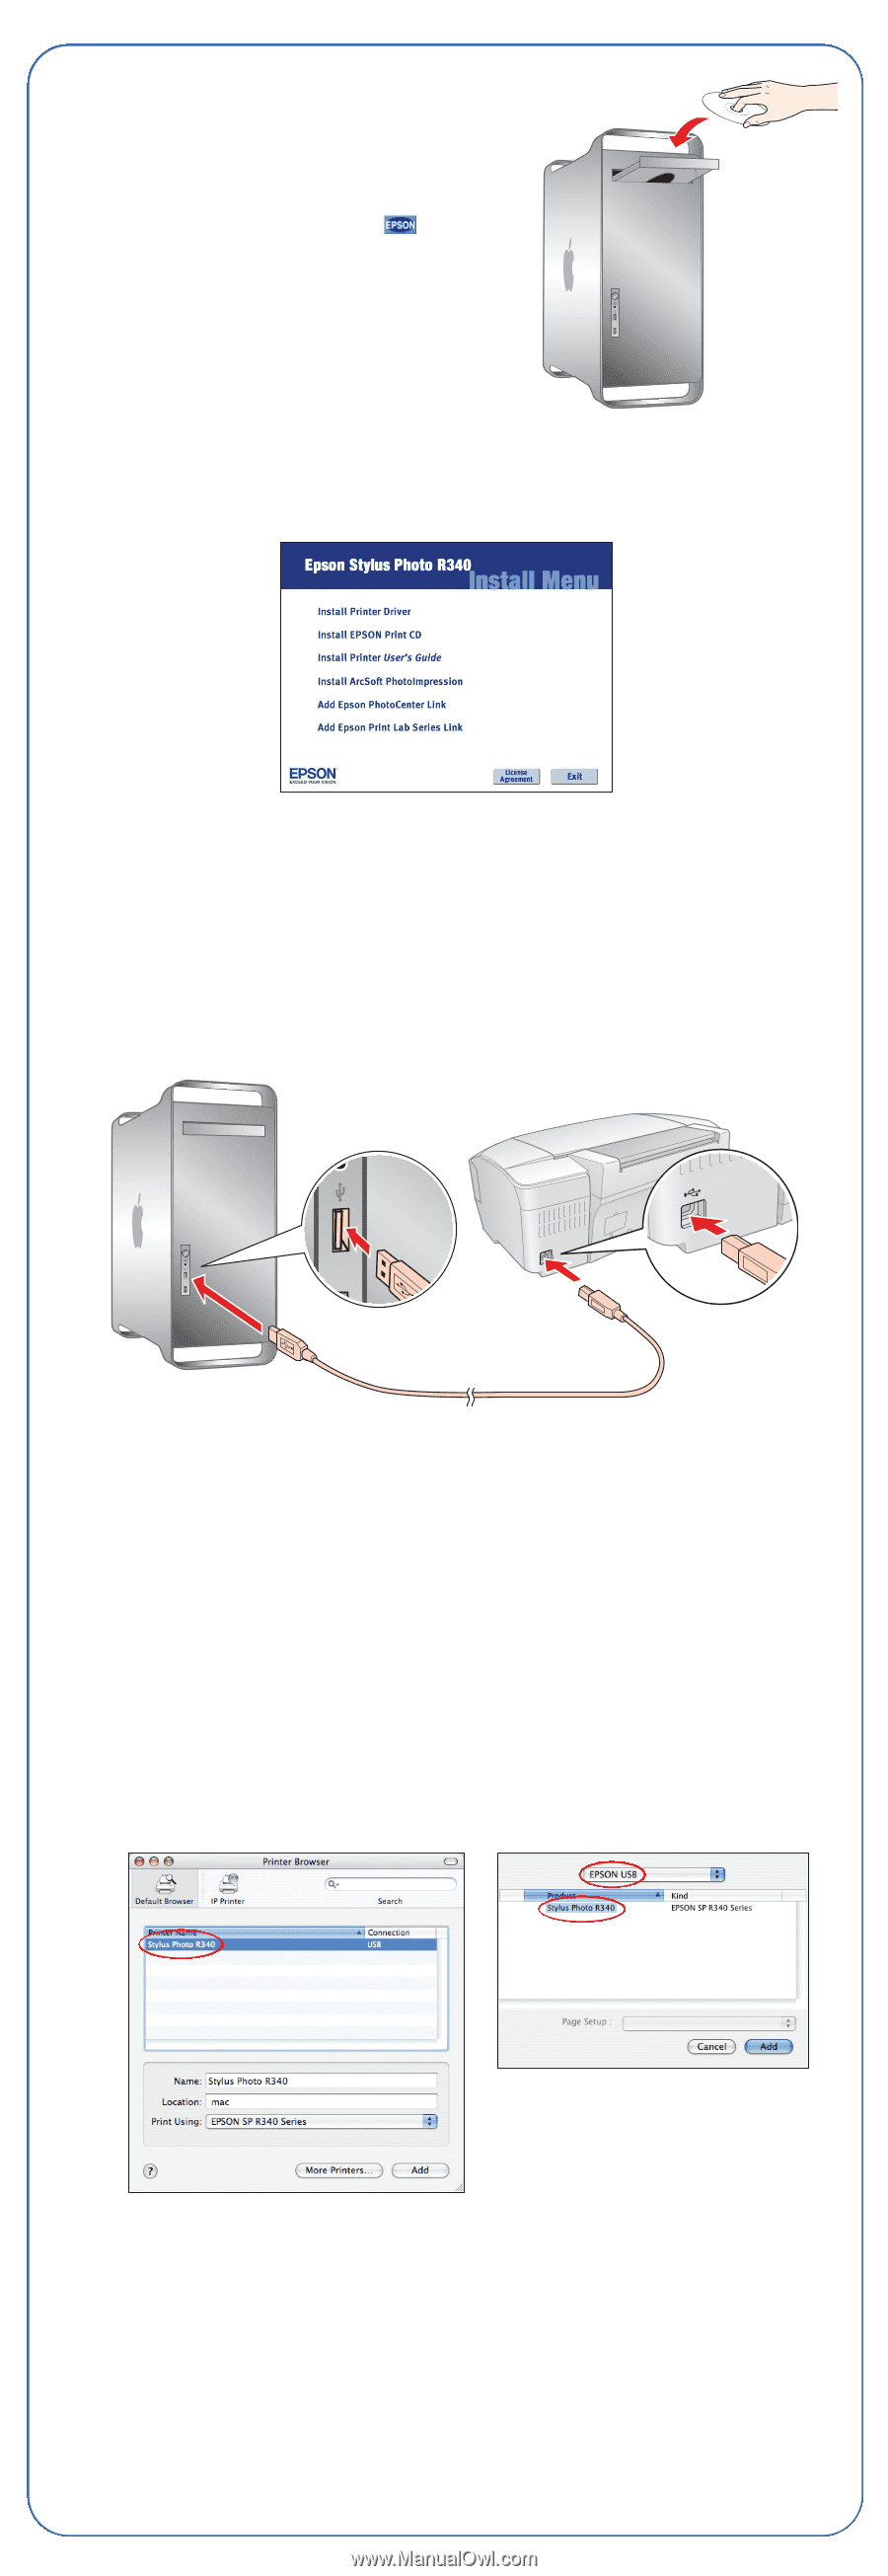
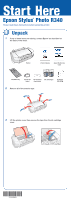
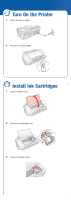
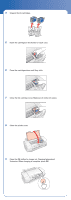
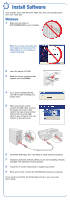
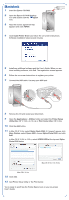
Macintosh 1 Insert the Epson CD-ROM. 2 Open the Epson CD-ROM desktop icon and double-click the Epson icon. 3 Read the license agreement that appears and click AGREE. 4 Click Install Printer Driver and follow the on-screen instructions. Software installation takes several minutes. 5 Install any additional software and the User's Guide. When you are done installing software, click Exit. The registration screen appears. 6 Follow the on-screen instructions to register your printer. 7 Connect the USB cable. Use any open USB port. 8 Remove the CD and restart your Macintosh. 9 Open the Applications > Utilities folder and select the Printer Setup Utility (Mac OS® X 10.3.x to 10.4.x) or Print Center (Mac OS 10.2.4). 10 Click the Add button. 11 In Mac OS X 10.4.x, select Stylus Photo R340. If it doesn't appear, click More Printers, select Epson USB, choose Stylus Photo R340, and click Add. In Mac OS X 10.2.4 to 10.3.x, select EPSON USB at the top and Stylus Photo R340 below. Mac OS X 10.2.4 to 10.3.x Mac OS X 10.4.x 12 Click Add. 13 Quit Printer Setup Utility or the Print Center. You're ready to print! See the Printer Basics book or your on-screen User's Guide.
-
 1
1 -
 2
2 -
 3
3 -
 4
4 -
 5
5 -
 6
6 -
 7
7 -
 8
8
 |
 |