Haier CPRD12XC7 User Manual - Page 9
improvise/modify
 |
UPC - 688057347646
View all Haier CPRD12XC7 manuals
Add to My Manuals
Save this manual to your list of manuals |
Page 9 highlights
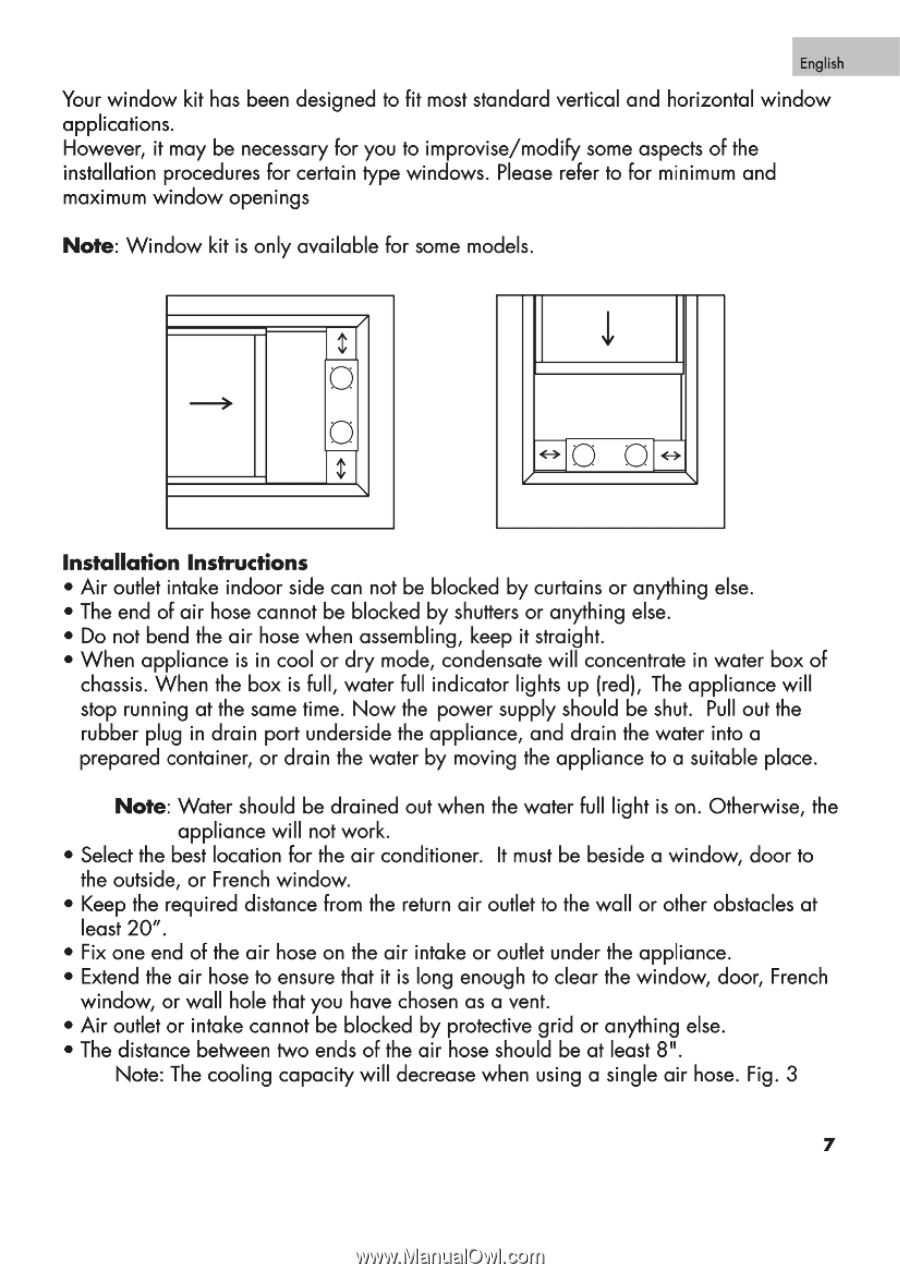
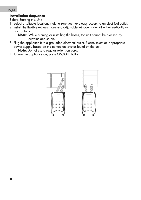
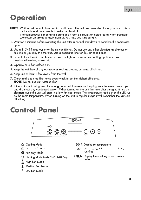
English Your window kit has been designed to fit most standard vertical and horizontal window applications. However, it may be necessary for you to improvise/modify some aspects of the installation procedures for certain type windows. Please refer to for minimum and maximum window openings Note: Window kit is only available for some models. a a 0 0 N Installation Instructions • Air outlet intake indoor side can not be blocked by curtains or anything else. • The end of air hose cannot be blocked by shutters or anything else. • Do not bend the air hose when assembling, keep it straight. • When appliance is in cool or dry mode, condensate will concentrate in water box of chassis. When the box is full, water full indicator lights up (red), The appliance will stop running at the same time. Now the power supply should be shut. Pull out the rubber plug in drain port underside the appliance, and drain the water into a prepared container, or drain the water by moving the appliance to a suitable place. Note: Water should be drained out when the water full light is on. Otherwise, the appliance will not work. • Select the best location for the air conditioner. It must be beside a window, door to the outside, or French window. • Keep the required distance from the return air outlet to the wall or other obstacles at least 20". • Fix one end of the air hose on the air intake or outlet under the appliance. • Extend the air hose to ensure that it is long enough to clear the window, door, French window, or wall hole that you have chosen as a vent. • Air outlet or intake cannot be blocked by protective grid or anything else. • The distance between two ends of the air hose should be at least 8". Note: The cooling capacity will decrease when using a single air hose. Fig. 3 7
-
 1
1 -
2
-
3
-
 4
4 -
 5
5 -
 6
6 -
 7
7 -
 8
8 -
 9
9 -
 10
10 -
 11
11 -
 12
12 -
 13
13 -
 14
14 -
15
-
16
-
17
-
18
-
19
-
20
-
21
-
22
-
23
-
24
-
25
-
26
-
27
-
28
-
29
-
30
-
31
-
32
-
33
-
34
-
35
-
36
-
37
-
38
-
39
-
40
-
41
-
42
-
43
-
44
 |
 |