Hamilton Beach 50117R Use & Care - Page 6
Parts and Features - blender parts
 |
UPC - 040094501175
View all Hamilton Beach 50117R manuals
Add to My Manuals
Save this manual to your list of manuals |
Page 6 highlights
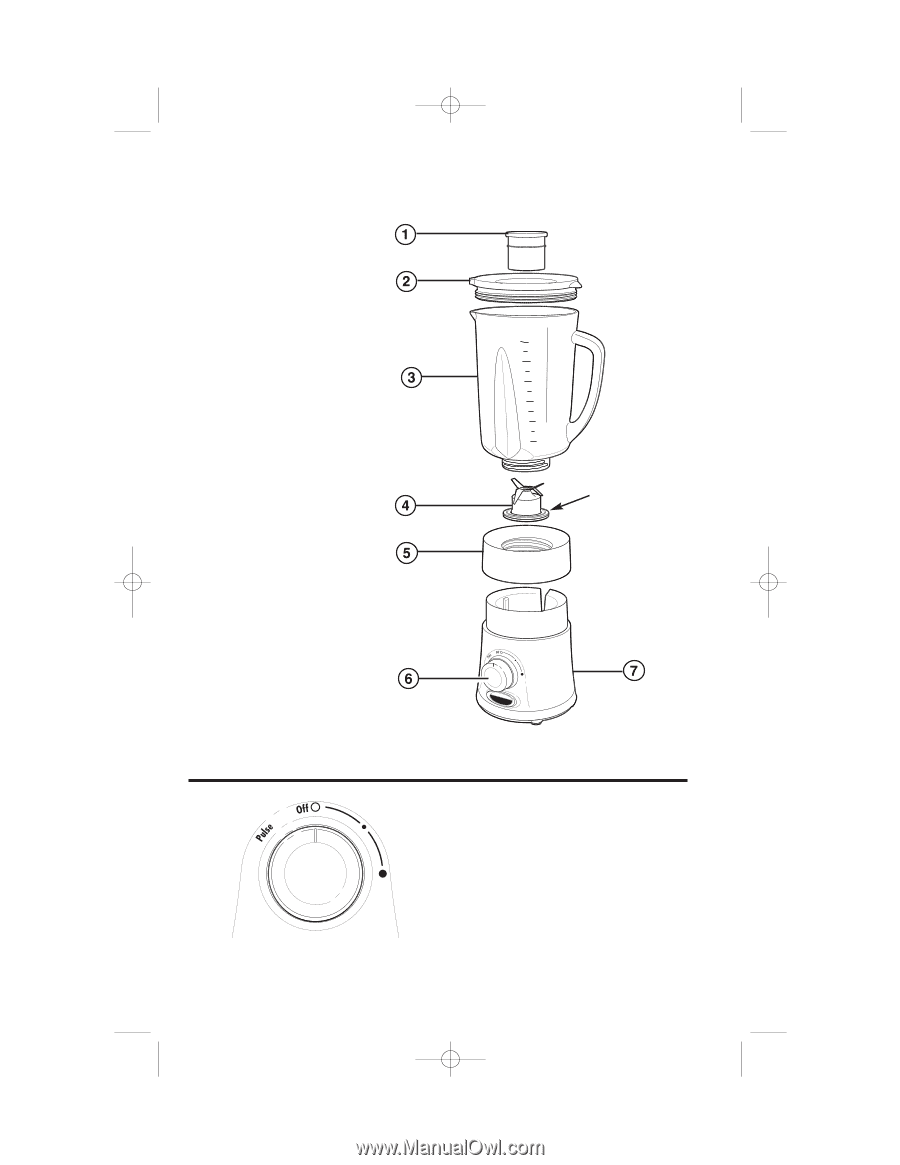
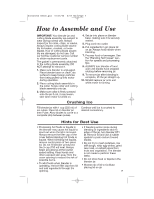
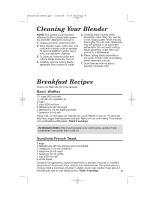
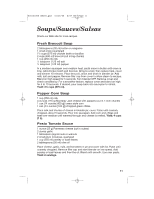
840141800 ENv00.qxd 10/25/05 8:57 AM Page 6 Parts and Features 1. Filler Cap 2. Lid 3. Jar 4. Cutting Blade Assembly 5. Jar Collar 6. Rotary Speed Dial 7. Base Before First Use: After unpacking the blender, wash everything except the blender base in hot, soapy water. Dry thoroughly. Wipe the blender base with a damp cloth or sponge. DO NOT IMMERSE THE BASE IN WATER. Care should be taken when handling the cutting blades as they are very sharp. OZ. CUPS 48 6 40 5 32 4 24 3 16 2 81 NOTE: Gasket is permanently attached to cutting blade assembly. Rotary Speed Dial Your blender offers a 2 speed range controlled by the rotary knob. The blender will operate until you rotate the dial to Off / O. Turn the dial to Pulse for instant control of blending. • = Low • = High 6
-
 1
1 -
 2
2 -
 3
3 -
 4
4 -
 5
5 -
 6
6 -
 7
7 -
 8
8 -
 9
9 -
 10
10 -
 11
11 -
 12
12 -
13
-
14
-
15
-
16
-
17
-
18
-
19
-
20
-
21
-
22
-
23
-
24
-
25
-
26
-
27
-
28
-
29
-
30
-
31
-
32
-
33
-
34
-
35
-
36
-
37
-
38
-
39
-
40
-
41
-
42
-
43
-
44
-
45
-
46
-
47
-
48
-
49
-
50
-
51
-
52
-
53
-
54
 |
 |