Hayward Chlorine Model: ALL MODELS - Page 5
Directions For Use - feeder gasket
 |
View all Hayward Chlorine manuals
Add to My Manuals
Save this manual to your list of manuals |
Page 5 highlights
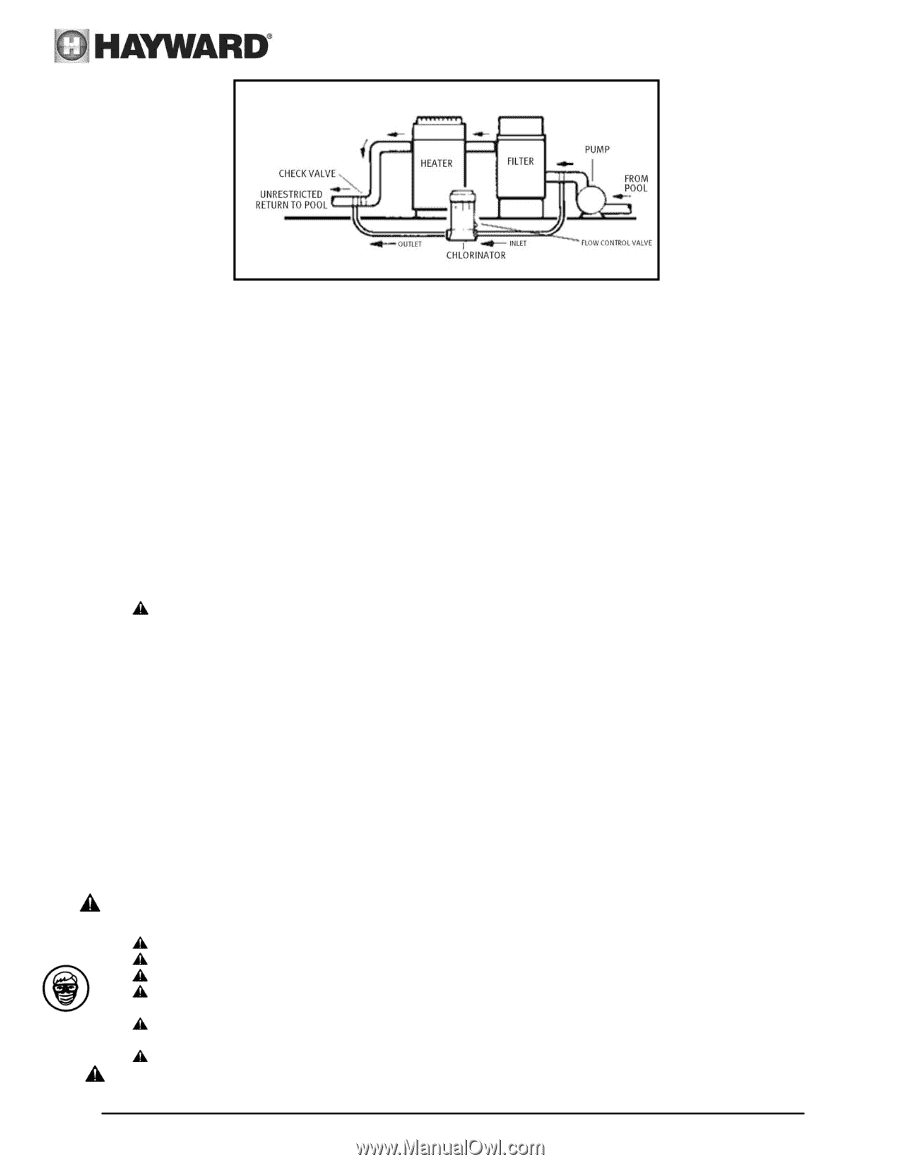
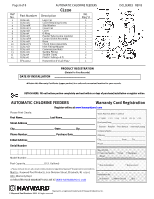
5. Wrap Teflon tape on larger male thread of the Inlet Fitting Adapter and thread it hand tight plus ½ turn into the inlet port of chlorinator. DO NOT OVER TIGHTEN. 6. To connect inlet tubing to chlorinator, place Compression Nut over inlet tubing and slide nut up about 2". Insert the tubing all the way into the Inlet Fitting Adapter socket and, holding tubing in place, tighten nut firmly by hand. Do not over tighten. 7. Connect outlet tubing to the Check Valve in the same manner as in step 6 above. NOTICE: The saddle fittings and clamps are designed to fit the O.D. of 1 1/2" or 2" pipe. 8. Drill a 3/8" hole at location identified in Step 1 of Planning Installation section. Clean all burrs, shavings etc. Fit Saddle Fitting, with gasket, into oval shaped hole in clamp and insert fitting into the 3/8" hole. Secure clamp around Saddle Fitting, gasket and pipe and tighten securely to achieve a good seal. Do not over tighten clamp. 9. Drill a 3/8" hole at location identified in Step 2 of Installation section for CL-110/220. Install Saddle Fitting as in Step 8 above. 10. Connect inlet and outlet tubing to the Saddle Fittings with Compression Nuts as in Step 6 above. Do not over tighten. CAUTION Never install chlorine feeder directly into copper plumbing as pipe damage may occur. If you have brass or bronze backwash valves, or other sensitive metallic components, consult your dealer for precautions or recommendations for your particular system. NOTICE: After starting up system, re-check all connections for leaks. Re-tighten as required. DIRECTIONS FOR USE: GENERAL Before using your chlorinator, your pool/spa water should be properly balanced and conditioned and should have a chlorine residual of approximately 1.0 to 1.5 ppm. Follow dealer and chemical manufacturer's directions and instructions. Check chlorine residual daily and adjust the dial valve for more or less chlorine. The chlorine demand for pools and spas varies based on usage, temperature, sunlight, etc. Initially, you'll have to experiment to determine the proper amount of chlorine and the correct valve setting required for your pool and filter time cycle. Follow chemical manufacturer's instructions for proper chlorine level. DANGER Mixing Chemicals or using fast dissolving chemicals may result in explosion and/or fire. To avoid death, serious injury or major property damage: Use only slow dissolving Trichlor Chlorine tablets. Never use fast dissolving Trichlor Chlorine tablets. Never mix chemicals. Never mix Trichlor Chlorine tablets with Calcium Hypochlorite, or with any other form of concentrated chlorine or other chemicals. Fire and/or explosion may result. Never add any other types of chlorine, pH adjusters, shock treatments or algaecides through the skimmer. If these products must be used, they should be added directly into the pool water. Never isolate chlorine feeder with valves or other devices. WARNING Wear eye and skin protection while maintaining or servicing this unit. USE ONLY GENUINE HAYWARD PARTS Page 5 of 8 AUTOMATIC CHLORINE FEEDERS ISCLSERIES REV B
-
 1
1 -
 2
2 -
 3
3 -
 4
4 -
 5
5 -
 6
6 -
 7
7 -
 8
8
 |
 |