HealthRider Cardio 95 English Manual - Page 10
Secondary, Handlebar, Position, Accelerated, Workout, Routine, Elevation, Panel
 |
View all HealthRider Cardio 95 manuals
Add to My Manuals
Save this manual to your list of manuals |
Page 10 highlights
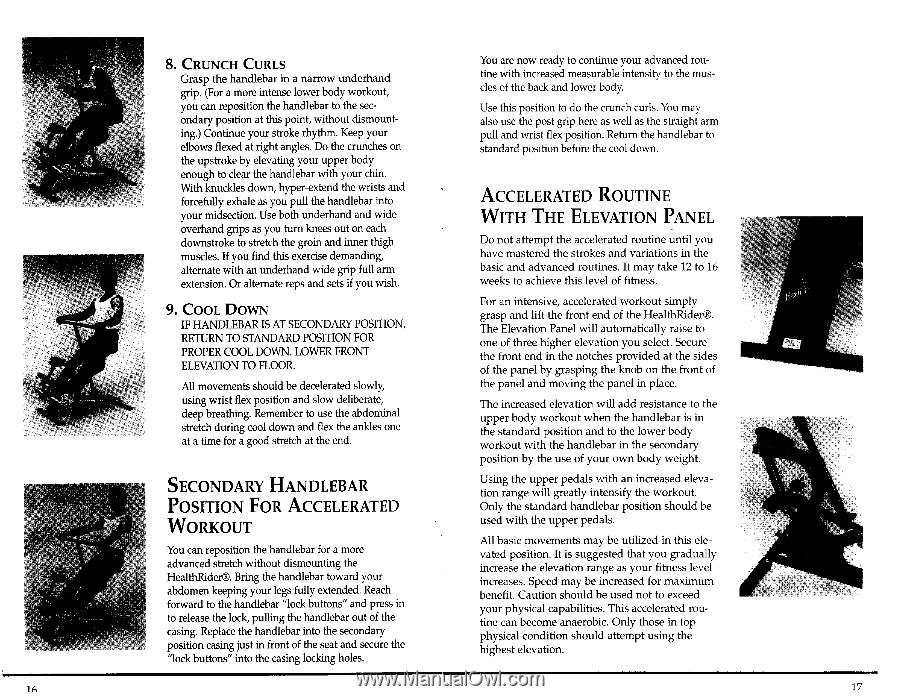
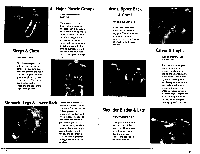
8. CRUNCH CURLS Grasp the handlebar in a narrow underhand grip. (For a more intense lower body workout, You are now ready to continue your advanced routine with increased measurable intensity to the muscles of the back and lower body. you can reposition the handlebar to the sec- Use this position to do the crunch curls. You may ondary position at this point, without dismount- also use the post grip here as well as the straight arm ing.) Continue your stroke rhythm. Keep your pull and wrist flex position. Return the handlebar to elbows flexed at right angles. Do the crunches on standard position before the cool down. the upstroke by elevating your upper body VC1 enough to clear the handlebar with your chin. With knuckles down, hyper-extend the wrists and forcefully exhale as you pull the handlebar into ACCELERATED ROUTINE your midsection. Use both underhand and wide overhand grips as you turn knees out on each WITH THE ELEVATION PANEL downstroke to stretch the groin and inner thigh Do not attempt the accelerated routine until you muscles. If you find this exercise demanding, alternate with an underhand wide grip full arm have mastered the strokes and variations in the basic and advanced routines. It may take 12 to 16 extension. Or alternate reps and sets if you wish. weeks to achieve this level of fitness. 9. COOL DOWN IF HANDLEBAR IS AT SECONDARY POSITION, RETURN TO STANDARD POSITION FOR PROPER COOL DOWN. LOWER FRONT ELEVATION TO FLOOR. All movements should be decelerated slowly, using wrist flex position and slow deliberate, deep breathing. Remember to use the abdominal stretch during cool down and flex the ankles one at a time for a good stretch at the end. For an intensive, accelerated workout simply grasp and lift the front end of the HealthRider®. The Elevation Panel will automatically raise to one of three higher elevation you select. Secure the front end in the notches provided at the sides of the panel by grasping the knob on the front of the panel and moving the panel in place. The increased elevation will add resistance to the upper body workout when the handlebar is in the standard position and to the lower body workout with the handlebar in the secondary position by the use of your own body weight. SECONDARY HANDLEBAR POSITION FOR ACCELERATED Using the upper pedals with an increased elevation range will greatly intensify the workout. Only the standard handlebar position should be WORKOUT used with the upper pedals. All basic movements may be utilized in this ele- You can reposition the handlebar for a more vated position. It is suggested that you gradually advanced stretch without dismounting the increase the elevation range as your fitness level HealthRider®. Bring the handlebar toward your increases. Speed may be increased for maximum abdomen keeping your legs fully extended. Reach benefit. Caution should be used not to exceed forward to the handlebar "lock buttons" and press in your physical capabilities. This accelerated rou- r. to release the lock, pulling the handlebar out of the tine can become anaerobic. Only those in top casing. Replace the handlebar into the secondary physical condition should attempt using the position casing just in front of the seat and secure the highest elevation. "lock buttons" into the casing locking holes. 1A 17
-
 1
1 -
2
-
3
-
4
-
 5
5 -
 6
6 -
 7
7 -
 8
8 -
 9
9 -
 10
10 -
 11
11 -
 12
12 -
 13
13
 |
 |