HealthRider Hotel Fitness Dc9800 English Manual - Page 12
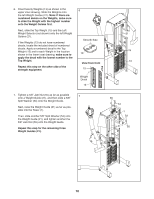
See step 4. Reattach the Access Cover 2
 |
View all HealthRider Hotel Fitness Dc9800 manuals
Add to My Manuals
Save this manual to your list of manuals |
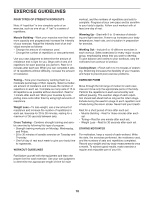
Page 12 highlights
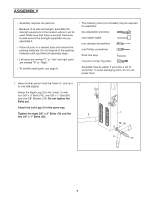
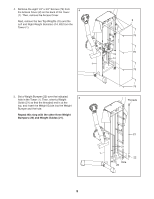
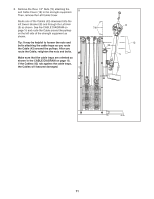
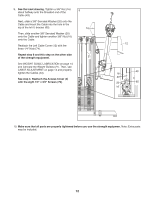
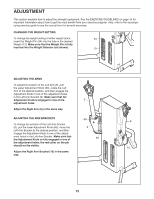
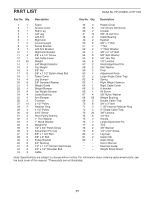
9. See the inset drawing. Tighten a 3/8" Nut (16) 9 about halfway onto the threaded end of the Cable (43). Next, slide a 3/8" Serrated Washer (20) onto the Cable and insert the Cable into the hole in the top of the left U-bracket (65). 74 Then, slide another 3/8" Serrated Washer (20) onto the Cable and tighten another 3/8" Nut (16) onto the Cable. Reattach the Left Cable Cover (12) with the three 1/4" Nuts (74). Repeat step 8 and this step on the other side of the strength equipment. 21 See WEIGHT GUIDE LUBRICATION on page 14 and lubricate the Weight Guides (21). Then, see CABLE ADJUSTMENT on page 14 and properly tighten the Cables (43). See step 4. Reattach the Access Cover (2) with the eight 1/4" x 3/4" Screws (79). 12 43 16 20 20 65 16 10. Make sure that all parts are properly tightened before you use the strength equipmen. Note: Extra parts may be included. 12
-
 1
1 -
2
-
3
-
4
-
5
-
6
-
 7
7 -
 8
8 -
 9
9 -
 10
10 -
 11
11 -
 12
12 -
 13
13 -
 14
14 -
 15
15 -
 16
16 -
 17
17 -
18
-
19
-
20
 |
 |
