HealthRider R65 Treadmill English Manual - Page 22
How To Use Programs Directly
 |
View all HealthRider R65 Treadmill manuals
Add to My Manuals
Save this manual to your list of manuals |
Page 22 highlights
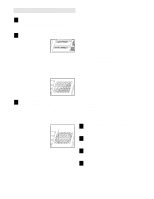
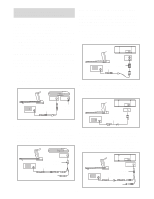
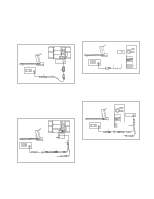
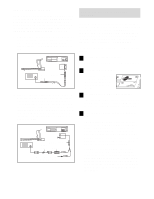
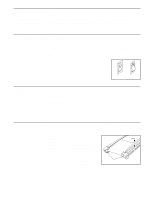
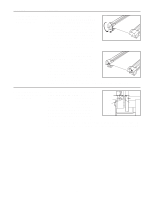
HOW TO USE PROGRAMS DIRECTLY FROM OUR WEB SITE 7 Return to the treadmill and stand on the foot rails. Find the clip attached to the key and slide the clip onto the waistband of your clothes. Our Web site at www.iFIT.com allows you to access programs directly from the internet. Additional options are soon to be available. See www.iFIT.com for more information. To use programs from our Web site, the treadmill must be connected to your home computer. See HOW TO CONNECT YOUR COMPUTER on page 19. In addition, you must have an internet connection and an internet service provider. A list of specific system requirements is found on our Web site. Follow the steps below to use a program from our Web site. 1 Insert the key into the console. See HOW TO TURN ON THE POWER on page 10. 2 Select the iFIT.com mode. To use an iFIT.com CD or video program, press the iFIT.com button. The indicator on the button will light. 3 Go to your computer and start an internet connection. 4 Start your web browser, if necessary, and go to our Web site at www.iFIT.com. 5 Follow the desired links on our Web site to select a program. Read and follow the on-line instructions for using a program. 6 Follow the on-line instructions to start the program. When you start the program, an on-screen countdown will begin. When the on-screen countdown ends, the program will begin and the walking belt will begin to move. Hold the handrails, step onto the walking belt, and begin walking. During the program, an electronic "chirping" sound will alert you when the speed and/or incline of the treadmill is about to change. CAUTION: Always listen for the "chirp" and be prepared for speed and/or incline changes. If the speed or incline settings are too high or too low, you can manually override the settings by pressing the Speed or Incline buttons on the console. However, when the next "chirp" is heard, the speed and/or incline will change to the next settings of the program. To stop the walking belt at any time, press the Stop button on the console. The time will begin to flash in the Pace/Time display. To restart the program, press the Start button or the Speed increase button. After a moment, the walking belt will begin to move at 1 mph. When the next "chirp" is heard, the speed and incline will change to the next settings of the program. When the program ends, the walking belt will stop and the time will begin to flash in the Pace/Time display. Note: To use another program, press the Stop button and go to step 5. Note: If the speed or incline of the treadmill does not change when a "chirp" is heard, make sure that the indicator on the iFIT.com button is lit and that the Pace/Time display is not flashing. In addition, make sure that the audio cable is properly connected, that it is fully plugged in, and that it is not wrapped around a power cord. 8 Follow your progress with the LED track and the displays. See step 5 on page 10. 9 When you are finished exercising, remove the key from the console. See step 7 on page 13. 22
-
 1
1 -
2
-
3
-
4
-
5
-
6
-
7
-
8
-
9
-
10
-
11
-
12
-
13
-
14
-
15
-
16
-
 17
17 -
 18
18 -
 19
19 -
 20
20 -
 21
21 -
 22
22 -
 23
23 -
 24
24 -
 25
25 -
 26
26 -
 27
27 -
28
-
29
-
30
-
31
-
32
-
33
-
34
 |
 |
