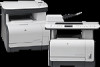
HP Color LaserJet CM1312 HP Color LaserJet CM1312 MFP - Manage and Maintain - Page 4
Replace print cartridges continued - mfp cartridges
 |
View all HP Color LaserJet CM1312 manuals
Add to My Manuals
Save this manual to your list of manuals |
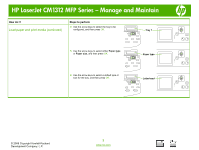
Page 4 highlights
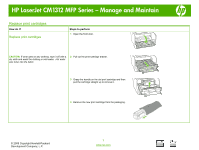
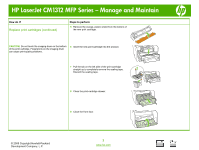
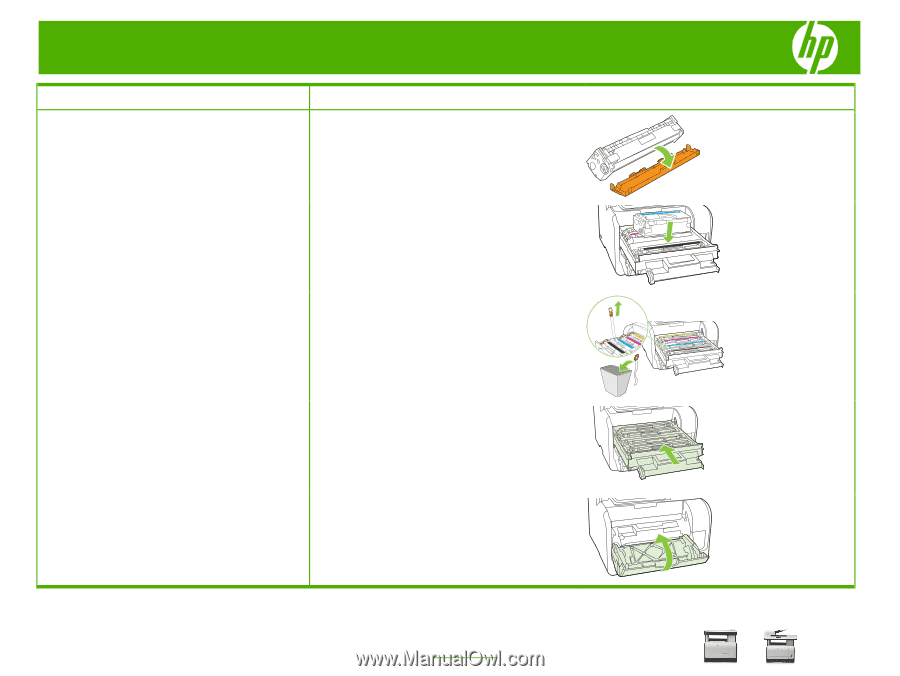
HP LaserJet CM1312 MFP Series - Manage and Maintain How do I? Replace print cartridges (continued) Steps to perform 5 Remove the orange, plastic shield from the bottom of the new print cartridge. CAUTION: Do not touch the imaging drum on the bottom of the print cartridge. Fingerprints on the imaging drum can cause print-quality problems. 6 Insert the new print cartridge into the product. 7 Pull the tab on the left side of the print cartridge straight up to completely remove the sealing tape. Discard the sealing tape. 8 Close the print-cartridge drawer. 9 Close the front door. © 2008 Copyright Hewlett-Packard Development Company, L.P. 2 www.hp.com
-
 1
1 -
 2
2 -
 3
3 -
 4
4 -
 5
5 -
 6
6 -
 7
7 -
 8
8 -
 9
9
 |
 |
HP LaserJet CM1312 MFP Series – Manage and Maintain
© 2008 Copyright Hewlett-Packard
Development Company, L.P.
2
www.hp.com
How do I?
Steps to perform
Replace print cartridges (continued)
5
Remove the orange, plastic shield from the bottom of
the new print cartridge.
CAUTION:
Do not touch the imaging drum on the bottom
of the print cartridge. Fingerprints on the imaging drum
can cause print-quality problems.
6
Insert the new print cartridge into the product.
7
Pull the tab on the left side of the print cartridge
straight up to completely remove the sealing tape.
Discard the sealing tape.
8
Close the print-cartridge drawer.
9
Close the front door.