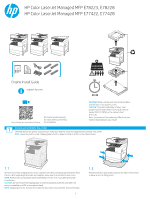
HP Color LaserJet Managed MFP E78223-E78228 Engine Install Guide - Page 3
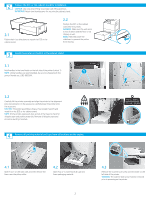
Install the toner cartridges., Install the imaging unit.
 |
View all HP Color LaserJet Managed MFP E78223-E78228 manuals
Add to My Manuals
Save this manual to your list of manuals |
Page 3 highlights
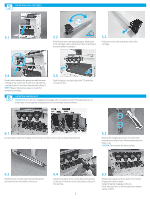
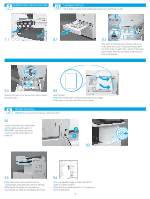
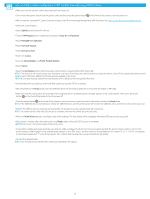
5 Install the toner cartridges. 5x 5.1 2 5.2 Remove the toner cartridge packaging. Shake each toner cartridge side to side five (5) times to distribute the toner before installation. 5.3 Pull out to remove the seal at the side of the cartridge. 1 5.4 Use the color coding on the printer to install the toner cartridge in the correct slot. Push it in to fully seat the cartridge (callout 1). And then, lock the latch (callout 2). NOTE: Repeat the previous steps to install the remaining cartridges. 5.5 Push the latches on each side of the TCU and then remove the TCU. 6 Install the imaging unit. CAUTION: Do not open the imaging unit package until it is ready to install. Prolonged exposure to bright light can damage the imaging drum and cause image quality problems. 6.1 On the engine rotate the imaging unit lock down and then remove each orange shipping blank. 6.2 Remove the imaging drum units from the foam packaging and plastic bags. Remove the protective white cover. CAUTION: Do not touch the drum surface. 6.3 Hold the drum unit with one hand on the bottom and one hand on the handle on the front. 6.4 Install the imaging drum unit by aligning the groove at the top of the drum unit to the guide at the top of the opening. 3 6.5 Rotate the imaging unit drum lock UP to lock the imaging unit drum in place. Install remaining imaging unit drums. Verify each lock lever is UP and each toner shutter supply is OPEN.
-
 1
1 -
 2
2 -
 3
3 -
 4
4 -
 5
5 -
 6
6 -
 7
7
 |
 |
