HP Indigo WS6000 How-to Guide - Page 13
Troubleshooting, Scratches on print, Image cracks, YMCK jobs, blanket temperature, Main menu
 |
View all HP Indigo WS6000 manuals
Add to My Manuals
Save this manual to your list of manuals |
Page 13 highlights
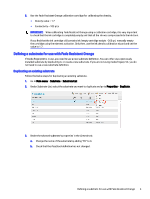
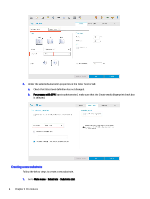
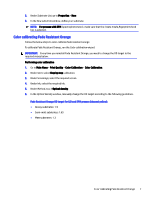
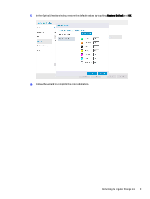
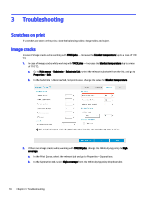
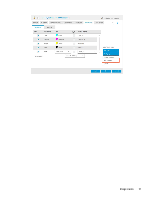
3 Troubleshooting Scratches on print If scratches are seen on the print, clean the balancing roller, charge roller, and wiper. Image cracks In case of image cracks while working with YMCK jobs - Increase the blanket temperature (up to a max of 110 °C). 1. In case of image cracks while working with YMCK jobs - Increase the blanket temperature (up to a max of 110 °C). a. Go to Main menu > Substrate > Substrate List, select the relevant substrate from the list, and go to Properties > Edit. b. In the Substrate > Advanced tab, Set points area, change the value for Blanket temperature. 2. If there are image cracks while working with YMCKW jobs, change the White drying policy to High coverage a. In the Print Queue, select the relevant job and go to Properties > Separations. b. In the Separation tab, select High coverage from the White drying policy dropdown list. 10 Chapter 3 Troubleshooting
-
 1
1 -
2
-
3
-
4
-
5
-
6
-
7
-
 8
8 -
 9
9 -
 10
10 -
 11
11 -
 12
12 -
 13
13 -
 14
14 -
 15
15 -
 16
16 -
 17
17
 |
 |
