HP Indigo ws4500 Packer Arm Installation - Page 9
that the holes in the connecting plate align with the holes in the moving shelf assembly.
 |
View all HP Indigo ws4500 manuals
Add to My Manuals
Save this manual to your list of manuals |
Page 9 highlights
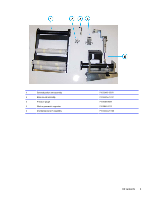
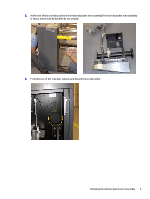
6. From the front of the rewinder, install the two Hex M6 screws to secure the internal packer arm assembly wall bracket. 7. From the rear of the rewinder, move the connecting plate towards the moving shelf assemblyMake sure that the holes in the connecting plate align with the holes in the moving shelf assembly. Installing the internal packer arm assembly 7
-
 1
1 -
2
-
3
-
 4
4 -
 5
5 -
 6
6 -
 7
7 -
 8
8 -
 9
9 -
 10
10 -
 11
11 -
 12
12 -
 13
13 -
 14
14 -
15
-
16
-
17
-
18
-
19
-
20
-
21
-
22
-
23
-
24
-
25
-
26
-
27
-
28
-
29
-
30
-
31
-
32
-
33
 |
 |

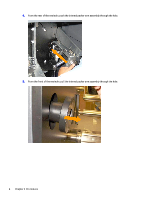
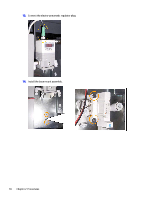
6.
From the front of the rewinder, install the two Hex M6 screws to secure the internal packer arm assembly
wall bracket.
7.
From the rear of the rewinder, move the connecting plate towards the moving shelf assemblyMake sure
that the holes in the connecting plate align with the holes in the moving shelf assembly.
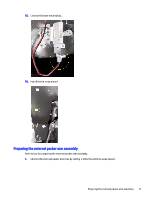
Installing the internal packer arm assembly
7