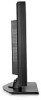
HP LD4700 HP LD4200 and LD4700 LCD Monitors User Guide - Page 12
Setting Up the Monitor, Installing the Stand (Sold Separately - monitor stand
 |
View all HP LD4700 manuals
Add to My Manuals
Save this manual to your list of manuals |
Page 12 highlights
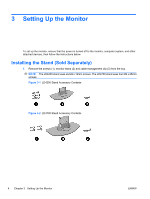
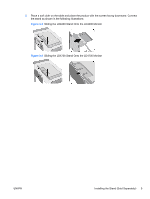
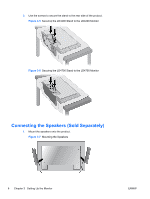
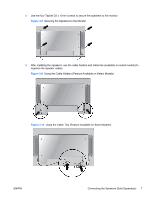
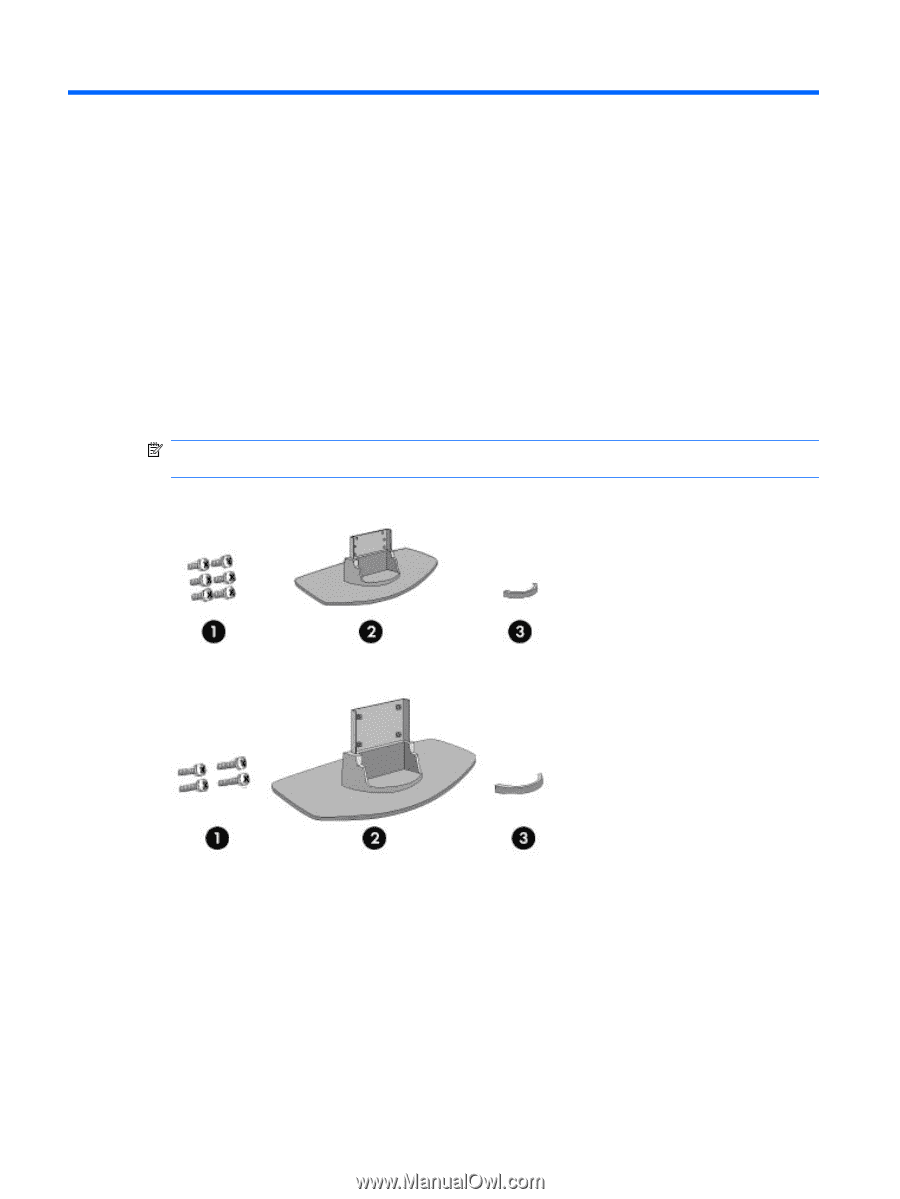
3 Setting Up the Monitor To set up the monitor, ensure that the power is turned off to the monitor, computer system, and other attached devices, then follow the instructions below. Installing the Stand (Sold Separately) 1. Remove the screws (1), monitor stand (2) and cable management clip (3) from the box. NOTE: The LD4200 stand uses six M4 x 12mm screws. The LD4700 stand uses four M4 x 26mm screws. Figure 3-1 LD4200 Stand Accessory Contents Figure 3-2 LD4700 Stand Accessory Contents 4 Chapter 3 Setting Up the Monitor ENWW
-
 1
1 -
2
-
3
-
4
-
5
-
6
-
 7
7 -
 8
8 -
 9
9 -
 10
10 -
 11
11 -
 12
12 -
 13
13 -
 14
14 -
 15
15 -
 16
16 -
 17
17 -
18
-
19
-
20
-
21
-
22
-
23
-
24
-
25
-
26
-
27
-
28
-
29
-
30
-
31
-
32
-
33
-
34
-
35
-
36
-
37
-
38
-
39
-
40
-
41
-
42
-
43
-
44
-
45
-
46
-
47
-
48
-
49
-
50
-
51
-
52
-
53
-
54
-
55
-
56
-
57
-
58
-
59
-
60
-
61
-
62
-
63
-
64
-
65
-
66
-
67
-
68
-
69
-
70
-
71
-
72
-
73
-
74
-
75
-
76
-
77
-
78
-
79
 |
 |
3
Setting Up the Monitor
To set up the monitor, ensure that the power is turned off to the monitor, computer system, and other
attached devices, then follow the instructions below.
Installing the Stand (Sold Separately)
1.
Remove the screws (1), monitor stand (2) and cable management clip (3) from the box.
NOTE:
The LD4200 stand uses six M4 x 12mm screws. The LD4700 stand uses four M4 x 26mm
screws.
Figure 3-1
LD4200 Stand Accessory Contents
Figure 3-2
LD4700 Stand Accessory Contents
4
Chapter 3
Setting Up the Monitor
ENWW