HP Officejet 5600 Setup Guide - Page 2
Attach trays and load paper, Attach the control panel faceplate if not, attached
 |
View all HP Officejet 5600 manuals
Add to My Manuals
Save this manual to your list of manuals |
Page 2 highlights
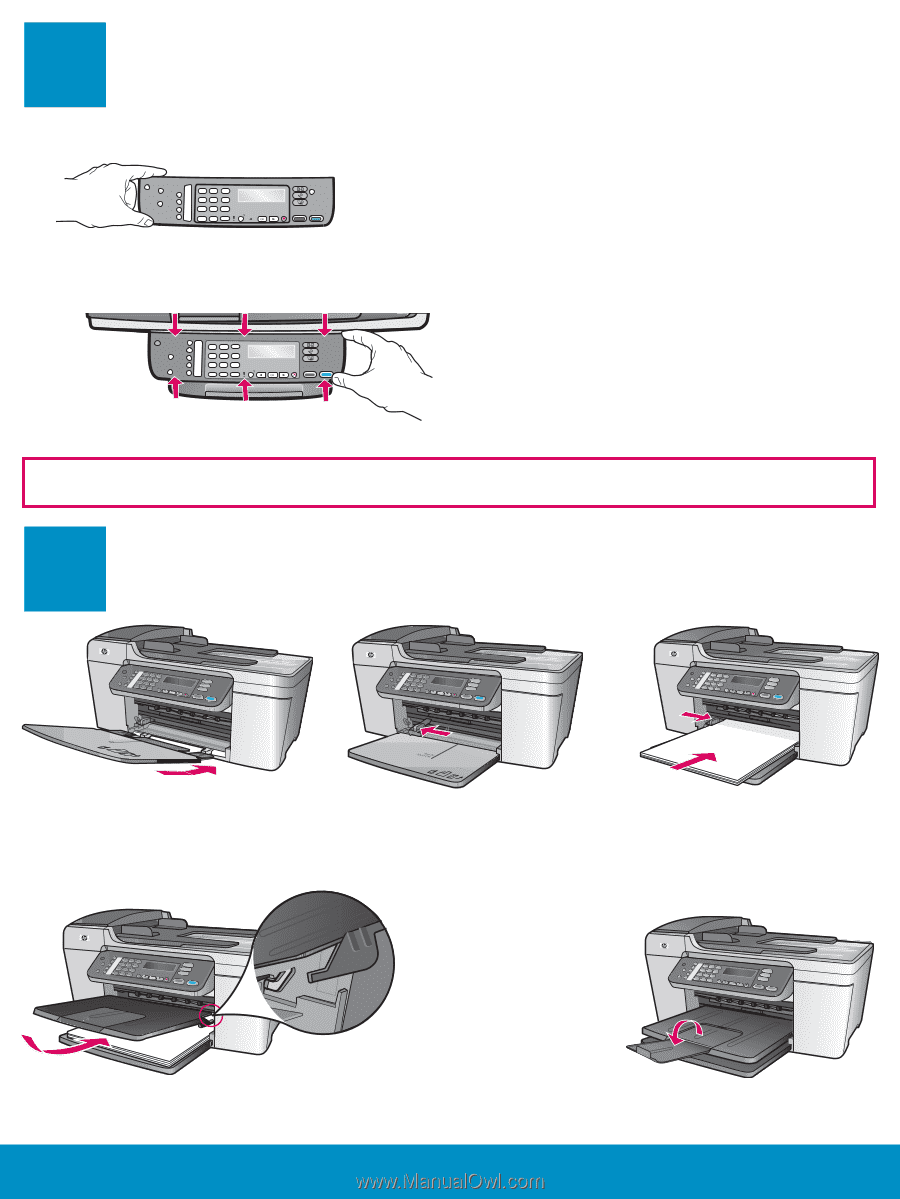
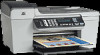
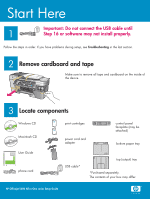
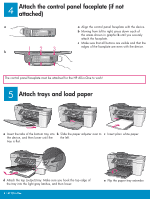
4 Attach the control panel faceplate (if not attached) a a Align the control panel faceplate with the device. b Moving from left to right, press down each of the areas shown in graphic b until you securely attach the faceplate. c Make sure that all buttons are visible and that the 12 3 b edges of the faceplate are even with the device. The control panel faceplate must be attached for the HP All-in-One to work! 5 Attach trays and load paper a Insert the tabs of the bottom tray into b Slide the paper adjuster over to c Insert plain white paper. the device, and then lower until the the left. tray is flat. d Attach the top (output) tray. Make sure you hook the top edge of the tray into the light gray latches, and then lower. 2 • HP All-in-One e Flip the paper tray extender.
-
 1
1 -
 2
2 -
 3
3 -
 4
4 -
 5
5 -
 6
6 -
 7
7 -
 8
8
 |
 |