HP PSC 2150 HP PSC 2100 Series all-in-one - (English) Reference Guide - Page 17
set the paper type, Copy Options, Paper Type, Enter - psc 2100 series all in one
 |
View all HP PSC 2150 manuals
Add to My Manuals
Save this manual to your list of manuals |
Page 17 highlights
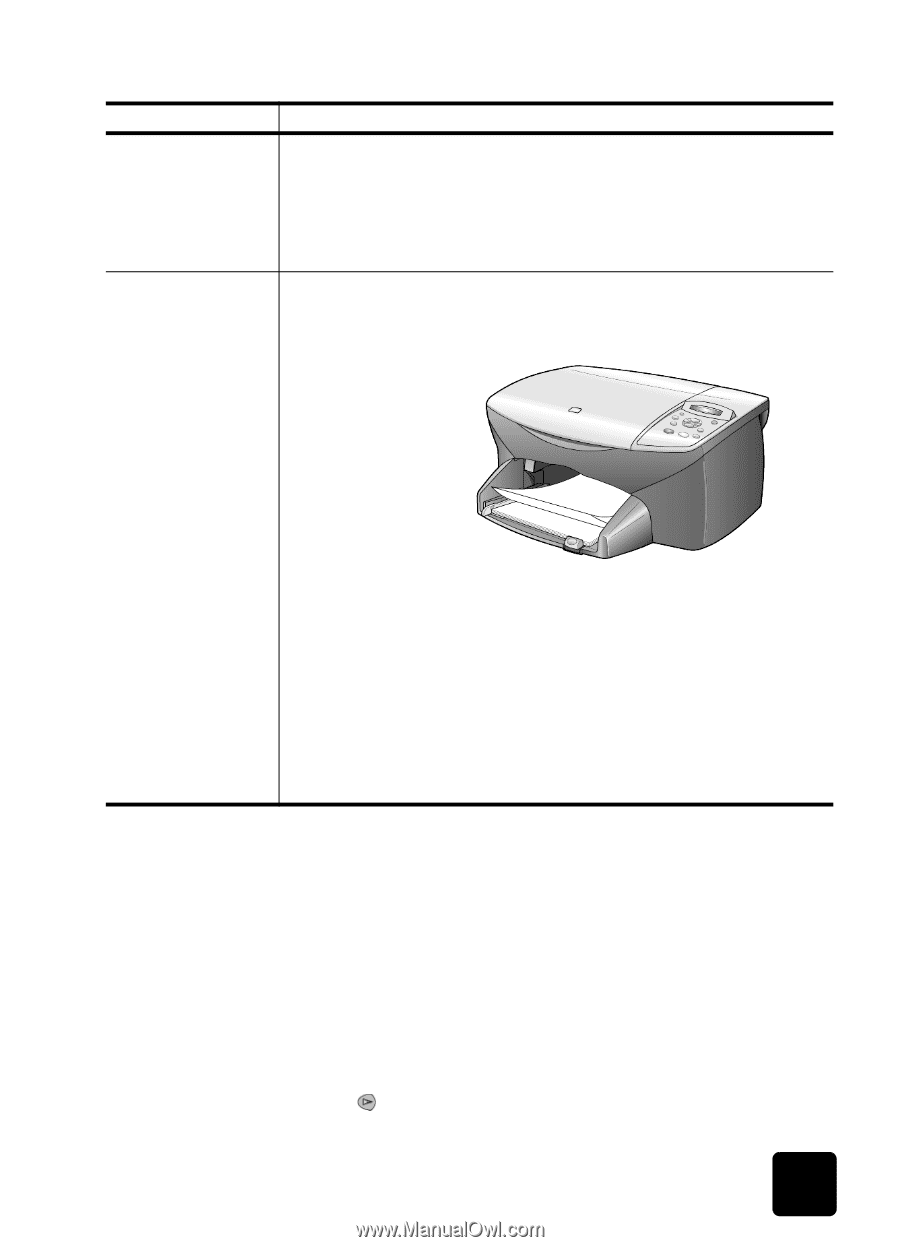
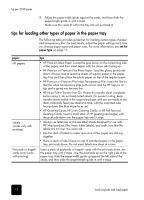
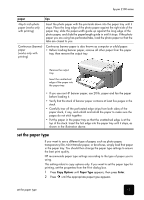
hp psc 2100 series paper tips 4-by-6 inch photo paper (works only with printing) Insert the photo paper with the print-side down into the paper tray until it stops. Place the long edge of the photo paper against the right side of the paper tray, slide the paper-width guide up against the long edge of the photo paper, and slide the paper-length guide in until it stops. If the photo paper you are using has perforated tabs, load the photo paper so that the tabs are closest to you. Continuous (banner) paper (works only with printing) Continuous banner paper is also known as computer or z-fold paper. • Before loading banner paper, remove all other paper from the paper tray, then remove the output tray. Remove the output tray. Insert the unattached edge of the paper into the paper tray. • If you use non-HP banner paper, use 20-lb. paper and fan the paper before loading it. • Verify that the stack of banner paper contains at least five pages in the stack. • Carefully tear off the perforated edge strips from both sides of the paper stack, if any, and unfold and refold the paper to make sure the pages do not stick together. • Put the paper in the paper tray so that the unattached edge is at the top of the stack. Insert the first edge into the paper tray until it stops, as shown in the illustration above. set the paper type If you want to use a different type of paper, such as photo paper, transparency film, t-shirt transfer paper, or brochures, simply load that paper in the paper tray. You should then change the paper type settings to ensure the best print quality. HP recommends paper type settings according to the type of paper you're using. This setting refers to copy options only. If you want to set the paper type for printing, set the properties from the Print dialog box. 1 Press Copy Options until Paper Type appears, then press Enter. 2 Press until the appropriate paper type appears. set the paper type 13
-
 1
1 -
2
-
3
-
4
-
5
-
6
-
7
-
8
-
9
-
10
-
11
-
 12
12 -
 13
13 -
 14
14 -
 15
15 -
 16
16 -
 17
17 -
 18
18 -
 19
19 -
 20
20 -
 21
21 -
 22
22 -
23
-
24
-
25
-
26
-
27
-
28
-
29
-
30
-
31
-
32
-
33
-
34
-
35
-
36
-
37
-
38
-
39
-
40
-
41
-
42
-
43
-
44
-
45
-
46
-
47
-
48
-
49
-
50
-
51
-
52
-
53
-
54
-
55
-
56
-
57
-
58
-
59
-
60
-
61
-
62
-
63
-
64
 |
 |