HP Photosmart C7200 Basics Guide - Page 69
Information on ink cartridges and the print head, Troubleshooting and support
 |
View all HP Photosmart C7200 manuals
Add to My Manuals
Save this manual to your list of manuals |
Page 69 highlights
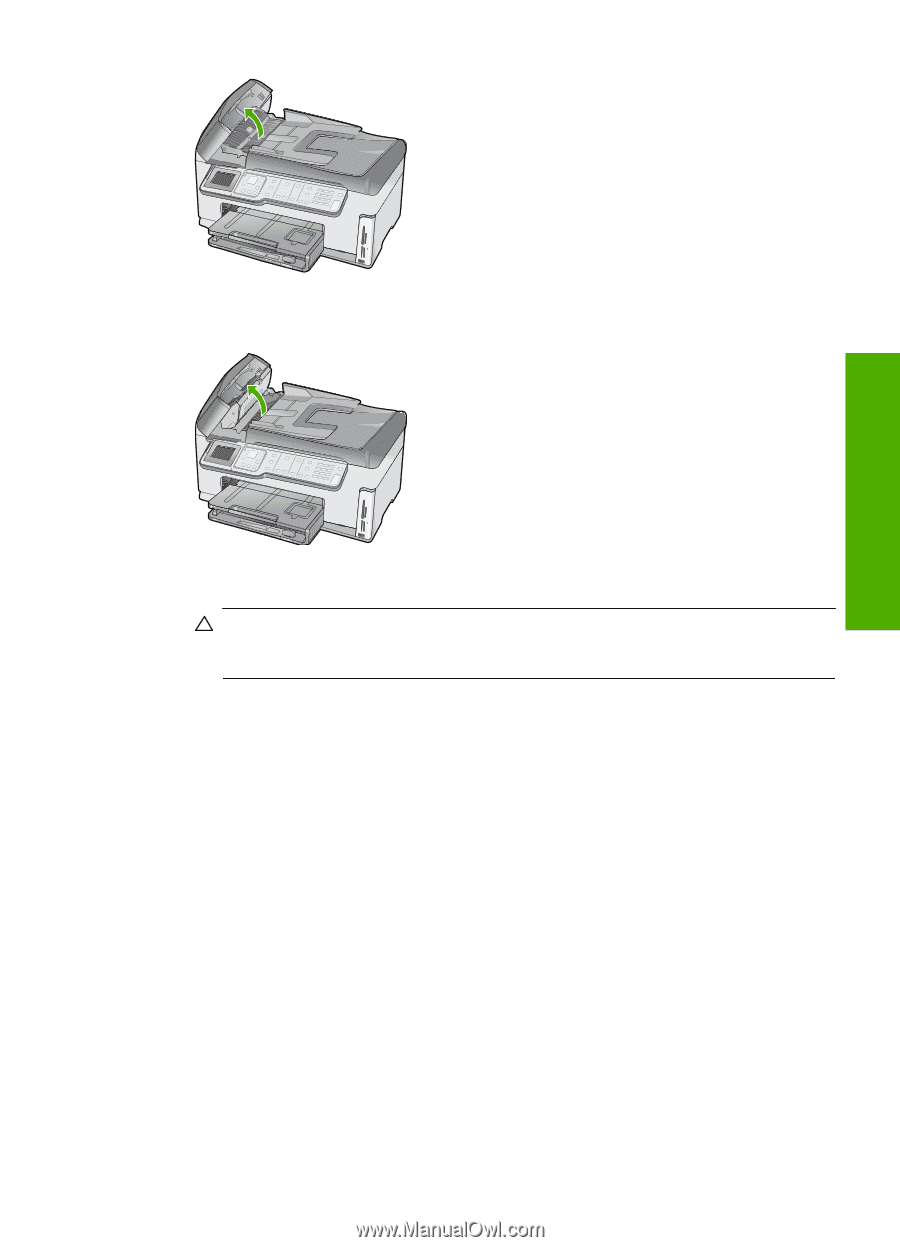
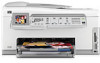
3. Lift the automatic document feeder mechanism. Troubleshooting and support 4. Gently pull out any paper that is jammed in the automatic document feeder mechanism. CAUTION: If the paper tears when you are removing it, check for torn pieces of paper that might remain inside the mechanism. If you do not remove all the pieces of paper from the automatic document feeder, more paper jams are likely to occur. 5. Lower the automatic document feeder mechanism, and then close the cover of the automatic document feeder. The cover clicks when it is completely closed. Information on ink cartridges and the print head The following tips help maintain HP ink cartridges and ensure consistent print quality. • Install the ink cartridge on or before the install by date, which is printed on the ink cartridge package. • Keep all ink cartridges in the original sealed packages until they are needed. • Turn off the HP All-in-One by pressing the On button located on the device. Do not turn off the device by turning off a power strip or unplugging the power cord from the HP All-in-One. If you improperly turn off the HP All-in-One, the print head assembly might not return to the correct position. • Store ink cartridges at room temperature (15.6°-26.6° C or 60°-78° F). • HP recommends that you do not remove the ink cartridges from the HP All-in-One until you have replacement cartridges available to install. If you are transporting the HP All-in-One make sure you turn off the device by pressing the On button to power it down properly. Also, make sure you leave the ink cartridges installed. Doing these actions will prevent ink leaking from the print head assembly. • Clean the print head (via the Printer Toolbox Software maintenance) when you notice a significant decrease in print quality. Information on ink cartridges and the print head 67
-
 1
1 -
2
-
3
-
4
-
5
-
6
-
7
-
8
-
9
-
10
-
11
-
12
-
13
-
14
-
15
-
16
-
17
-
18
-
19
-
20
-
21
-
22
-
23
-
24
-
25
-
26
-
27
-
28
-
29
-
30
-
31
-
32
-
33
-
34
-
35
-
36
-
37
-
38
-
39
-
40
-
41
-
42
-
43
-
44
-
45
-
46
-
47
-
48
-
49
-
50
-
51
-
52
-
53
-
54
-
55
-
56
-
57
-
58
-
59
-
60
-
61
-
62
-
63
-
 64
64 -
 65
65 -
 66
66 -
 67
67 -
 68
68 -
 69
69 -
 70
70 -
 71
71 -
 72
72 -
 73
73 -
 74
74 -
75
 |
 |