HP Photosmart c500 HP PhotoSmart C500 Digital Camera User’s Guide - C - Page 7
Categorizing Photos
 |
View all HP Photosmart c500 manuals
Add to My Manuals
Save this manual to your list of manuals |
Page 7 highlights
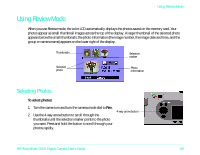
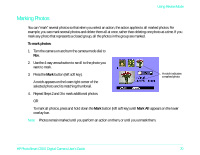
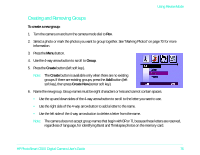
Using Review Mode To remove protection from photos: 1. Turn the camera on and turn the camera mode dial to Rev. 2. Select a photo or mark the photos you want to unprotect. See "Marking Photos" on page 70 for more information. 3. Press the Menu button. 4. Use the 4-way arrow button to scroll to Protect. 5. Press the Unprotect button (left soft key). Note: You must unprotect your protected photos before you can delete them. Categorizing Photos You can assign a category to your photos, making them easier to find. You can categorize one photo at a time, or mark photos and apply one category to all of the marked photos. Categories are also useful when you are creating a slideshow. For example, you could create a slideshow to share your vacation photos with friends and family. Note: You cannot assign or change categories for protected photos. To categorize photos: 1. Turn the camera on and turn the camera mode dial to Rev. 2. Select a photo or mark the photos you want to categorize. See "Marking Photos" on page 70 for more information. 3. Press the Category button (center soft key). HP PhotoSmart C500 Digital Camera User's Guide 73
-
 1
1 -
 2
2 -
 3
3 -
 4
4 -
 5
5 -
 6
6 -
 7
7 -
 8
8 -
 9
9 -
 10
10 -
 11
11 -
 12
12 -
13
-
14
-
15
-
16
-
17
-
18
-
19
-
20
-
21
-
22
-
23
-
24
-
25
-
26
 |
 |
