HP Xw6600 HP xw Workstation series - SATA optical drive installation - Page 11
SATA interface information
 |
UPC - 883585731121
View all HP Xw6600 manuals
Add to My Manuals
Save this manual to your list of manuals |
Page 11 highlights
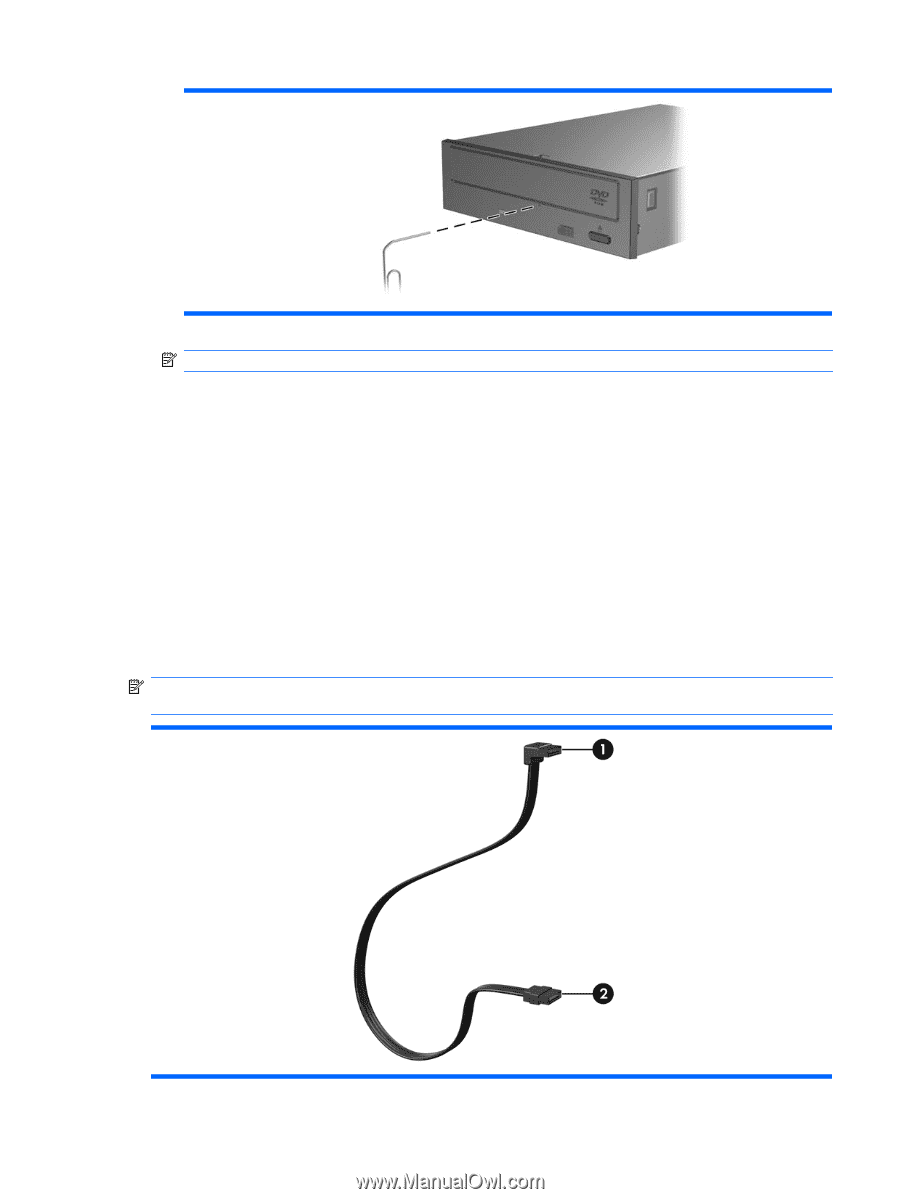
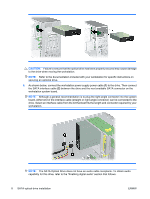
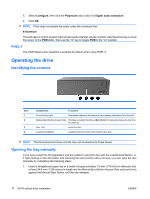
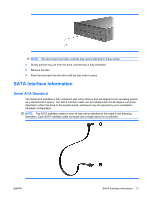
NOTE: The drive bezel and drive controls may not be identical to those shown. 2. Slowly pull the tray out from the drive until the tray is fully extended. 3. Remove the disc. 4. Push the tray back into the drive until the tray locks in place. SATA interface information Serial ATA Standard The Serial ATA interface is fully compliant with ATA protocol, and will appear to the operating system as a standard ATA device. The SATA interface cable can be installed with the 90-degree connector attached to either the drive or the system board, whichever may be required by your workstation hardware configuration. NOTE: The SATA interface cables in your kit may not be identical to the cable in the following illustration. Each SATA interface cable connects only a single device to a controller. ENWW SATA interface information 11
-
 1
1 -
2
-
3
-
4
-
5
-
 6
6 -
 7
7 -
 8
8 -
 9
9 -
 10
10 -
 11
11 -
 12
12
 |
 |