HoMedics BPA-250 User Manual - Page 8
Set button, button
 |
View all HoMedics BPA-250 manuals
Add to My Manuals
Save this manual to your list of manuals |
Page 8 highlights
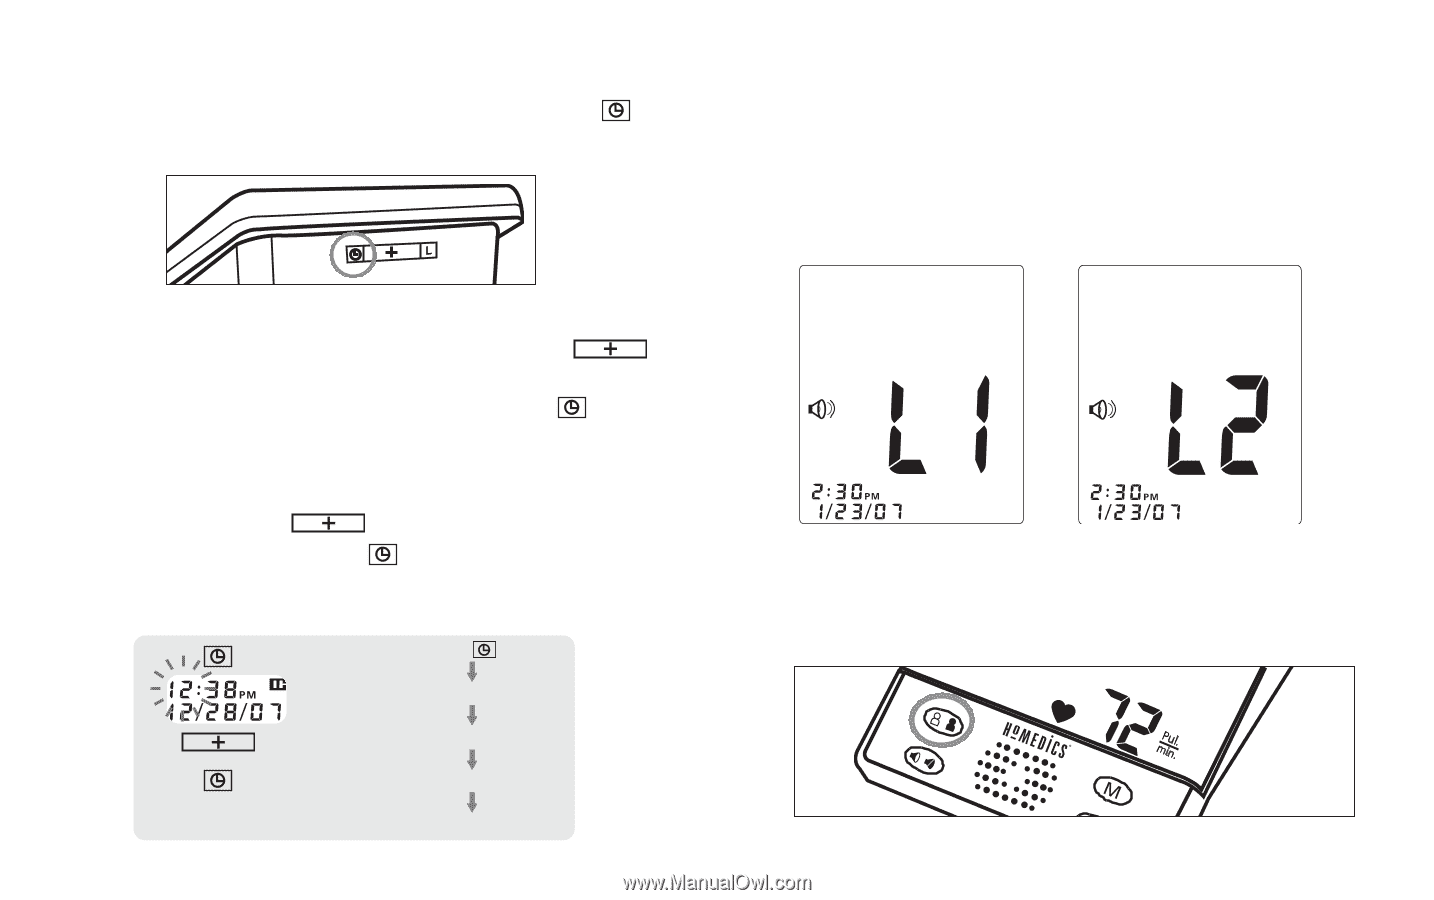
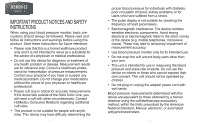
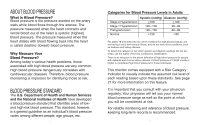
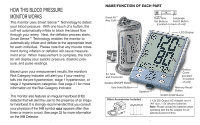
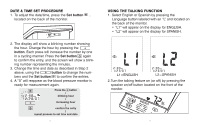
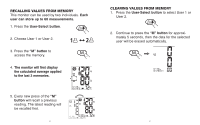
DATE & TIME SET PROCEDURE 1. To adjust the date/time, press the Set button , located on the back of the monitor. 2. The display will show a blinking number showing the hour. Change the hour by pressing the button. Each press will increase the number by one in a cycling manner. Press the Set button again to confirm the entry, and the screen will show a blink- ing number representing the minutes. 3. Change the time and date as described in Step 2 above, using the button to change the num- bers and the Set button to confirm the entries. 4. A "0" will reappear as the blood pressure monitor is ready for measurement again. Press the button blinking hour increasing hour confirm the entry repeat process to set time and date 13 USING THE TALKING FUNCTION 1. Select English or Spanish by pressing the Language button labeled with an "L" and located on the back of the monitor. • "L1" will appear on the display for ENGLISH. • "L2" will appear on the display for SPANISH. L1=ENGLISH L2=SPANISH 2. Turn the talking feature on (or off) by pressing the speaker on/off button located on the front of the monitor. / // SSTTOAPRT 14
-
 1
1 -
2
-
 3
3 -
 4
4 -
 5
5 -
 6
6 -
 7
7 -
 8
8 -
 9
9 -
 10
10 -
 11
11 -
 12
12 -
 13
13 -
14
-
15
-
16
-
17
-
18
-
19
-
20
-
21
-
22
-
23
-
24
-
25
-
26
-
27
-
28
-
29
-
30
-
31
-
32
-
33
-
34
 |
 |