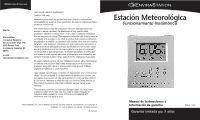
HoMedics DWS-100 User Manual - Page 3
Maintenance And Care, Instructions, Trouble Shooting, Setting Alarm Time
 |
View all HoMedics DWS-100 manuals
Add to My Manuals
Save this manual to your list of manuals |
Page 3 highlights
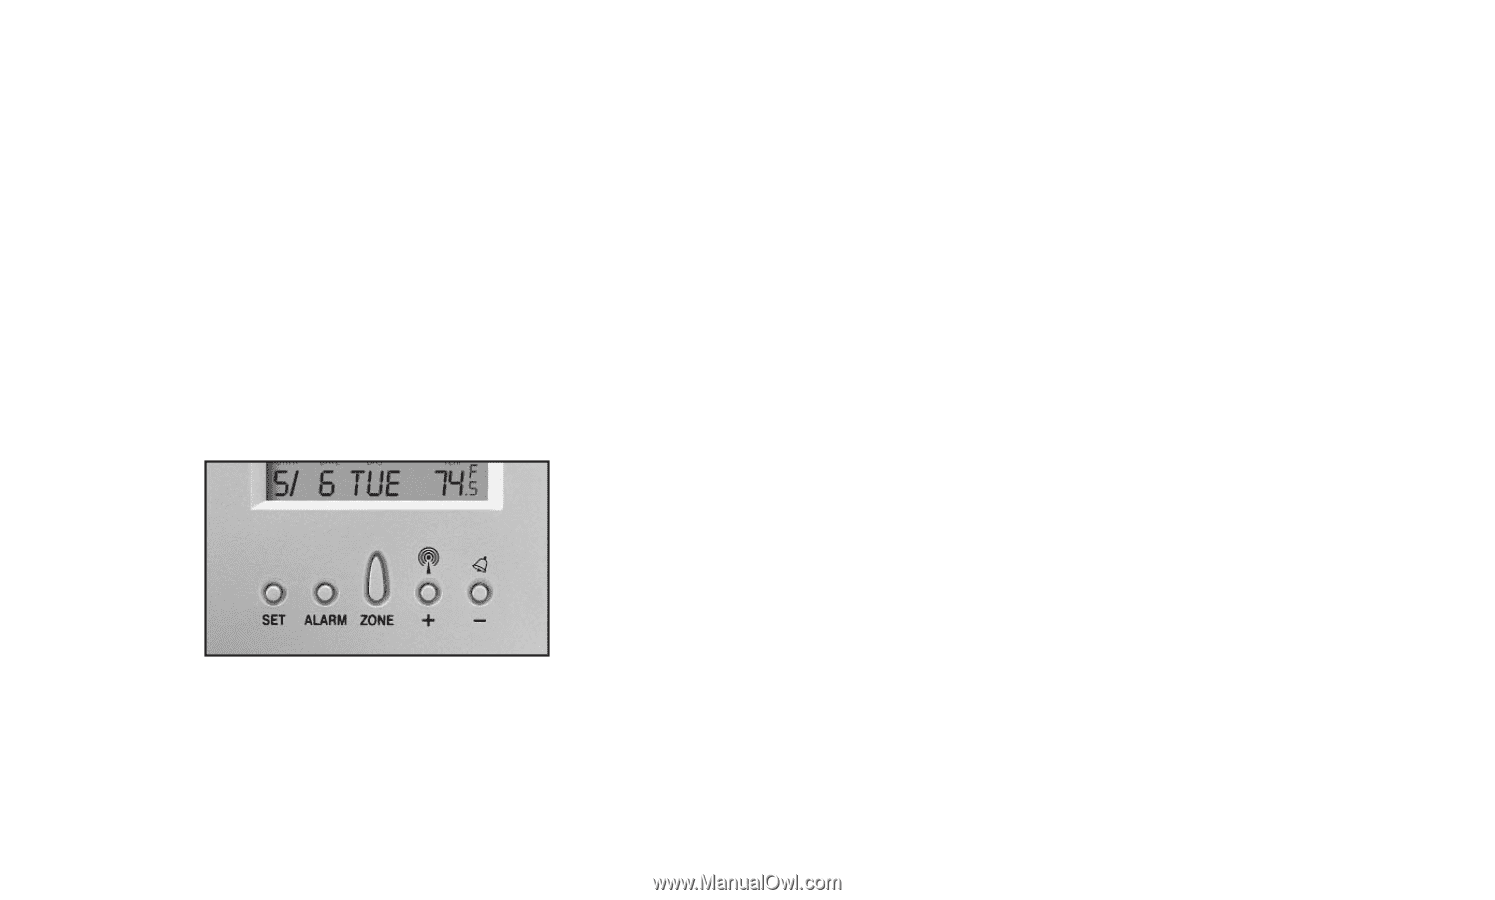
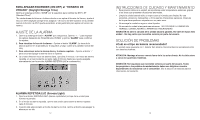
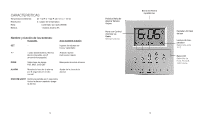
TO TURN DST (Daylight Savings Time) ON/OFF Hold the "ZONE" button for 2 seconds to switch from DST or ST (Standard Time)* *In parts of Arizona and Indiana where Daylight Savings Time is not applicable, set to DST off (DST icon will appear on display when DST function is turned on, the clock is ready to get daylight saving time). SETTING ALARM TIME 1. Hold the "ALARM" button for 2 seconds. Press "+ , - " to enter the desired Hr/ Min values and press "ALARM" to confirm setting. 2. To view alarm time - Press "ALARM" button. Alarm time will display for 5 seconds and then resume to normal clock thereafter. 3. To select between daily alarm and snooze alarm - Press " - " button to turn daily alarm or snooze alarm on/off. 4. The unit will provide either a daily alarm, which last for 2 minutes or a snooze mode where the alarm will repeat every 8 minutes until manually cleared (see SNOOZE/LIGHT section below.) SNOOZE/ LIGHT 1. Press the SNOOZE/ LIGHT button (on top of unit) for an extended backlight. 2. In snooze alarm mode, press this button to trigger a repetitive 8 minute snooze alarm. 3. When normal alarm mode is selected, press the button to turn off alarm for one day. 4 MAINTENANCE AND CARE INSTRUCTIONS • Extreme temperatures, shock or areas of unusual vibration should be avoided to prevent damage to the unit. • Clean the unit using only a soft, damp cloth to wipe. Do not use solvents, abrasives, detergents or other strong cleaning agents. After cleaning, wipe surfaces with a dry cloth. • Do not submerge unit in water or other liquids. • Do not subject the unit to extremely severe temperatures - DO NOT PLACE UNITS INTO OVENS, FREEZERS or MICROWAVE UNITS. NOTE: Opening the housing of the Unit will invalidate your warranty. Do not attempt to repair this unit - There are no consumer serviceable parts. TROUBLE SHOOTING What is the recommended battery type? Your unit will come with 1 "AA" alkaline battery. We recommend using only alkaline batteries for replacements. NOTE: Keep the remote sensor out of direct sunlight and rain. Do not set on or next to metal surface. NOTE: There are no consumer serviceable parts. All questions or service request should directed to our consumer relations department. (See Warranty section for contact information. 5
-
 1
1 -
 2
2 -
 3
3 -
 4
4 -
 5
5 -
 6
6 -
 7
7 -
 8
8
 |
 |