Hotpoint RB790DPWW Owners Manual - Page 26
Care and cleaning, the range. - appliances
 |
View all Hotpoint RB790DPWW manuals
Add to My Manuals
Save this manual to your list of manuals |
Page 26 highlights
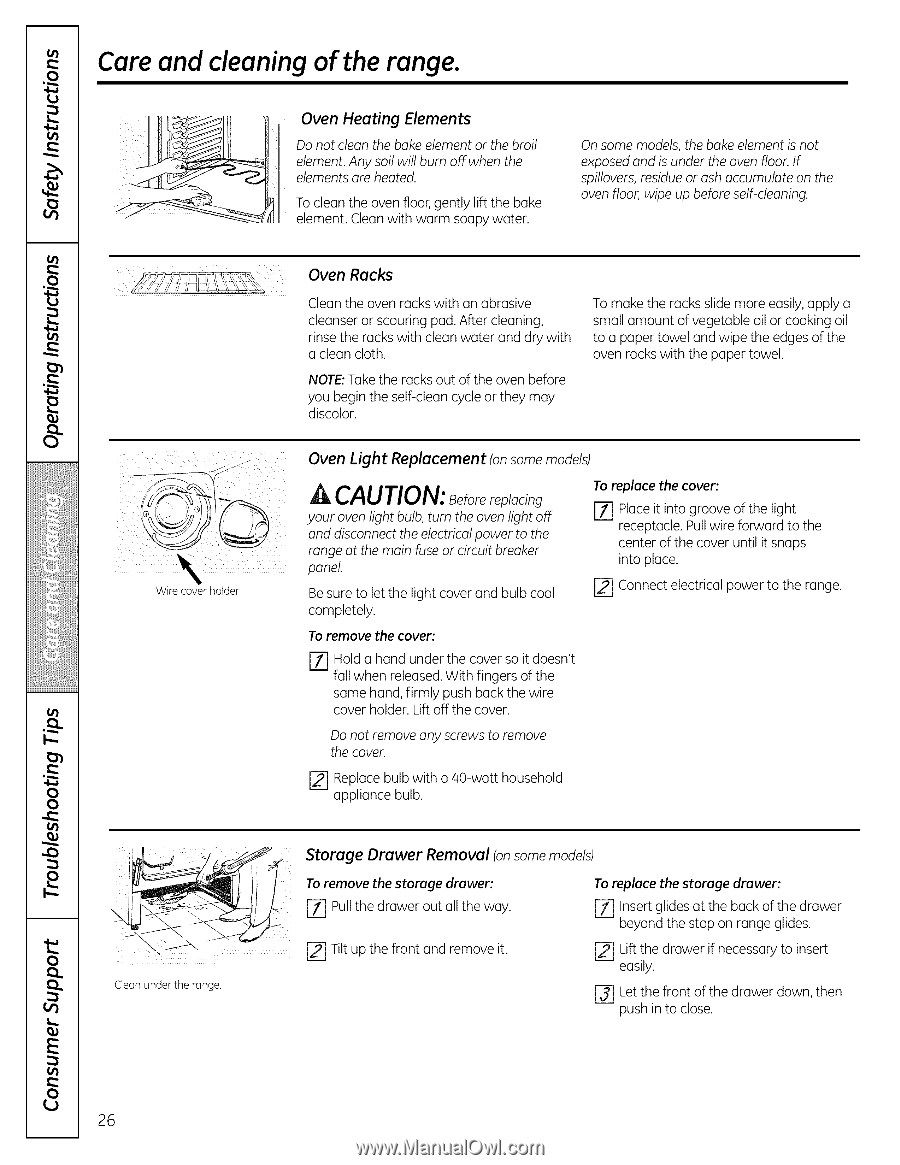
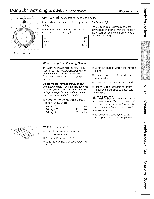
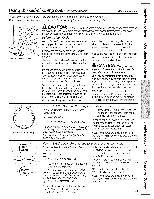
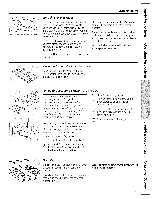
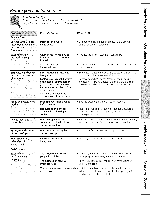
Care and cleaning of the range. Oven Heating Elements Do not clean the bake element or the broil element.Any soil will burn off when the elements are heated. To clean the oven floor, gently lift the bake element. Clean with warm soapy water. On some models, the bake element is not exposed and is under the oven floor. If spillovers, residue or ash accumulate on the oven floor, wipe up before self-cleaning. Wire cover holder OvenRacks Clean the oven racks with an abrasive cleanser or scouring pad. After cleaning, rinsethe racks with clean water and dry with a clean cloth. NOTE:Take the racks out of the oven before you begin the self-clean cycle or they may discolor. To make the rocks slide more easily,apply a small amount of vegetable oil or cooking oil to a paper towel and wipe the edges of the oven racks with the paper towel. Oven Light Replacement (onsome models) A CAUTION: Beforereplacing To replace the coven your oven light bulb,turn the oven light off and disconnect the electricalpower to the range at the main fuse or circuit breaker panel. [Z] Place it into groove of the light receptacle. Pull wire forward to the center of the cover until it snaps into place. Be sure to let the light cover and bulb cool r_ Connect electrical power to the range. completely. Toremove the cover: % Hold a hand under the cover so it doesn't fall when released.With fingers of the same hand, firmly push back the wire cover holder. Lift off the cover. Do not remove any screws to remove the cover. [] Replace bulb with a 40-watt household appliance bulb. Storage Drawer Removal (on some models) To remove the storage drawer: To replace the storage drawer: _-_ Puii the drawer out aii the way. [_ Insert glides at the back of the drawer beyond the stop on range glides. Tilt up the front and remove it. _ Lift the drawer if necessary to insert easily. I-_ Let the front of the drawer down, then push in to close. 26
-
 1
1 -
2
-
3
-
4
-
5
-
6
-
7
-
8
-
9
-
10
-
11
-
12
-
13
-
14
-
15
-
16
-
17
-
18
-
19
-
20
-
 21
21 -
 22
22 -
 23
23 -
 24
24 -
 25
25 -
 26
26 -
 27
27 -
 28
28 -
 29
29 -
 30
30 -
 31
31 -
32
-
33
-
34
-
35
-
36
-
37
-
38
-
39
-
40
 |
 |