Hunter 21978 Owner's Manual - Page 14
maximum wattage label on light fixture
 |
View all Hunter 21978 manuals
Add to My Manuals
Save this manual to your list of manuals |
Page 14 highlights
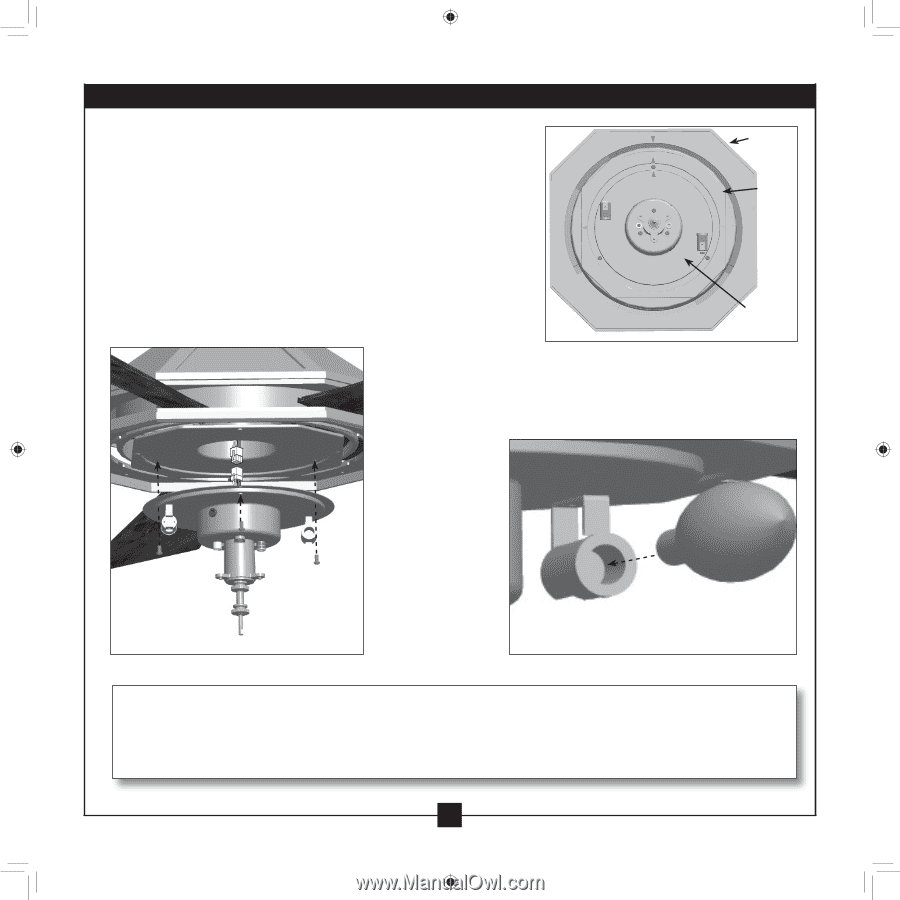
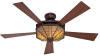
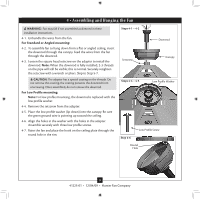
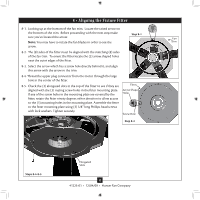
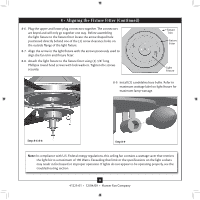
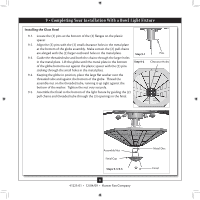
3 • Assembling tbe Blades 8 • Aligning the Fixture Fitter (Continued) 8-6. Plug the upper and lower plug connectors together. The connectors are keyed and will only go together one way. Before assembling the light fixture to the fixture fitter locate the arrow shaped hole positioned directly behind one of the (3) screw clearance holes on the outside flange of the light fixture. 8-7. Align the arrow in the light fixture with the arrows previously used to align the fan trim and fixture fitter. 8-8. Attach the light fixture to the fixture fitter using (3) 3/8" long Phillipsa round head screws with lock washers. Tighten the screws securely. Fixture Trim Fixture Fitter Light Fixture 8-9. Install (2) candelabra base bulbs. Refer to maximum wattage label on light fixture for maximum lamp wattage. Step 8-6-8-8 Step 8-9 Note: In compliance with U.S. Federal energy regulations, this ceiling fan contains a wattage saver that restricts the light kit to a maximum of 190 Watts. Exceeding that limit or the specifications on the light sockets may result in fire hazard or improper operation. If lights do not appear to be operating properly, see the troubleshooting section 14 41225-01 • 12/04/09 • Hunter Fan Company
-
 1
1 -
2
-
3
-
4
-
5
-
6
-
7
-
8
-
 9
9 -
 10
10 -
 11
11 -
 12
12 -
 13
13 -
 14
14 -
 15
15 -
 16
16 -
 17
17
 |
 |