Insignia NS-65D260A13 User Manual (English) - Page 52
Using a USB flash drive
 |
View all Insignia NS-65D260A13 manuals
Add to My Manuals
Save this manual to your list of manuals |
Page 52 highlights
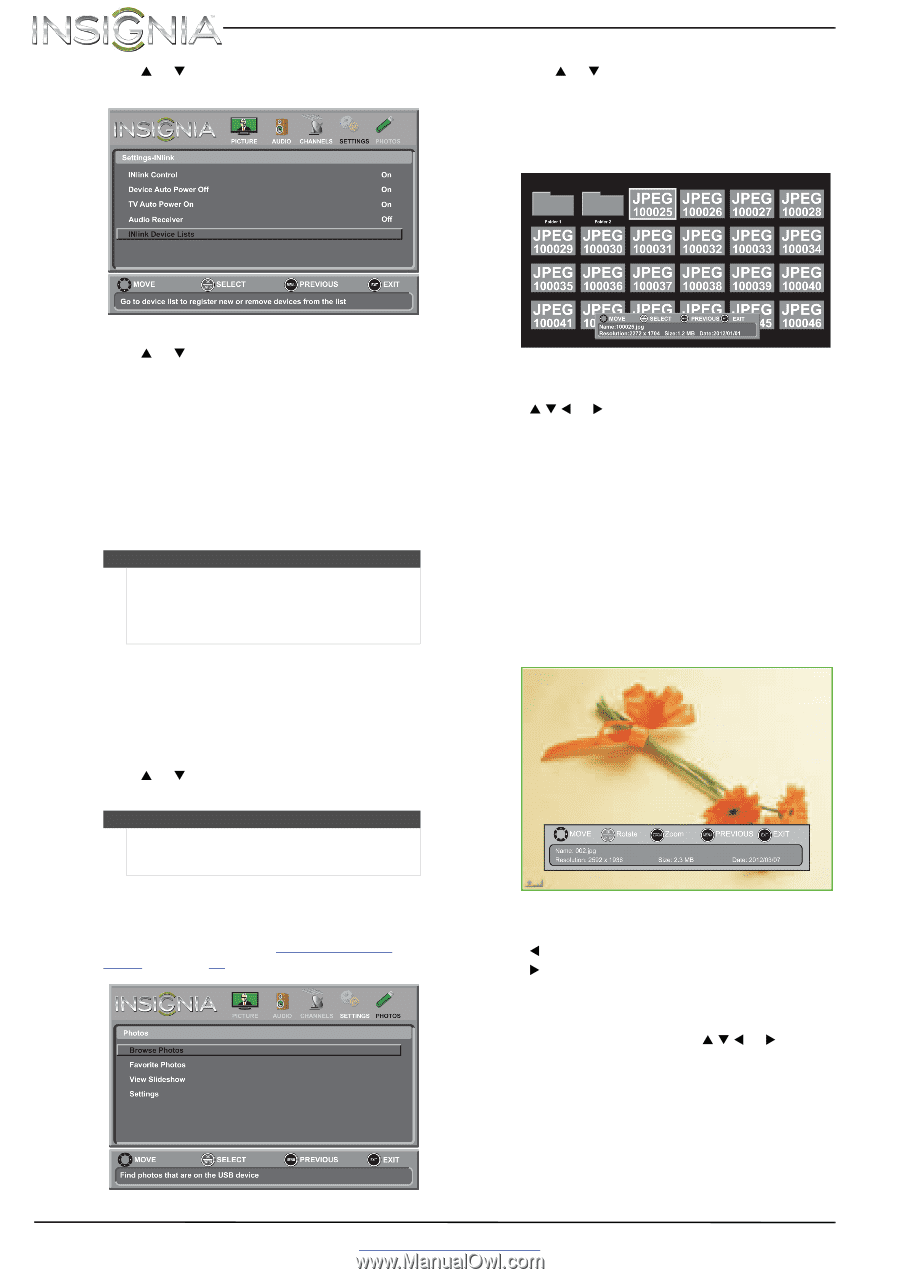
3 Press S or T to highlight INlink, then press ENTER. The Settings-INlink menu opens. NS-65D260A13 Insignia 65" 1080p LED TV 2 Press S or T to highlight Browse Photos, then press ENTER. The screen displays folder names and photo files stored on the USB flash drive in a thumbnail index with the first photo or folder highlighted. A control bar appears at the bottom of the screen. 4 Press S or T to highlight INlink Device Lists, then press ENTER. A list of the HDMI CEC-compatible devices you have connected appears. 5 Press MENU to return to the previous menu, or press EXIT to close the menu. Using a USB flash drive You can connect a USB flash drive to your TV to view compatible JPEG pictures. Notes • • Never remove the USB flash drive or turn off your TV while viewing JPEG pictures. The JPEG picture viewer only supports JPEG format images (with ".jpg" file extensions) and not all JPEG files are compatible with your TV. Switching to USB mode To switch to USB mode: 1 Make sure that you have connected the USB flash drive to the USB port on your TV. 2 Press INPUT. The INPUT SOURCE list opens. 3 Press S or T to highlight USB(Photos), then press ENTER. The Photos menu opens. Note To exit USB mode, press INPUT to open the INPUT SOURCE list, then select another input source, or press a Quick Launch Input button. Browsing photos To browse photos: 1 Switch to USB mode. See "Switching to USB mode" on page 48. The Photos menu opens. 3 To navigate the thumbnail index screen, press: • S T W or X to browse through the files and folders. • ENTER to view a highlighted photo full-screen or open a highlighted folder. • MENU to open the Photos menu. • FAVORITE to add or remove a photo from the favorite photo list. A heart appears on a photo that has been added to the favorite photos list. When a photo is displayed full-screen, a control bar appears at the bottom of the photo. The file name, picture resolution, size, and date are displayed on the bottom of the control bar. If you do not press a button within 10 seconds, the control bar closes. Press any button to open the control bar again. 4 To navigate on the photo screen, press: • W to go to the previous photo. • X to go to the next photo. • ENTER to rotate the photo clockwise. • ZOOM one or more times to enlarge the image by ×1, ×2, or ×4 or to select Fill (to fill the screen). You can press S T W or X to pan the photo. • EXIT to return to the thumbnail index. • MENU to return to the Photos menu. 48 www.insigniaproducts.com
-
 1
1 -
2
-
3
-
4
-
5
-
6
-
7
-
8
-
9
-
10
-
11
-
12
-
13
-
14
-
15
-
16
-
17
-
18
-
19
-
20
-
21
-
22
-
23
-
24
-
25
-
26
-
27
-
28
-
29
-
30
-
31
-
32
-
33
-
34
-
35
-
36
-
37
-
38
-
39
-
40
-
41
-
42
-
43
-
44
-
45
-
46
-
 47
47 -
 48
48 -
 49
49 -
 50
50 -
 51
51 -
 52
52 -
 53
53 -
 54
54 -
 55
55 -
 56
56 -
 57
57 -
58
-
59
-
60
-
61
 |
 |