Insignia NS-L22X-10A User Manual (English) - Page 8
Introduction, Installing a wall-mount, bracket - stands
 |
View all Insignia NS-L22X-10A manuals
Add to My Manuals
Save this manual to your list of manuals |
Page 8 highlights
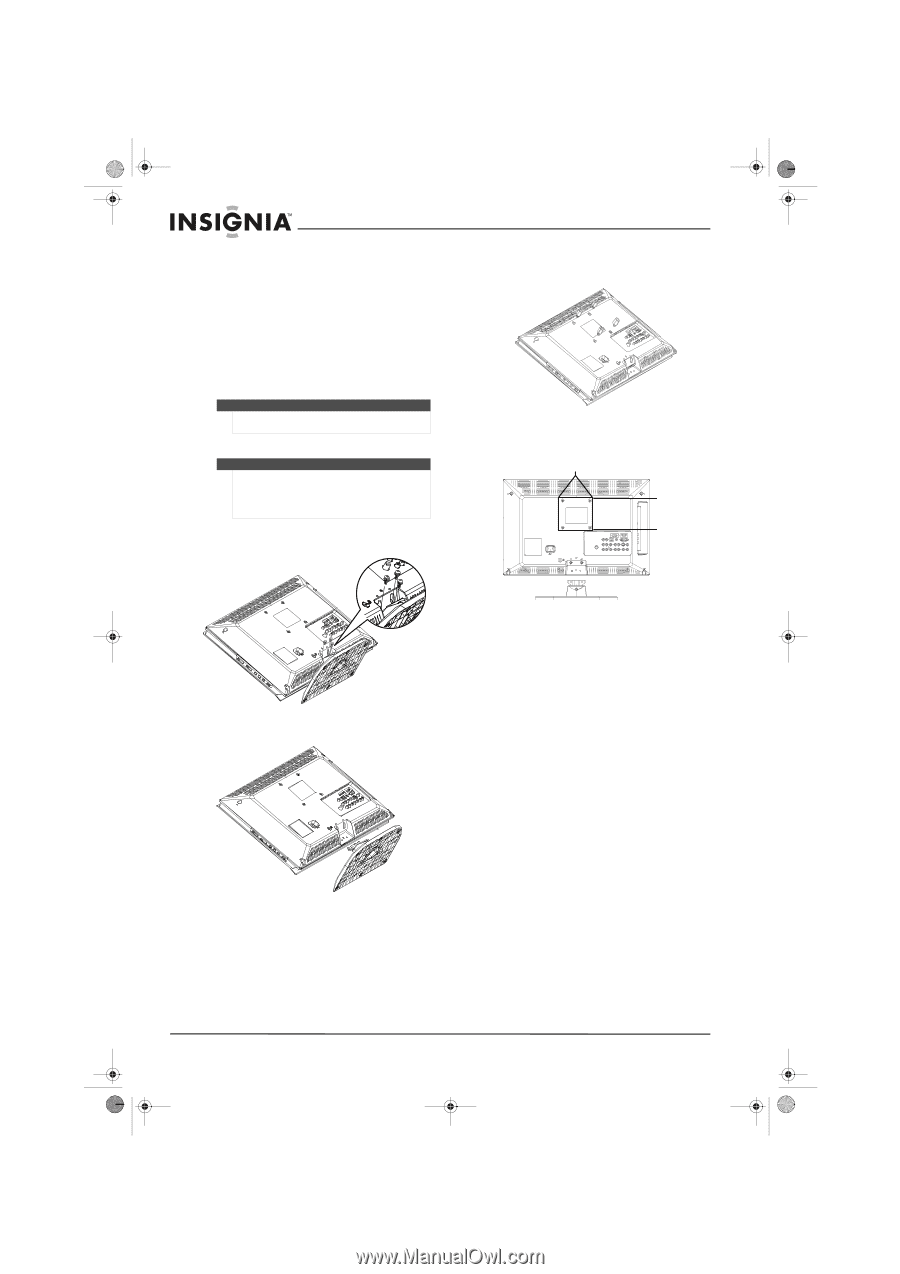
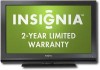
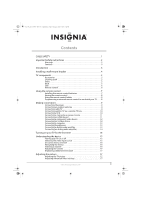
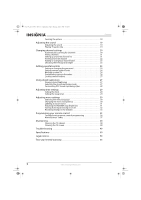
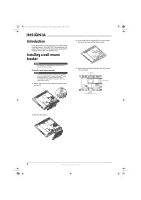
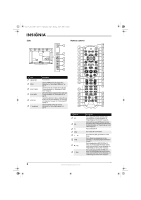
NS-L22X-10A_09-0222_MAN_V1_English.book Page 4 Thursday, April 2, 2009 12:14 PM Introduction Congratulations on your purchase of a high-quality Insignia product. Your NS-L22X-10A represents the state of the art in LCD TV design and is designed for reliable and trouble-free performance. Installing a wall-mount bracket Warning This apparatus is intended to be supported by UL Listed wall mount bracket. To install a wall-mount bracket: Warning These servicing instructions are for use by qualified service personnel only. To reduce the risk of hazards, do not perform any servicing other than that contained in the operating instructions unless you are qualified to do so. 1 Remove the three screws that secure the stand to your TV. 3 Insert and lock the standoff screws (provided) into the lock holes of the VESA mount. 4 Attach the wall-mount bracket with M4 screws (not included). 3.94" (100 mm) 3.94" (100 mm) 2 Remove the stand. 4 www.insigniaproducts.com
-
 1
1 -
2
-
 3
3 -
 4
4 -
 5
5 -
 6
6 -
 7
7 -
 8
8 -
 9
9 -
 10
10 -
 11
11 -
 12
12 -
 13
13 -
14
-
15
-
16
-
17
-
18
-
19
-
20
-
21
-
22
-
23
-
24
-
25
-
26
-
27
-
28
-
29
-
30
-
31
-
32
-
33
-
34
-
35
-
36
-
37
-
38
-
39
-
40
-
41
-
42
-
43
-
44
-
45
-
46
-
47
-
48
-
49
-
50
-
51
-
52
-
53
-
54
-
55
-
56
-
57
-
58
-
59
-
60
 |
 |