Insignia NS-RTM18BK8Q User Guide
Insignia NS-RTM18BK8Q Manual
 |
View all Insignia NS-RTM18BK8Q manuals
Add to My Manuals
Save this manual to your list of manuals |
Insignia NS-RTM18BK8Q manual content summary:
- Insignia NS-RTM18BK8Q | User Guide - Page 1
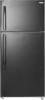
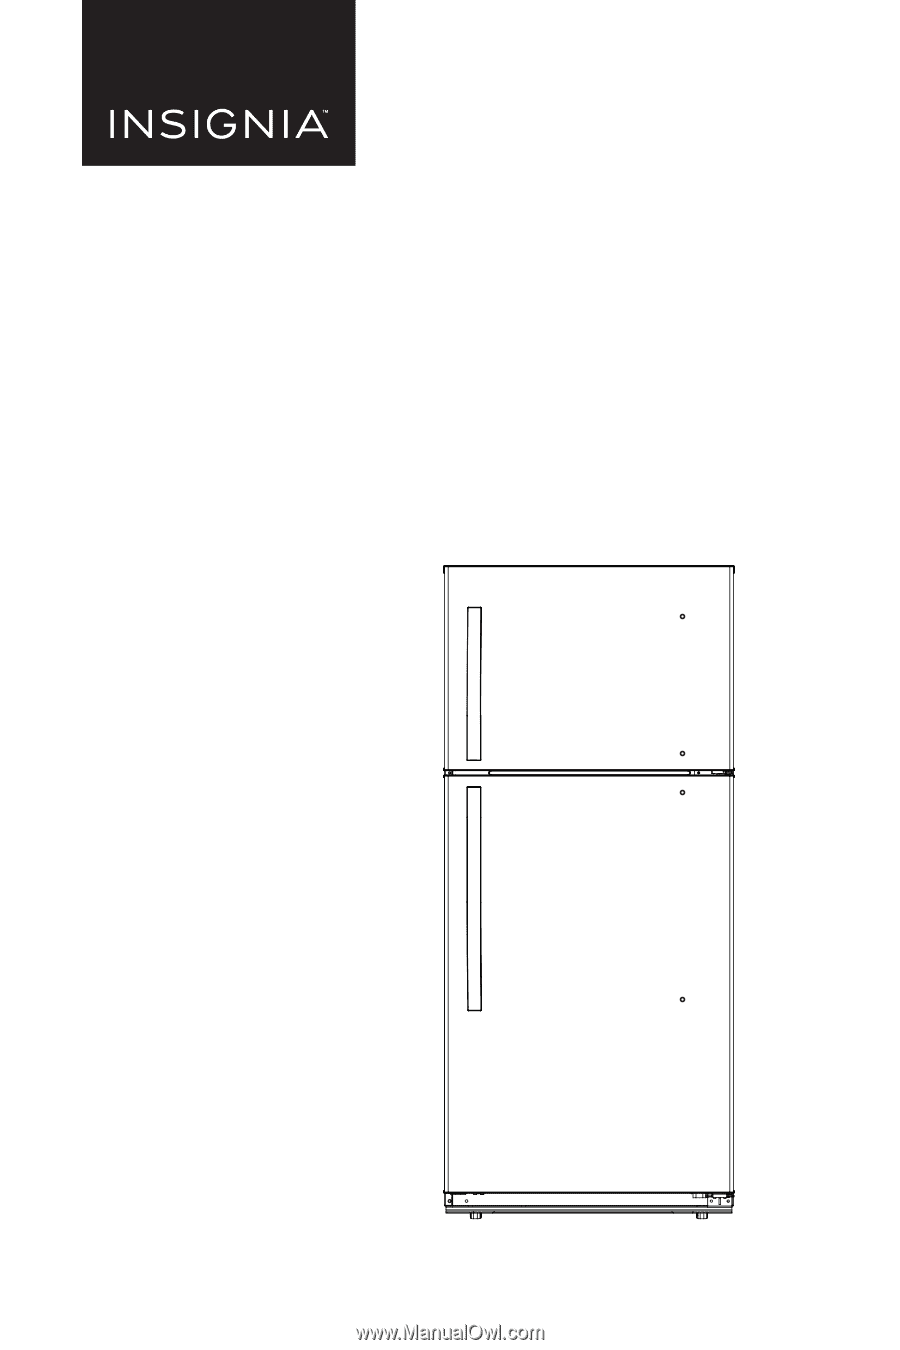
USER GUIDE 18 Cu. Ft. Top Mount Refrigerator NS-RTM18WH8Q/NS-RTM18WH8Q-C/NS-RTM18BK8Q Before using your new product, please read these instructions to prevent any damage. - Insignia NS-RTM18BK8Q | User Guide - Page 2
your refrigerator 19 Tips on saving energy 19 Troubleshooting 19 Error codes 19 Specifications 22 ONE-YEAR LIMITED WARRANTY 23 Introduction Congratulations on your purchase of a high-quality Insignia product. Your NS-RTM18WH8Q, NS-RTM18WH8Q-C, or NS-RTM18BK8Q represents the state of the art in - Insignia NS-RTM18BK8Q | User Guide - Page 3
appliance near water. 6 Clean only with a damp cloth. 7 Do not block any ventilation openings. Install in accordance with the manufacturer's instructions. 8 Do not install near any heat sources such as radiators, heat registers, stoves, or other apparatus (including amplifiers) that produce heat - Insignia NS-RTM18BK8Q | User Guide - Page 4
NS-RTM18WH8Q/NS-RTM18WH8Q-C/NS-RTM18BK8Q 18 Refer all servicing to qualified service personnel. Servicing and knowledge if they are given supervision or instruction concerning the use of the appliance in a a component part is damaged, it must be replaced by the manufacturer, its service agent, or - Insignia NS-RTM18BK8Q | User Guide - Page 5
can result in a risk of electric shock. Consult a qualified electrician or service person if the grounding instructions are not completely understood, or if doubt exists as to whether the cu. ft. top mount refrigerator • Ice tray • Handle kit • Hinge kit • User Guide www.insigniaproducts.com 5 - Insignia NS-RTM18BK8Q | User Guide - Page 6
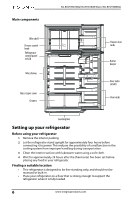
Main components NS-RTM18WH8Q/NS-RTM18WH8Q-C/NS-RTM18BK8Q Wire shelf Freezer control knob Refrigerator control panel w/LED Wire shelves Glass crisper built-in. • Place your refrigerator on a floor that is strong enough to support the refrigerator when it is fully loaded. 6 www.insigniaproducts.com - Insignia NS-RTM18BK8Q | User Guide - Page 7
be level. If the refrigerator is not leveled during installation, the doors may not close or seal properly, causing cooling, frost, or moisture problems. • To level your refrigerator, rotate the leveling feet clockwise (to raise) the refrigerator or counter-clockwise (to lower). Note: Having someone - Insignia NS-RTM18BK8Q | User Guide - Page 8
NS-RTM18WH8Q/NS-RTM18WH8Q-C/NS-RTM18BK8Q Installing the door handle You will need: A Phillips screwdriver and the included Allen wrench. Parts included with the handle kit: Handle assembly Screws (4) Allen wrench Allen wrench Allen wrench caps (4) screws (4) 1 Insert the two Phillips-head - Insignia NS-RTM18BK8Q | User Guide - Page 9
Using your refrigerator Setting the refrigerator temperature 18 Cu. Ft. Top Mount Refrigerator # ITEM DESCRIPTION 1 SET button Press to change the refrigerator setting from 1 (cold) to 5 (coldest). 2 LED indicators Light to show the current refrigerator setting. 3 STANDBY LED Lights to - Insignia NS-RTM18BK8Q | User Guide - Page 10
-C/NS-RTM18BK8Q Setting the freezer temperature Turn the controls to adjust the freezer temperature, allow 24 hours for the freezer to adjust and stabilize. Using your freezer compartment • Place frozen food into the freezer as quickly as possible after purchase. • Follow package instructions - Insignia NS-RTM18BK8Q | User Guide - Page 11
, then gently pull it forward until the shelf comes clear of the shelf guides. When reinserting a shelf, make sure that there is nothing behind it, then the process. • Keep all of the parts you remove to reuse them later. Reversing the door position Parts included with the hinge kit: Center left - Insignia NS-RTM18BK8Q | User Guide - Page 12
NS-RTM18WH8Q/NS-RTM18WH8Q-C/NS-RTM18BK8Q Parts already mounted on the door (as shipped): Center right hinge Right top hinge cover Top right hinge Upper door self-locking block Right door-open - Insignia NS-RTM18BK8Q | User Guide - Page 13
18 Cu. Ft. Top Mount Refrigerator 4 Unscrew the three screws holding the center hinge, remove the hinge, then lift the refrigerator door up and away from your refrigerator. Save the screws to reuse and store the hinge in a safe place, in case you need to reverse the door position again. 5 Remove the - Insignia NS-RTM18BK8Q | User Guide - Page 14
NS-RTM18WH8Q/NS-RTM18WH8Q-C/NS-RTM18BK8Q 9 Remove the hole caps and plastic bushings from the top of the freezer and refrigerator doors. Save them for the next step. Hole cap Plastic - Insignia NS-RTM18BK8Q | User Guide - Page 15
side. 12 Attach the upper door self-locking block and the left door-open stopper to the left side of the freezer door. Use the parts from the hinge kit. Upper door self-locking block Left door-open stopper 13 Remove the right upper door self-locking block and the right - Insignia NS-RTM18BK8Q | User Guide - Page 16
NS-RTM18WH8Q/NS-RTM18WH8Q-C/NS-RTM18BK8Q 14 Attach the refrigerator door on the bottom hinge. Use the center hinge from the hinge kit (not the piece removed in step 4), then attach - Insignia NS-RTM18BK8Q | User Guide - Page 17
18 Cu. Ft. Top Mount Refrigerator 16 Remove the screw caps on the door handles, then remove the four Allen-screws with the Allen wrench. Remove the handles. 17 Remove the hole caps from right side of the door and save them to be reused. 18 Remove the four Phillips-head screws from the left side of - Insignia NS-RTM18BK8Q | User Guide - Page 18
NS-RTM18WH8Q/NS-RTM18WH8Q-C/NS-RTM18BK8Q Maintaining your refrigerator Your refrigerator is designed for don't need to defrost it. You just need to clean it periodically, following the above instructions. Changing the interior LED light 1 Using a Phillips screwdriver, remove the screw securing the - Insignia NS-RTM18BK8Q | User Guide - Page 19
inside the refrigerator. • Organize and label food to reduce door openings and extended searches. Obtaining replacement parts Call Insignia Customer Service at 1-877-467-4289. Troubleshooting CAUTION: Do not try to repair your refrigerator yourself. Doing so invalidates the warranty. Error codes - Insignia NS-RTM18BK8Q | User Guide - Page 20
NS-RTM18WH8Q/NS-RTM18WH8Q-C/NS-RTM18BK8Q PROBLEM POSSIBLE CAUSE POSSIBLE SOLUTION The refrigerator The refrigerator is does not operate unplugged. The thermostat is set to the STANDBY position. Make sure that the - Insignia NS-RTM18BK8Q | User Guide - Page 21
18 Cu. Ft. Top Mount Refrigerator PROBLEM POSSIBLE CAUSE POSSIBLE SOLUTION Food in the refrigerator compartment is not cold The door has been opened too often or was not closed properly. Make - Insignia NS-RTM18BK8Q | User Guide - Page 22
NS-RTM18WH8Q/NS-RTM18WH8Q-C/NS-RTM18BK8Q PROBLEM POSSIBLE CAUSE There is a popping or crackling sound when the compressor comes on This is normal. There is a This is normal. bubbling or gurgling sound, - Insignia NS-RTM18BK8Q | User Guide - Page 23
parts. Products and parts replaced under this warranty become the property of Insignia and are not returned to you. If service of Products or parts the warranty not cover? This warranty does not cover: • Customer instruction/education • Installation • Set up adjustments • Cosmetic damage • Damage - Insignia NS-RTM18BK8Q | User Guide - Page 24
NS-RTM18WH8Q/NS-RTM18WH8Q-C/NS-RTM18BK8Q • Connection to an incorrect voltage or power supply • Attempted repair by any person not authorized by Insignia to service the Product • Products sold "as is" or "with all faults" • Consumables, including but not limited to batteries (i.e. AA, AAA, C etc.) • - Insignia NS-RTM18BK8Q | User Guide - Page 25
www.insigniaproducts.com 1-877-467-4289 (U.S. and Canada) or 01-800-926-3000 (Mexico) INSIGNIA is a trademark of Best Buy and its affiliated companies. Distributed by Best Buy Purchasing, LLC 7601 Penn Ave South, Richfield, MN 55423 U.S.A. ©2019 Best Buy. All rights reserved. V4 ENGLISH 19-0728
-
 1
1 -
 2
2 -
 3
3 -
 4
4 -
 5
5 -
 6
6 -
 7
7 -
8
-
9
-
10
-
11
-
12
-
13
-
14
-
15
-
16
-
17
-
18
-
19
-
20
-
21
-
22
-
23
-
24
-
25
 |
 |
Before using your new product, please read these instructions to prevent any damage.
USER GUIDE
18 Cu. Ft. Top Mount
Refrigerator
NS-RTM18WH8Q/NS-RTM18WH8Q-C/NS-RTM18BK8Q