Iomega Ix4-200d User Guide - Page 10
Connecting the Iomega StorCenter ix4-200d, Once the installation completes - setup
 |
UPC - 742709345630
View all Iomega Ix4-200d manuals
Add to My Manuals
Save this manual to your list of manuals |
Page 10 highlights
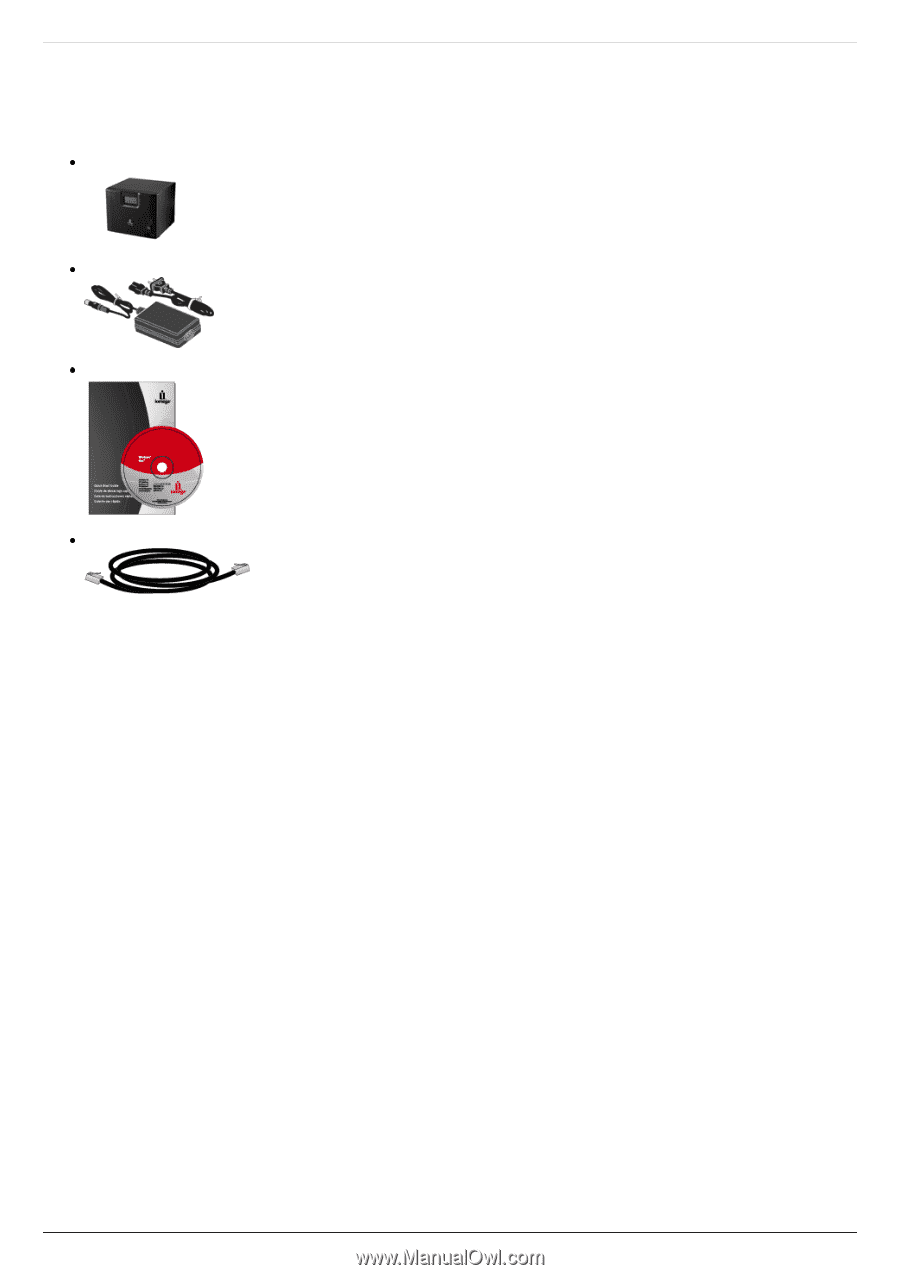
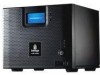
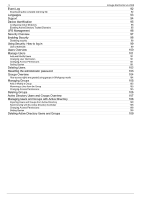
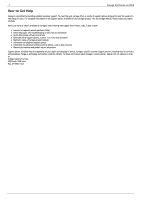
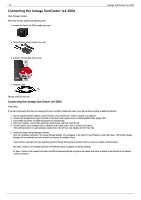
10 Connecting the Iomega StorCenter ix4-200d Check Package Contents Verify that the box contains the following items: Iomega StorCenter ix4-200d (models may vary) External Power Supply (models may vary) Solutions CD and Quick Start Guide Iomega StorCenter ix4-200d Ethernet Cable Package contents may vary. Connecting the Iomega StorCenter ix4-200d Initial Setup If you have purchased more than one Iomega StorCenter ix4-200d, complete all steps on one device before setting up additional devices. 1. Use the included network cable to connect the device to a network hub, switch or directly to a computer. 2. Connect the included power cord to the back of the device and a power socket or Uninterruptible Power Supply (UPS). 3. Your Iomega StorCenter ix4-200d should power on automatically. 4. Start your computer, wait for the operating system to load, and then insert the CD. 5. For best results, use a computer that is connected to the same router, hub, or switch as the device. If the software doesn't run automatically, double click on the CD icon, then double-click the Start icon. 6. Install the Iomega Storage Manager software. Once the installation completes, the Iomega Storage Manager icon will appear in the System Tray (Windows) or Menu Bar (Mac). The Iomega Storage Manager will automatically scan your network and connect to available Shares. If you receive a message from your operating system's firewall alerting you of network activity, be sure to unblock communications. Mac Users: Shares on the Iomega StorCenter ix4-200d will mount and appear on the Mac Desktop. PC Users: Shares on the Iomega StorCenter ix4-200d will automatically be assigned a drive letter and will be available in the Network Drives section under My Computer.
-
 1
1 -
2
-
3
-
4
-
 5
5 -
 6
6 -
 7
7 -
 8
8 -
 9
9 -
 10
10 -
 11
11 -
 12
12 -
 13
13 -
 14
14 -
 15
15 -
16
-
17
-
18
-
19
-
20
-
21
-
22
-
23
-
24
-
25
-
26
-
27
-
28
-
29
-
30
-
31
-
32
-
33
-
34
-
35
-
36
-
37
-
38
-
39
-
40
-
41
-
42
-
43
-
44
-
45
-
46
-
47
-
48
-
49
-
50
-
51
-
52
-
53
-
54
-
55
-
56
-
57
-
58
-
59
-
60
-
61
-
62
-
63
-
64
-
65
-
66
-
67
-
68
-
69
-
70
-
71
-
72
-
73
-
74
-
75
-
76
-
77
-
78
-
79
-
80
-
81
-
82
-
83
-
84
-
85
-
86
-
87
-
88
-
89
-
90
-
91
-
92
-
93
-
94
-
95
-
96
-
97
-
98
-
99
-
100
-
101
-
102
-
103
-
104
-
105
-
106
-
107
-
108
-
109
 |
 |