JVC DLA-HX1U Instruction Manual - Page 45
Editing and Projecting Logo
 |
View all JVC DLA-HX1U manuals
Add to My Manuals
Save this manual to your list of manuals |
Page 45 highlights
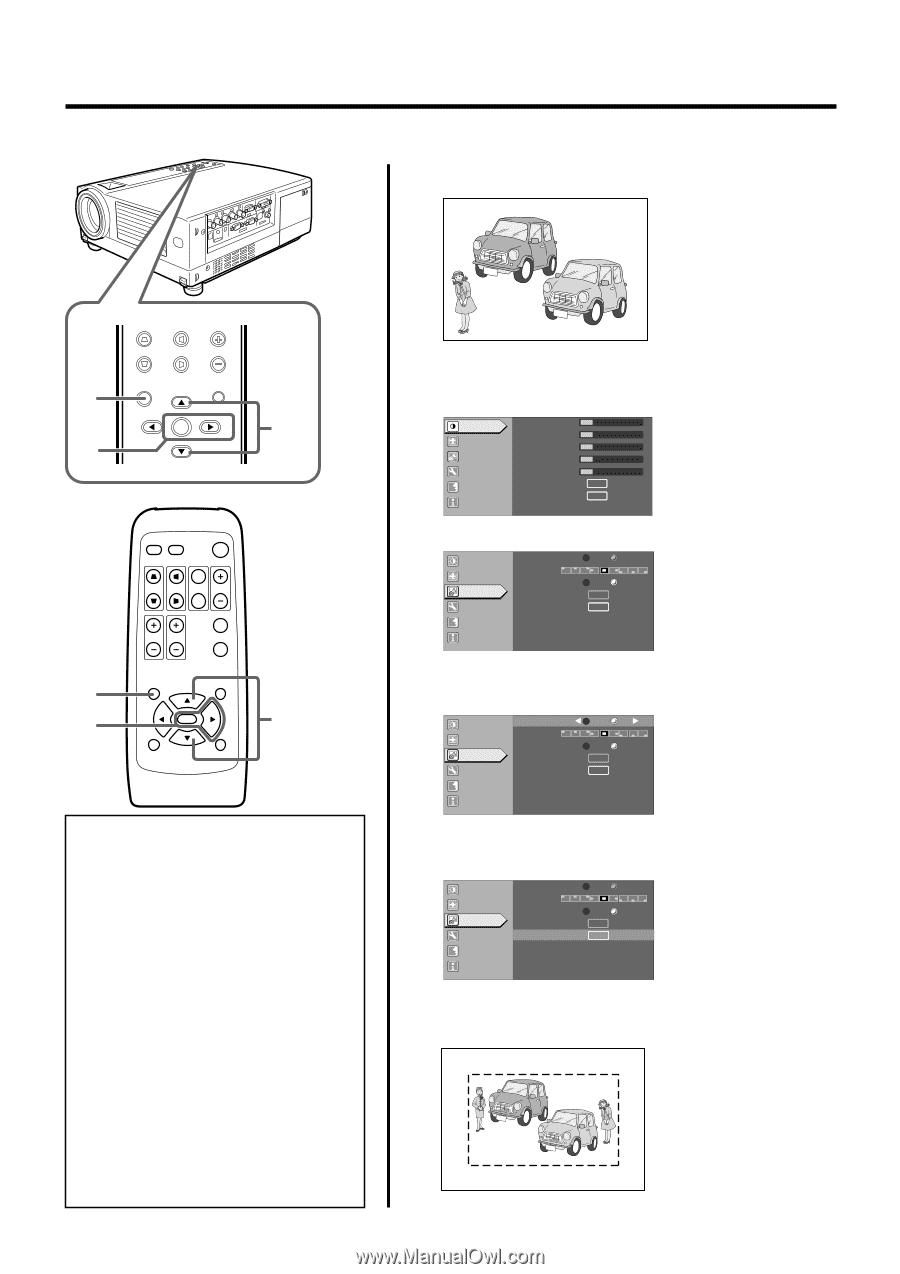
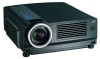
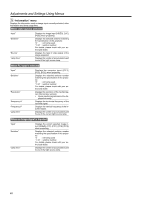
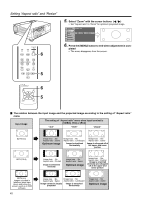
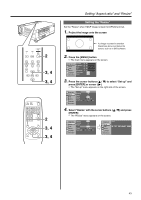
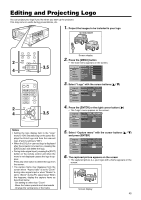
Editing and Projecting Logo You can project your logo if you like when you start up the projector. This may come in useful during presentations, etc. 1. Project the images to be included in your logo MOTOR SHOW 2 4 V-KEYSTONE H-KEYSTONE VOL. MENU EXIT ENTER 3,5 2 4 PC VIDEO OPERATE W V-KEYSTONE H-KEYSTONE SCREEN DIGITAL ZOOM S FREEZE VOLUME FOCUS QUICK ALIGN. MENU EXIT ENTER PRESET HIDE 3,5 Notes • Setting the logo display item in the "Logo" menu to "ON" and switching on the power displays the D-ILA logo and then the user-set logo. (Factory setting is "ON") • When the D-ILA or user-set logo is displayed after the projector is turned on, pressing the [EXIT] button will delete the logo. • During video signal input, pressing the [EXIT] button on the remote control unit when the menu is not displayed causes the logo to appear. Press any other button to delete the logo from the screen. • The capture frame may disappear from the screen when "Aspect ratio" is set to "Zoom" during video signal input or when "Resize" is set to "Zoom" during PC signal input. When this happens, display the capture frame as described below. · Set setting to other than "Zoom" · Move the frame upwards and downwards · Change the vertical size of the frame Screen display 2. Press the [MENU] button • The main menu appears on the screen. Image adj. Set up Logo Options A Language Information Contrast 12 Brightness 12 Color 12 Tint 12 Sharpness 1 Color temp. Reset ENTER ENTER 3. Select "Logo" with the cursor buttons (ᮡ / ᮢ) Image adj. Set up R GB Logo Options A Language Information Logo disp. Logo pos. Back color Logo delete Capture menu OFF ON Blue ENTER ENTER Black 4. Press the [ENTER] or the right cursor button ( ᮣ) • The "Logo" menu appears on the screen. Image adj. Set up R GB Logo Options A Language Information Logo disp. Logo pos. Back color Logo delete Capture menu OFF ON Blue ENTER ENTER Black 5. Select "Capture menu" with the cursor buttons (ᮡ / ᮢ) and press [ENTER] Image adj. Set up R GB Logo Options A Language Information Logo disp. Logo pos. Back color Logo delete Capture menu OFF ON Blue ENTER ENTER Black 6. The captured picture appears on the screen • The captured picture (i.e. your logo) with a frame appears on the screen. Screen display 45
-
 1
1 -
2
-
3
-
4
-
5
-
6
-
7
-
8
-
9
-
10
-
11
-
12
-
13
-
14
-
15
-
16
-
17
-
18
-
19
-
20
-
21
-
22
-
23
-
24
-
25
-
26
-
27
-
28
-
29
-
30
-
31
-
32
-
33
-
34
-
35
-
36
-
37
-
38
-
39
-
 40
40 -
 41
41 -
 42
42 -
 43
43 -
 44
44 -
 45
45 -
 46
46 -
 47
47 -
 48
48 -
 49
49 -
 50
50 -
51
-
52
-
53
-
54
-
55
-
56
-
57
-
58
-
59
-
60
-
61
-
62
 |
 |