JVC GZ-E10 User Manual - English - Page 22
Scenes of Intelligent Auto, Useful Settings for Recording, Caution, Zooming
 |
View all JVC GZ-E10 manuals
Add to My Manuals
Save this manual to your list of manuals |
Page 22 highlights
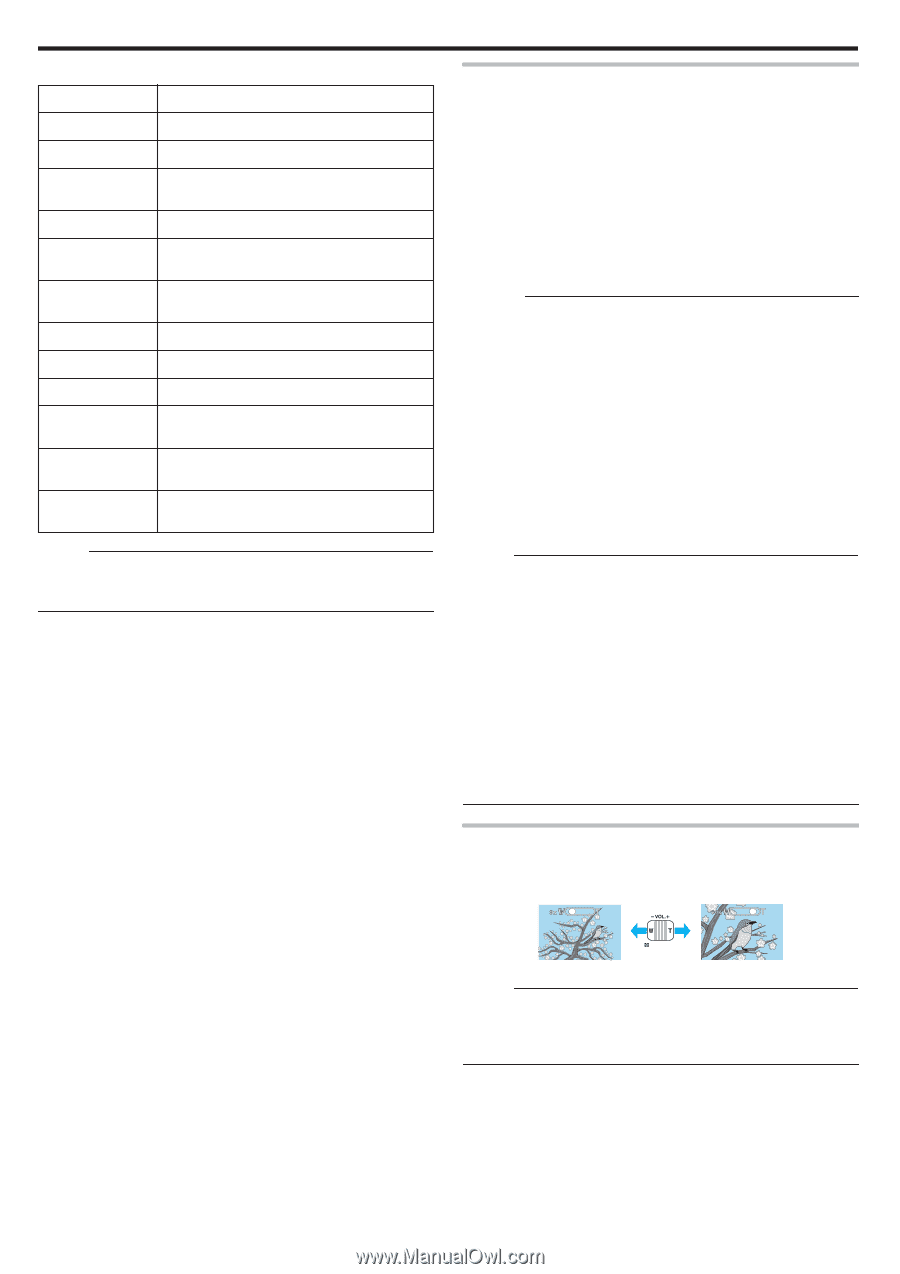
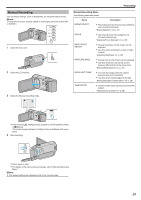
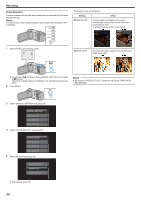
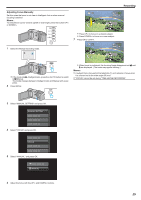
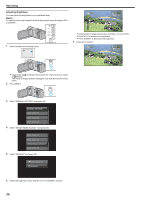
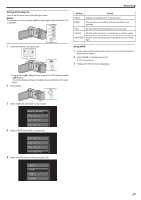
Recording o Scenes of Intelligent Auto Display Icon E Description Captures one's skin beautifully. A Allows people to be captured naturally. D Focuses at a far distance and captures a sharp image with vivid colors. I Records with minimal noise in the overall image. B Allows night scenes to be captured accurately with minimal noise in the overall image. J Prevents colors from fading even when recording in a bright environment. G Records while focusing on a near object. H Reproduces the green color of trees vividly. F Reproduces the colors of sunset naturally. C Adjusts settings so that the subject does not appear too dark due to backlight. K Allows people to be captured naturally with minimal noise in the overall image. L Records while focusing on a near object even in a dark environment. Memo : 0 Scenes can be detected according to the shooting conditions and automatically adjusted in Intelligent Auto mode. 0 Some functions may not work properly depending on the shooting conditions. Useful Settings for Recording 0 When "QUICK RESTART" is set to "ON", this unit turns on immediately if you open the LCD monitor within 5 minutes after the power is turned off by closing the monitor. "QUICK RESTART" (A p. 68) 0 When "AUTO POWER OFF" is set to "ON", this unit turns itself off automatically to conserve power when it is not operated for 5 minutes. (only when using the battery pack) "AUTO POWER OFF" (A p. 67) 0 When "FACE PRIORITY AE/AF" is set to "ON" (default setting), this unit detects faces and automatically adjusts its brightness and focus to record the faces more clearly. "Capturing Human Subjects Clearly (Face Detection AE/AF)" (A p. 29) Caution : 0 Do not expose the lens to direct sunlight. 0 Do not use this unit in the rain, snow, or places with high humidity like the bathroom. 0 Do not use this unit in places subject to excessive humidity or dust, as well as places exposed to steam or smoke directly. 0 Do not remove the battery pack, AC adapter, or SD card when the access lamp is lighted. The recorded data may become unreadable. 0 This unit is a microcomputer-controlled device. Electrostatic discharge, external noise and interference (from a TV, a radio, etc.) might prevent it from functioning properly. In such a case, turn off the power, then remove the AC adapter and battery pack. This unit will be reset. 0 Make a backup of important recorded data. It is recommended to copy your important recorded data to a DVD or other recording media for storage. JVC will not be responsible for any lost data. Memo : 0 Check the remaining recording time in the media before you start shooting. If there is not enough space, move (copy) the data to a computer or disc. 0 Do not forget to make copies after recording! 0 Recording stops automatically as it cannot be performed for 12 or more consecutive hours according to specifications. (It may take some time to resume recording.) 0 For long recordings, the file is split into two or more files if the size exceeds 4 GB. 0 You can connect this unit to the AC adapter to record for long hours indoors. 0 When there are many files in the media, it may take time for them to be displayed on the playback screen. Wait for a while as the access lamp appears blinking, which indicates normal operation. 0 Depending on the shooting conditions, the four corners of the screen may appear dark, but this is not a malfunction. In this case, change the shooting conditions by moving the zoom lever, etc. Zooming The angle of view can be adjusted using zoom. 0 Use the W end (wide angle end) to shoot a wider field of view. 0 Use the T end (telephoto end) to magnify the subject for shooting. Wide Angle . Telephoto Memo : 0 When digital zoom is used, the image becomes grainy as it is digitally enlarged. 0 The zoom ratio range can be changed. "ZOOM" (A p. 58) 22
-
 1
1 -
2
-
3
-
4
-
5
-
6
-
7
-
8
-
9
-
10
-
11
-
12
-
13
-
14
-
15
-
16
-
 17
17 -
 18
18 -
 19
19 -
 20
20 -
 21
21 -
 22
22 -
 23
23 -
 24
24 -
 25
25 -
 26
26 -
 27
27 -
28
-
29
-
30
-
31
-
32
-
33
-
34
-
35
-
36
-
37
-
38
-
39
-
40
-
41
-
42
-
43
-
44
-
45
-
46
-
47
-
48
-
49
-
50
-
51
-
52
-
53
-
54
-
55
-
56
-
57
-
58
-
59
-
60
-
61
-
62
-
63
-
64
-
65
-
66
-
67
-
68
-
69
-
70
-
71
-
72
-
73
-
74
-
75
-
76
-
77
-
78
-
79
-
80
-
81
-
82
-
83
-
84
-
85
 |
 |