Kenmore 4123 Use and Care Guide - Page 8
Controls, General, Cleaning
 |
View all Kenmore 4123 manuals
Add to My Manuals
Save this manual to your list of manuals |
Page 8 highlights
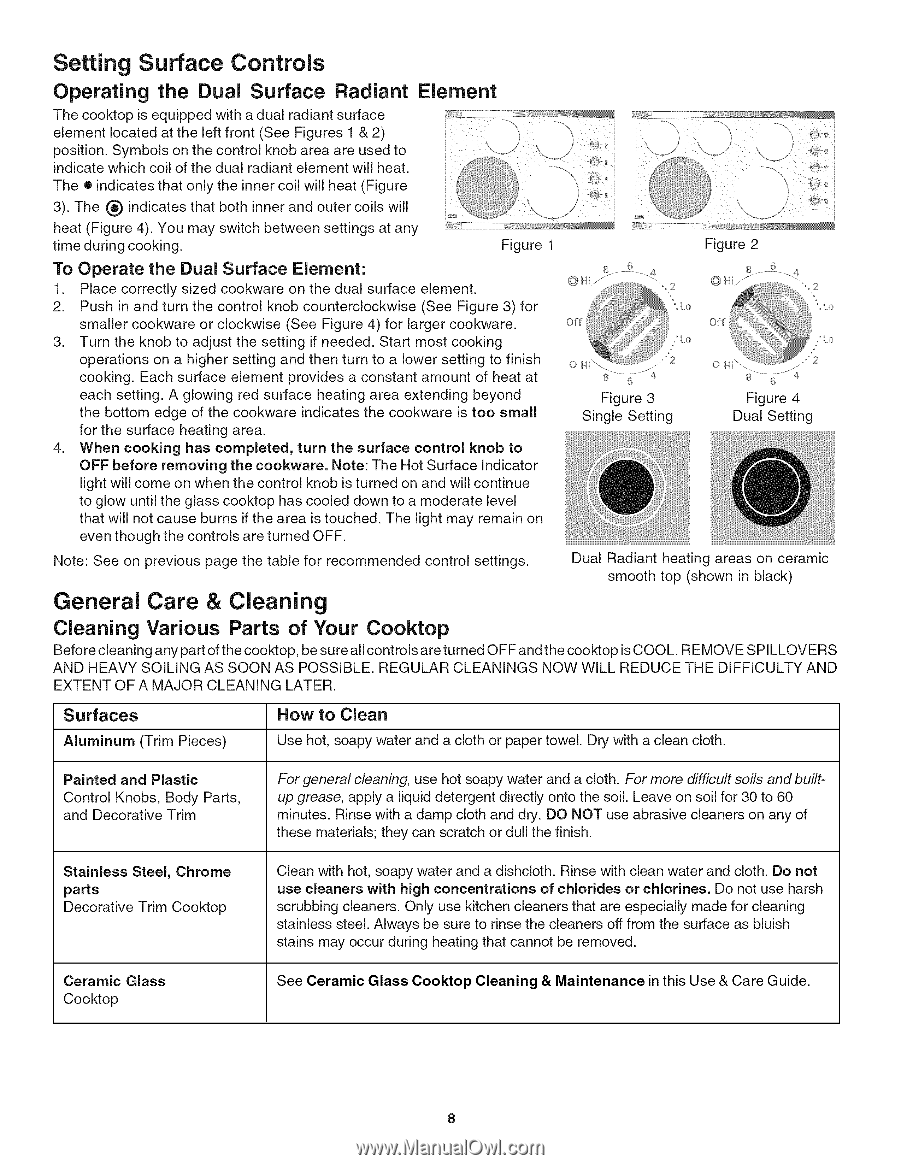
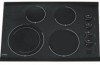
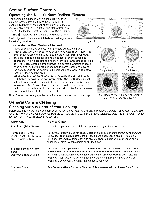
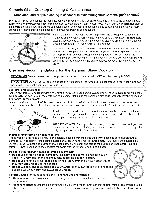
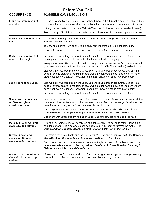
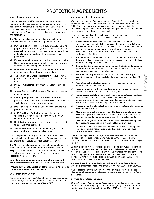
Setting Surface Controls Operating the Dual Surface Radiant Element The cooktop is equipped with a dual radiant surface element located at the left front (See Figures 1 & 2) position. Symbols on the control knob area are used to indicate which coil of the dual radiant element will heat. The • indicates that only the inner coil will heat (Figure 3). The (_) indicates that both inner and outer coils will heat (Figure 4). You may switch between settings at any time during cooking. Figure 1 Figure 2 To Operate the Dual Surface Element: 1. Place correctly sized cookware on the dual surface element. 2. Push in and turn the control knob counterclockwise (See Figure 3) for smaller cookware or clockwise (See Figure 4) for larger cookware. 3. Turn the knob to adjust the setting if needed. Start most cooking operations on a higher setting and then turn to a lower setting to finish cooking. Each surface element provides a constant amount of heat at each setting. A glowing red surface heating area extending beyond the bottom edge of the cookware indicates the cookware is too small for the surface heating area. 4. When cooking has completed, turn the surface control knob to OFF before removing the cookware. Note: The Hot Surface Indicator light will come on when the control knob is turned on and will continue to glow until the glass cooktop has cooled down to a moderate level that will not cause burns if the area is touched. The light may remain on even though the controls are turned OFF. Figure 3 Single Setting Figure 4 Dual Setting Note: See on previous page the table for recommended control settings. Dual Radiant heating areas on ceramic smooth top (shown in black) General Care & Cleaning Cleaning Various Parts of Your Cooktop Before cleaning any part of the cooktop, be sure all controls are turned OFF and the cooktop is COOL. REMOVE SPILLOV ERS AND HEAVY SOILING AS SOON AS POSSIBLE. REGULAR CLEANINGS NOW WILL REDUCE THE DIFFICULTY AND EXTENT OF A MAJOR CLEANING LATER. Surfaces How to Clean Aluminum (Trim Pieces) Use hot, soapy water and a cloth or paper towel. Dry with a clean cloth. Painted and Plastic Control Knobs, Body Parts, and Decorative Trim For general cleaning, use hot soapy water and a cloth. For more difficult soils and builtup grease, apply a liquid detergent directly onto the soil. Leave on soil for 30 to 60 minutes. Rinse with a damp cloth and dry. DO NOT use abrasive cleaners on any of these materials; they can scratch or dull the finish. Stainless Steel, Chrome parts Decorative Trim Cooktop Clean with hot, soapy water and a dishcloth. Rinse with clean water and cloth. Do not use cleaners with high concentrations of chlorides or chlorines. Do not use harsh scrubbing cleaners. Only use kitchen cleaners that are especially made for cleaning stainless steel. Always be sure to rinse the cleaners off from the surface as bluish stains may occur during heating that cannot be removed. Ceramic Glass Cooktop See Ceramic Glass Cooktop Cleaning & Maintenance in this Use & Care Guide.
-
 1
1 -
2
-
 3
3 -
 4
4 -
 5
5 -
 6
6 -
 7
7 -
 8
8 -
 9
9 -
 10
10 -
 11
11 -
 12
12
 |
 |