KitchenAid KCM1209DG Owners Manual - Page 6
Warning
 |
View all KitchenAid KCM1209DG manuals
Add to My Manuals
Save this manual to your list of manuals |
Page 6 highlights
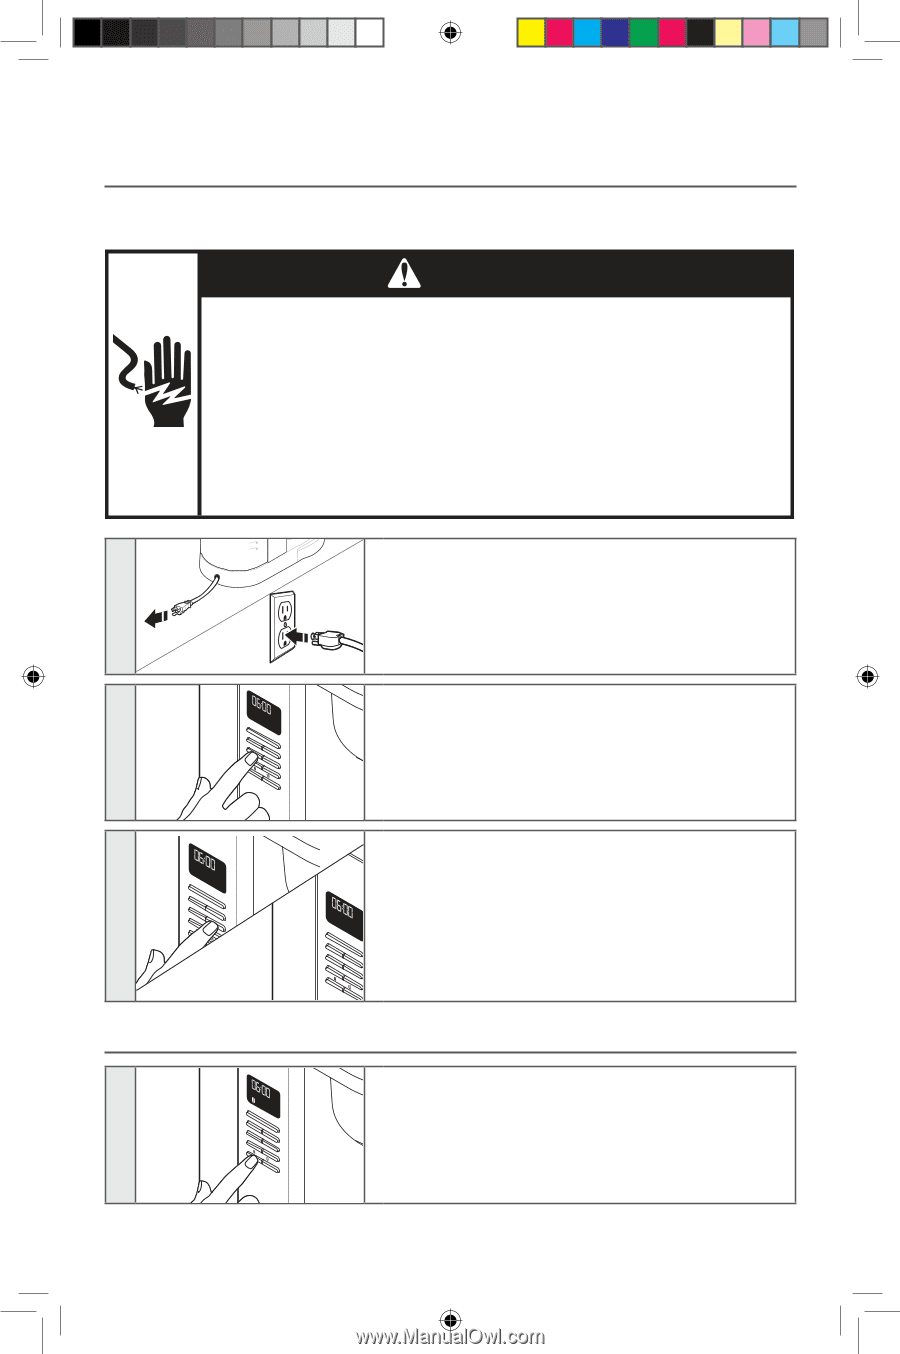
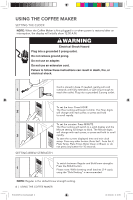
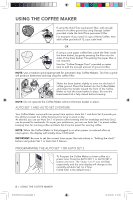
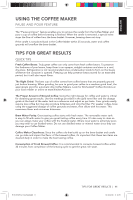
USING THE COFFEE MAKER SETTING THE CLOCK NOTE: When the Coffee Maker is first plugged in or when power is restored after an interruption, the display will initially show 12:00 A.M. WARNING Electrical Shock Hazard Plug into a grounded 3 prong outlet. Do not remove ground prong. Do not use an adapter. Do not use an extension cord. Failure to follow these instructions can result in death, fire, or electrical shock. Cord is stored in base. If needed, gently pull cord 1 outwards until fully extended, or just long enough to reach the outlet. Plug into a grounded 3 prong outlet. AM 2 Auto SetB1rew/Cancel Hour Auto Set 2 Plate Temp Bold Minute Plate Timer To set the hour: Press HOUR. The Hour setting will begin to blink. The Hour digits will change with each press; or press and hold Clean to scroll rapidly. 3 AM Auto SetB1rew/Cancel Hour Auto Set 2 Plate Temp Bold Minute Plate Timer Clean AM Auto SetB1rew/Cancel Hour Auto Set 2 Plate Temp Bold Minute Plate Timer Clean To set the minutes: Press MINUTE. The Hour setting will switch to a solid display and the Minute setting will begin to blink. The Minute digits will change with each press; or press and hold to scroll rapidly. To save the current displayed time and exit clock setup: Press any other button (Auto Set1, Auto Set 2, Plate Temp, Plate Timer, Bold, Clean or Brew); or do not press any button for 10 seconds. SETTING BREW STRENGTH AM To switch between Regular and Bold brew strengths: 1 Auto SetB1rew/Cancel Hour Auto Set 2 Plate Temp Bold Minute Plate Timer Press the BOLD button. Please note: While brewing small batches (2-4 cups), Clean using the "Bold Setting" is recommended. NOTE: Regular is the default brew strength setting. 6 | USING THE COFFEE MAKER W11299037A_V2_Final.indb 6 18/10/2018 11:10:35
-
 1
1 -
 2
2 -
 3
3 -
 4
4 -
 5
5 -
 6
6 -
 7
7 -
 8
8 -
 9
9 -
 10
10 -
 11
11 -
 12
12 -
13
-
14
-
15
-
16
-
17
-
18
-
19
-
20
-
21
-
22
-
23
-
24
-
25
-
26
-
27
-
28
-
29
-
30
-
31
-
32
-
33
-
34
-
35
-
36
-
37
-
38
-
39
-
40
-
41
-
42
-
43
-
44
-
45
-
46
-
47
-
48
 |
 |