KitchenAid KCM1209DG Owners Manual - Page 8
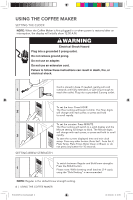
Auto Set 1 And Auto Set 2 Feature, Programming The Auto Set 1 Or Auto Set 2
 |
View all KitchenAid KCM1209DG manuals
Add to My Manuals
Save this manual to your list of manuals |
Page 8 highlights
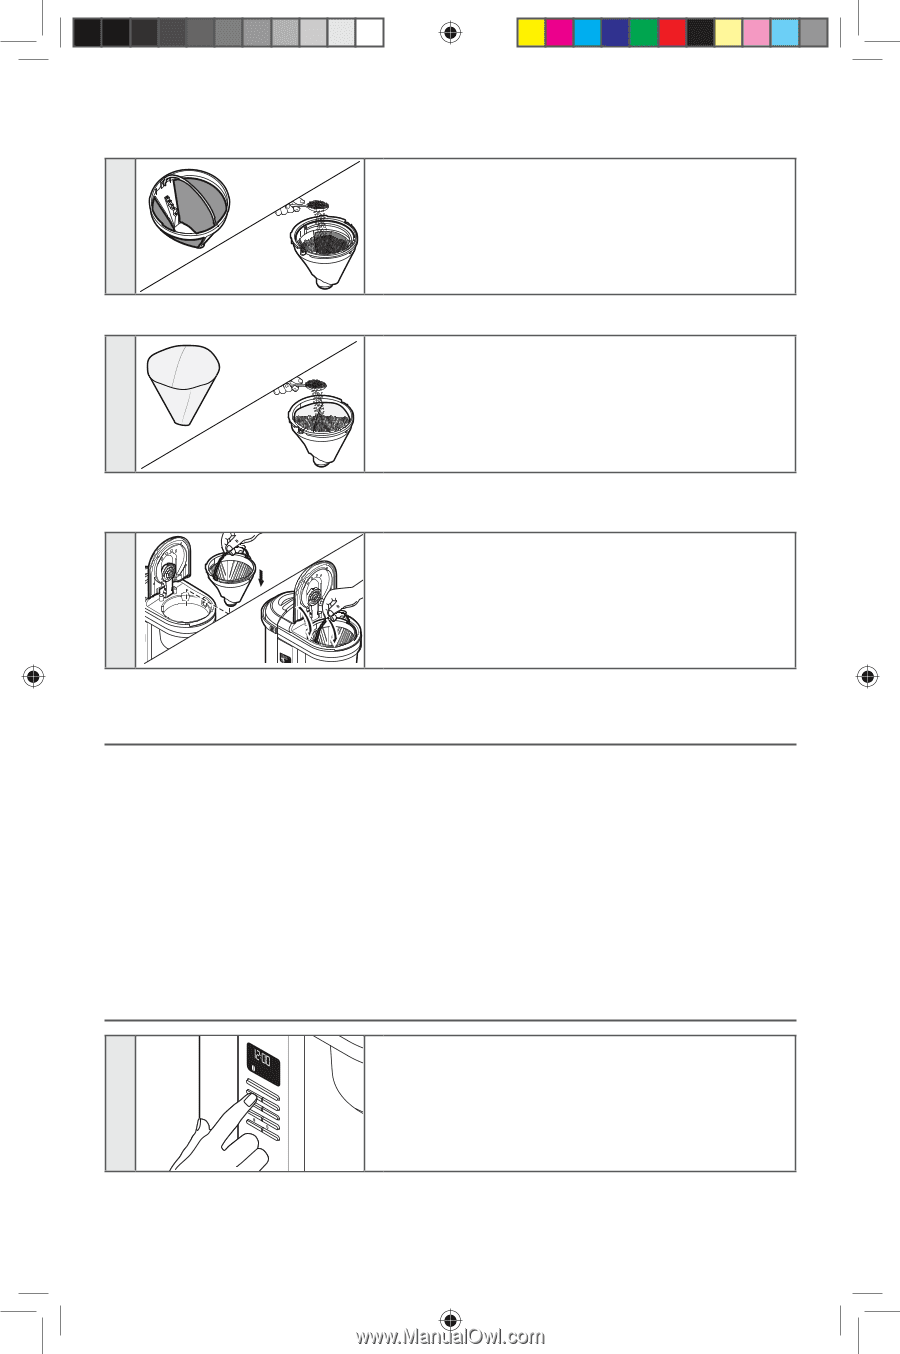
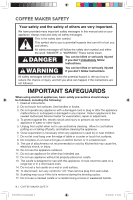
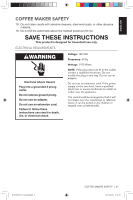
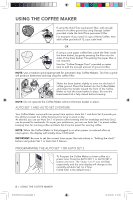
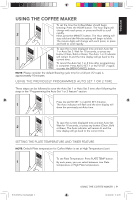
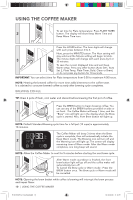
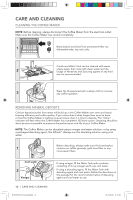
USING THE COFFEE MAKER If using the Gold Tone permanent filter, add enough amount of coffee ground by using Dosage Ladder 3 provided inside the Gold Tone permanent filter. For example: If you need 12 cups of Brew Coffee, then add coffee grounds till 12 cups scale level. OR If using a cone paper coffee filter, place the filter inside the brew basket, by gently pressing the filter into the 3 sides of the brew basket. Pre-wetting the paper filter is not required. Use the "Coffee Dosage Chart" provided on water tank to add the enough amount of ground coffee. NOTE: Use a medium grind appropriate for automatic drip Coffee Makers. Too fine a grind will produce bitterness and may clog the coffee filter. 4 Auto AM 12PM Minute Clean Shake the brew basket slightly to even out the bed of coffee ground. Place the basket into the Coffee Maker and rotate the handle toward the front of the Coffee Maker to lock the brew basket in place. Be sure the brew basket lid is fully closed before brewing. Auto AM 12PM x Brew/Cancel NOTE: Do not operate the Coffee Maker without the brew basket in place. AUTO SET 1 AND AUTO SET 2 FEATURE Your Coffee Maker comes with two preset time options. Auto Set 1 and Auto Set 2 provide you the ability to preset the coffee brewing time twice in week or day. As desired, you can use Auto Set 1 to preset coffee brewing time for weekdays and Auto Set 2 can be preset for weekends. Or as per your preference, you can use Auto Set 1 to preset coffee brewing time for morning coffee and Auto Set 2 can be preset for evening coffee. NOTE: When the Coffee Maker is first plugged in or when power is restored after an interruption, the display will initially show 12:00 A.M. IMPORTANT: Be sure to set the correct time as per the instructions in "Setting the clock" before using Auto Set 1 or Auto Set 2 feature. PROGRAMMING THE AUTO SET 1 OR AUTO SET 2 Auto 1 AM To Program the Coffee Maker to brew coffee at a 1 Auto SetB1rew/Cancel Hour Auto Set 2 Plate Temp Bold Minute Plate Timer preset time: Press the AUTO SET 1 or AUTO SET 2 button one time. The "Auto 1 or 2" icon will flash respectively and the time display will change to the Clean currently set Auto Set 1or 2 time. (12:00 A.M. is the default time.) 8 | USING THE COFFEE MAKER W11299037A_V2_Final.indb 8 18/10/2018 11:10:36
-
 1
1 -
2
-
 3
3 -
 4
4 -
 5
5 -
 6
6 -
 7
7 -
 8
8 -
 9
9 -
 10
10 -
 11
11 -
 12
12 -
 13
13 -
14
-
15
-
16
-
17
-
18
-
19
-
20
-
21
-
22
-
23
-
24
-
25
-
26
-
27
-
28
-
29
-
30
-
31
-
32
-
33
-
34
-
35
-
36
-
37
-
38
-
39
-
40
-
41
-
42
-
43
-
44
-
45
-
46
-
47
-
48
 |
 |