KitchenAid KFP1320CU Owners Manual - Page 8
Installing The Multipurpose Blade Or Dough Blade
 |
View all KitchenAid KFP1320CU manuals
Add to My Manuals
Save this manual to your list of manuals |
Page 8 highlights
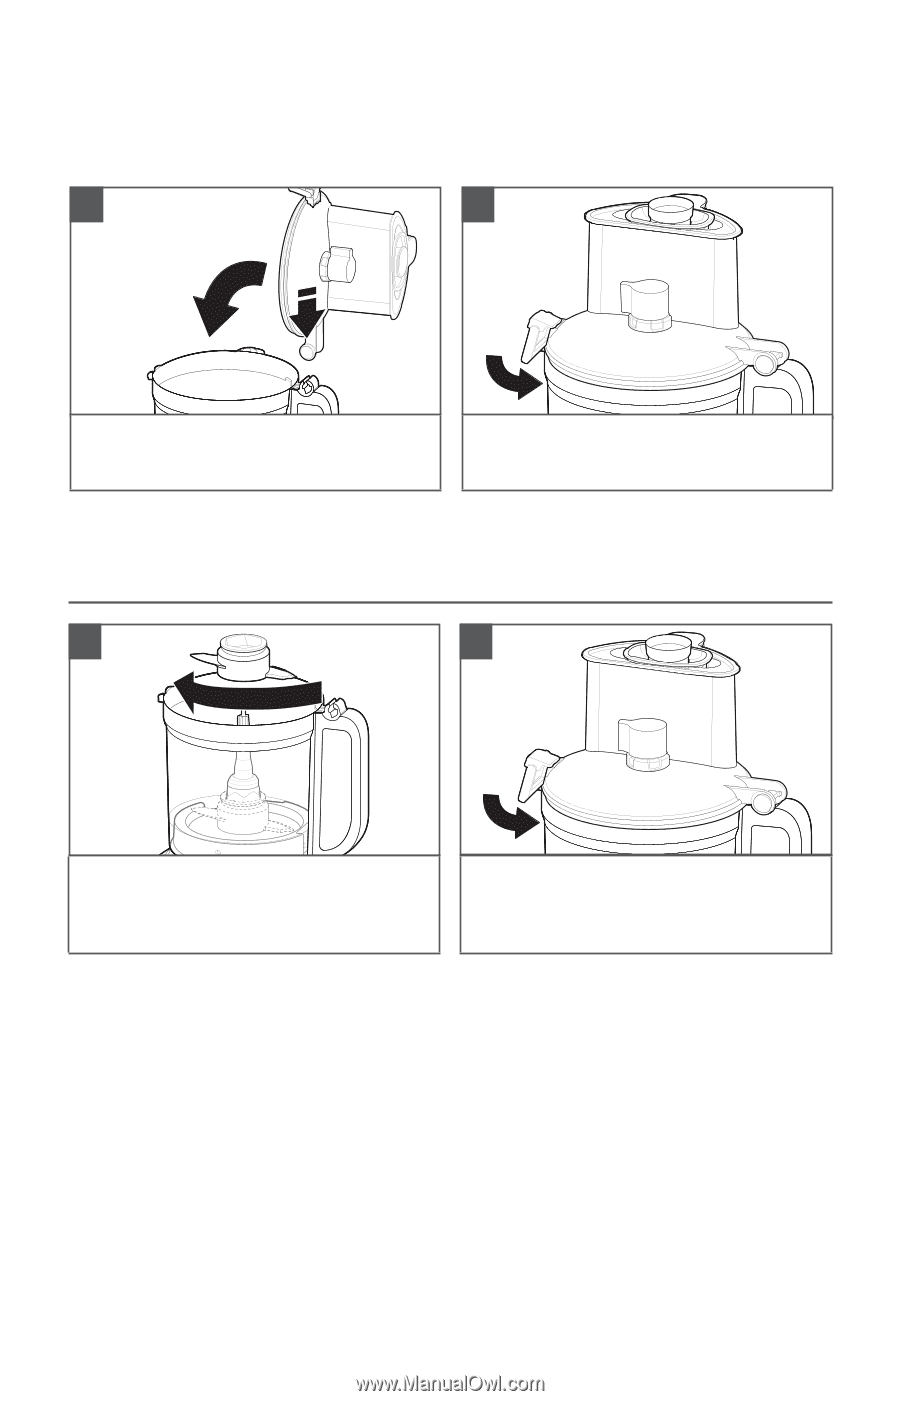
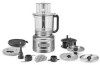
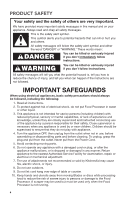
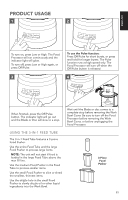
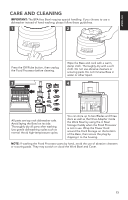
PRODUCT ASSEMBLY NOTE: For ease of assembly, install the desired Blade or Disc before attaching the Work Bowl Cover. 5 6 To attach the Work Bowl Cover, hook the Lid Hinge into the Handle Hinge on the Work Bowl and close the Cover. Once the Work Bowl Cover is closed, the Lid Latch will lock in position. NOTE: Your Food Processor will not operate unless the Work Bowl Cover is fully closed, the large Food Pusher is in place, and the Work Bowl is properly seated on the Base. INSTALLING THE MULTIPURPOSE BLADE OR DOUGH BLADE 1 2 Install the Lower Drive Adapter onto the Upper Drive Adapter. Place the Blade on the Drive Adapter. Rotate the Blade so it falls down to the Base of the Adapter. Install the Work Bowl Cover, and be sure the Lid Latch is pushed down to the locked position. 8
-
 1
1 -
2
-
 3
3 -
 4
4 -
 5
5 -
 6
6 -
 7
7 -
 8
8 -
 9
9 -
 10
10 -
 11
11 -
 12
12 -
 13
13 -
14
-
15
-
16
-
17
-
18
-
19
-
20
-
21
-
22
-
23
-
24
-
25
-
26
-
27
-
28
-
29
-
30
-
31
-
32
-
33
-
34
-
35
-
36
-
37
-
38
-
39
-
40
-
41
-
42
-
43
-
44
-
45
-
46
-
47
-
48
-
49
-
50
-
51
-
52
 |
 |