Kyocera FS 9520DN IB-23 User's Manual in PDF Format - Page 36
Create the E-mail Port in Windows
 |
View all Kyocera FS 9520DN manuals
Add to My Manuals
Save this manual to your list of manuals |
Page 36 highlights
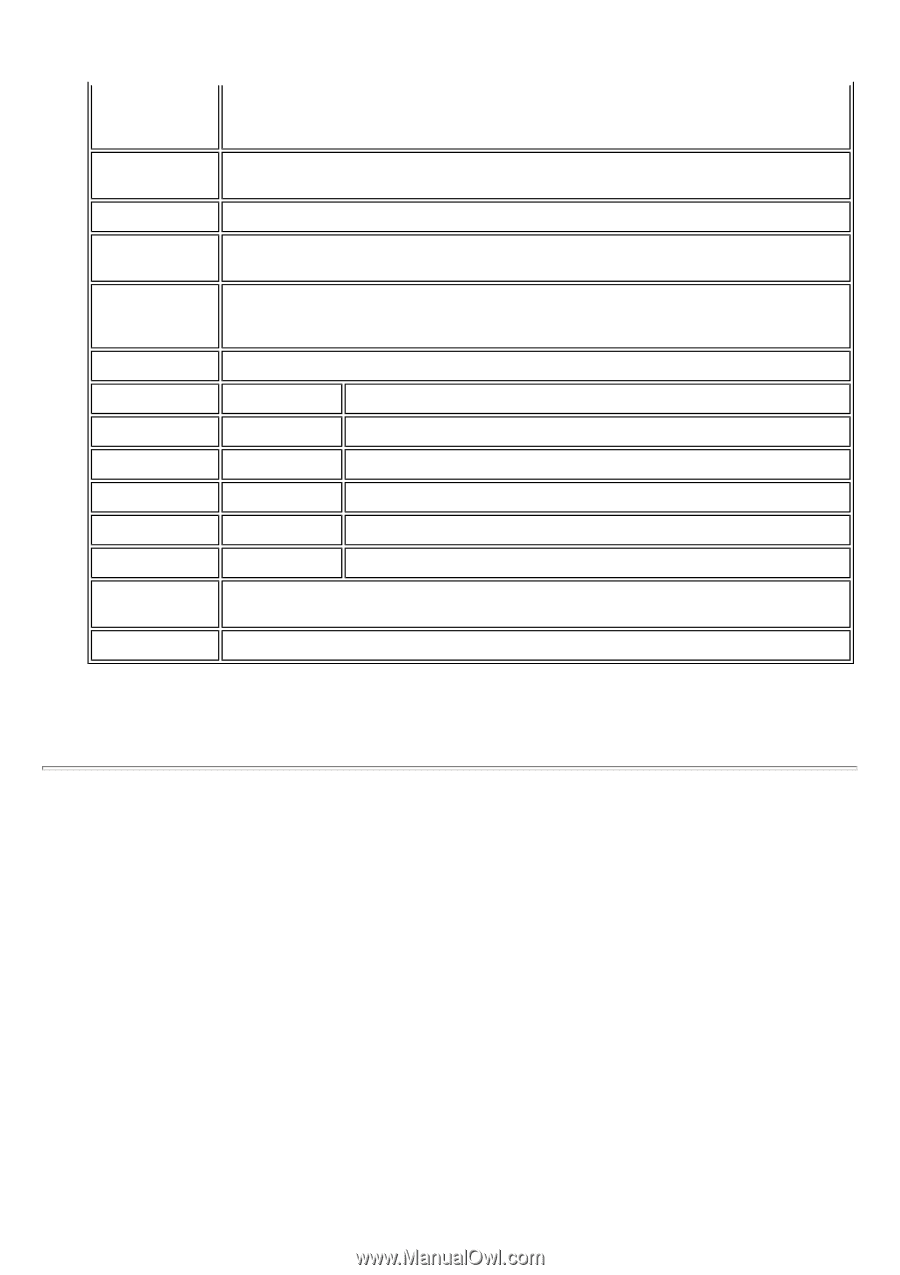
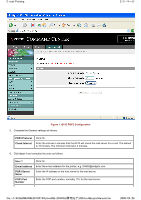
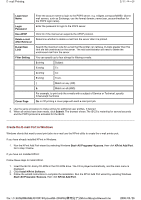
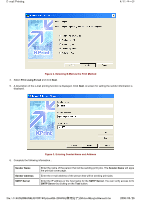
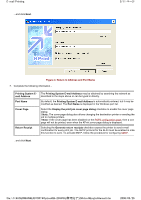
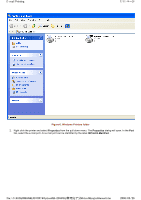
E-mail Printing 3/11 ページ Login User Name Login Password Use APOP Delete e-mail After Retrieval E-mail Size Limit Filter Setting Cover Page Enter the account name to login to the POP3 server, e.g. widgets.com/pusr/fs6950. (Some mail servers, such as Exchange, use the format domain_name/user_account/mailbox for the POP3 login name). Enter the password to login to the POP3 server. Click On if the mail server supports the APOP protocol. Determine whether to delete e-mail from the server after it is printed. Specify the maximum size for e-mail that the printer can retrieve. E-mails greater than this limit are left unretrieved on the server. The mail administrator will need to delete the unretrieved mail from the server. You can specify up to four strings for filtering e-mails: S:string Subject: T:string To: C:string Cc: F:string From: | Match on any (OR) & Match on all (AND) For example, to print only the e-mails with a subject of Service or Technical, specify: S:Service|S:Technical On or Off printing a cover page with each e-mail print job. 7. Use the same procedure to make entries for additional user profiles, if desired. 8. When all entries have been made, click Submit. The browser shows The IB-23 is restarting for several seconds and the POP3 protocol is activated for the IB-23. Create the E-mail Port in Windows Windows clients that want to send print jobs via e-mail use the KPrint utility to create the e-mail printer port. If you have already installed KPrint in Windows: 1. Run the KPrint Add Port wizard by selecting Windows Start>All Programs>Kyocera, then click KPrint Add Port. Go to step 3 below. If you have not installed KPrint: Follow these steps to install KPrint. 1. Insert the IB-23 Library CD-ROM in the CD-ROM drive. The CD is played automatically, and the main menu is displayed. 2. Click Install KPrint Software. 3. Follow the wizard instructions to complete the installation. Run the KPrint Add Port wizard by selecting Windows Start>All Programs>Kyocera, then click KPrint Add Port. file://F:\USERMAN\EXPORT\Option\IB-23\P6 English\email.htm 2006/05/26
-
 1
1 -
2
-
3
-
4
-
5
-
6
-
7
-
8
-
9
-
10
-
11
-
12
-
13
-
14
-
15
-
16
-
17
-
18
-
19
-
20
-
21
-
22
-
23
-
24
-
25
-
26
-
27
-
28
-
29
-
30
-
 31
31 -
 32
32 -
 33
33 -
 34
34 -
 35
35 -
 36
36 -
 37
37 -
 38
38 -
 39
39 -
 40
40 -
 41
41 -
42
-
43
-
44
-
45
-
46
-
47
-
48
-
49
-
50
-
51
-
52
-
53
-
54
-
55
-
56
-
57
-
58
-
59
-
60
-
61
-
62
-
63
-
64
-
65
-
66
-
67
-
68
-
69
-
70
-
71
-
72
-
73
-
74
-
75
-
76
-
77
-
78
-
79
-
80
-
81
-
82
-
83
-
84
-
85
-
86
-
87
-
88
-
89
-
90
-
91
-
92
-
93
-
94
-
95
-
96
-
97
-
98
-
99
-
100
-
101
-
102
-
103
-
104
 |
 |