Lenovo J100 Hardware Maintenance Manual - Page 96
Replacing, adapter
 |
View all Lenovo J100 manuals
Add to My Manuals
Save this manual to your list of manuals |
Page 96 highlights
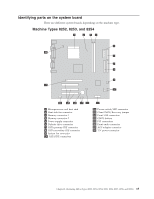
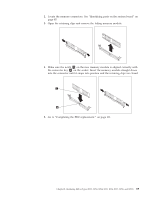
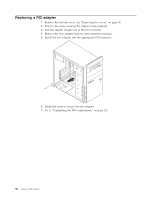
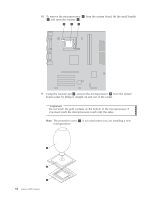
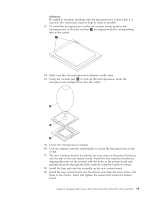
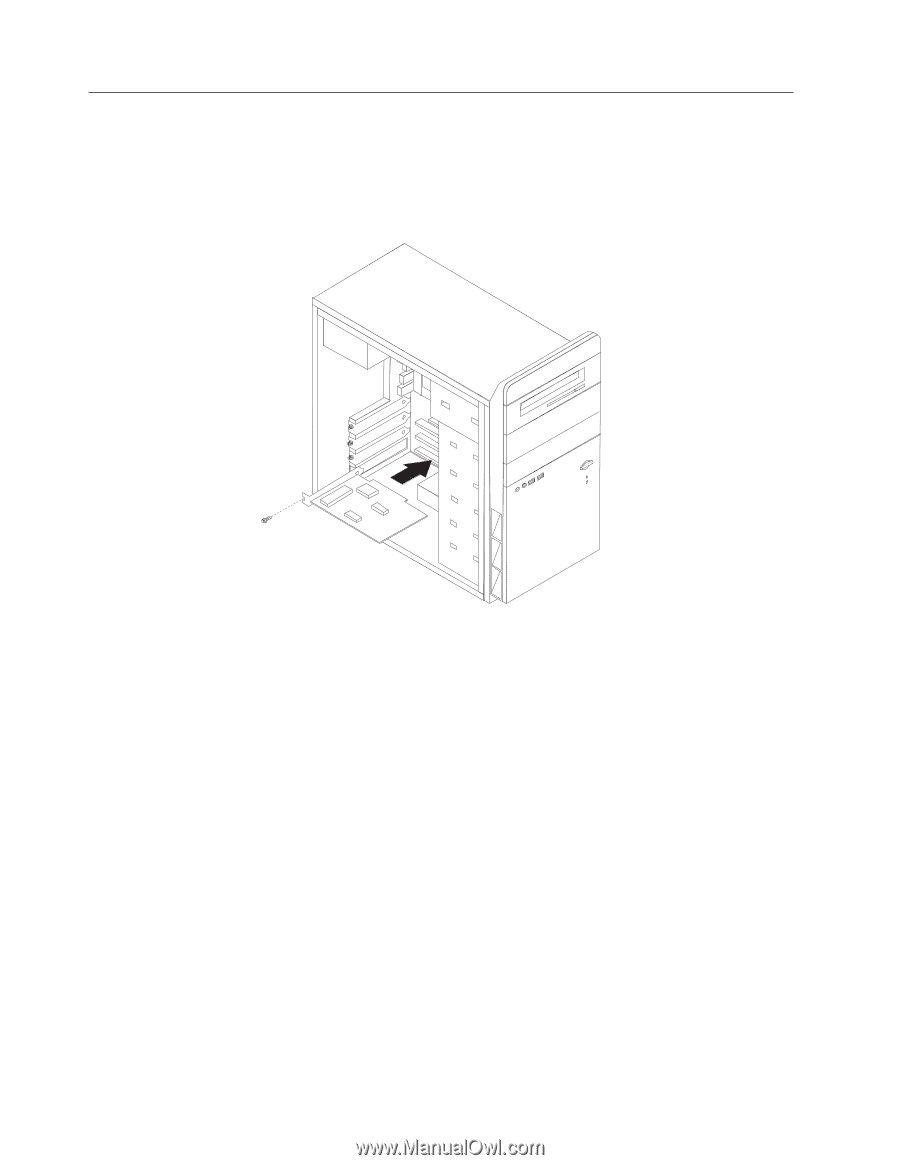
Replacing a PCI adapter 1. Remove the left-side cover. See "Removing the covers" on page 82. 2. Remove the screw securing the adapter being replaced. 3. Pull the adapter straight out of the PCI connector. 4. Remove the new adapter from its static-protective package. 5. Install the new adapter into the appropriate PCI connector. 6. Install the screw to secure the new adapter. 7. Go to "Completing the FRU replacement." on page 111. 90 Lenovo 3000 J Series
-
 1
1 -
2
-
3
-
4
-
5
-
6
-
7
-
8
-
9
-
10
-
11
-
12
-
13
-
14
-
15
-
16
-
17
-
18
-
19
-
20
-
21
-
22
-
23
-
24
-
25
-
26
-
27
-
28
-
29
-
30
-
31
-
32
-
33
-
34
-
35
-
36
-
37
-
38
-
39
-
40
-
41
-
42
-
43
-
44
-
45
-
46
-
47
-
48
-
49
-
50
-
51
-
52
-
53
-
54
-
55
-
56
-
57
-
58
-
59
-
60
-
61
-
62
-
63
-
64
-
65
-
66
-
67
-
68
-
69
-
70
-
71
-
72
-
73
-
74
-
75
-
76
-
77
-
78
-
79
-
80
-
81
-
82
-
83
-
84
-
85
-
86
-
87
-
88
-
89
-
90
-
 91
91 -
 92
92 -
 93
93 -
 94
94 -
 95
95 -
 96
96 -
 97
97 -
 98
98 -
 99
99 -
 100
100 -
 101
101 -
102
-
103
-
104
-
105
-
106
-
107
-
108
-
109
-
110
-
111
-
112
-
113
-
114
-
115
-
116
-
117
-
118
-
119
-
120
-
121
-
122
-
123
-
124
-
125
-
126
-
127
-
128
-
129
-
130
-
131
-
132
-
133
-
134
-
135
-
136
-
137
-
138
-
139
-
140
-
141
-
142
-
143
-
144
-
145
-
146
-
147
-
148
-
149
-
150
-
151
-
152
-
153
-
154
-
155
-
156
-
157
-
158
-
159
-
160
-
161
-
162
-
163
-
164
-
165
-
166
-
167
-
168
-
169
-
170
-
171
-
172
-
173
-
174
-
175
-
176
-
177
-
178
-
179
-
180
-
181
-
182
-
183
-
184
-
185
-
186
-
187
-
188
-
189
-
190
-
191
-
192
-
193
-
194
-
195
-
196
-
197
-
198
-
199
-
200
-
201
-
202
-
203
-
204
-
205
-
206
-
207
-
208
-
209
-
210
-
211
-
212
-
213
-
214
-
215
-
216
-
217
-
218
 |
 |
Replacing
a
PCI
adapter
1.
Remove
the
left-side
cover.
See
“Removing
the
covers”
on
page
82.
2.
Remove
the
screw
securing
the
adapter
being
replaced.
3.
Pull
the
adapter
straight
out
of
the
PCI
connector.
4.
Remove
the
new
adapter
from
its
static-protective
package.
5.
Install
the
new
adapter
into
the
appropriate
PCI
connector.
6.
Install
the
screw
to
secure
the
new
adapter.
7.
Go
to
“Completing
the
FRU
replacement.”
on
page
111.
90
Lenovo
3000
J
Series