Lexmark 3200 Setup Guide - Page 9
Attaching the caster base to the 2000-sheet drawer, Assemble paper handling options - power cord
 |
UPC - 734646383127
View all Lexmark 3200 manuals
Add to My Manuals
Save this manual to your list of manuals |
Page 9 highlights
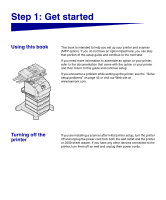
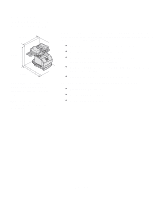
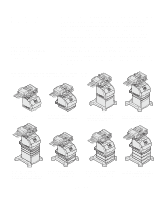
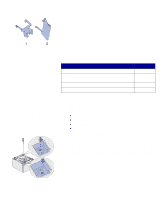
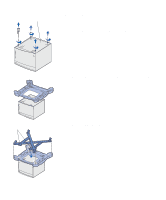
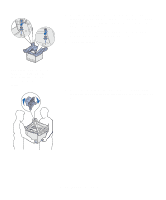
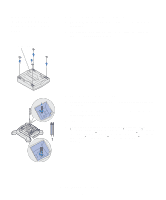
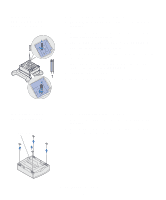
5 Place power adapter bracket (1) aside for later use. The other power adapter bracket is not used with this scanner and can be discarded. Note: Be sure to set up the items in the order listed in the table. Use the following table to locate the instructions you need to set up your printer and the paper handling options you purchased. Topic Attaching the caster base to the 2000-sheet drawer Assembling the caster base for the 500 or 250-sheet drawer Installing the duplex unit Positioning the printer Go to page... 5 8 11 12 Attaching the caster base to the 2000-sheet drawer 1 Remove and inventory all items from the 2000-sheet drawer carton. • 2000-sheet drawer • Decals • 16 AWG power cord • Jumper cord 2 Place the decals, 16 AWG power cord, and jumper cord aside for later use. 3 Remove the two screws inside the 2000-sheet drawer pockets. If you have difficulty lifting the screws from the pockets, you can wait until the next step when you turn the drawer over, then the screws should fall out. Assemble paper handling options 5
-
 1
1 -
2
-
3
-
 4
4 -
 5
5 -
 6
6 -
 7
7 -
 8
8 -
 9
9 -
 10
10 -
 11
11 -
 12
12 -
 13
13 -
 14
14 -
15
-
16
-
17
-
18
-
19
-
20
-
21
-
22
-
23
-
24
-
25
-
26
-
27
-
28
-
29
-
30
-
31
-
32
-
33
-
34
-
35
-
36
-
37
-
38
-
39
-
40
-
41
-
42
-
43
-
44
-
45
-
46
-
47
-
48
-
49
-
50
-
51
-
52
-
53
-
54
-
55
 |
 |
