Lexmark Apps Eco-Copy - Page 11
Configuring Eco-Copy, Using the Embedded Web Server - for windows 7
 |
View all Lexmark Apps manuals
Add to My Manuals
Save this manual to your list of manuals |
Page 11 highlights
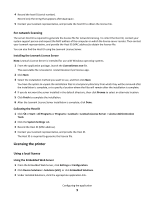
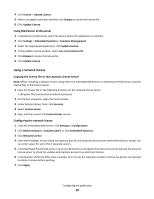
Updating the network license Using the Embedded Web Server 1 Click Solutions. 2 Under Installed Solutions, click the appropriate application link. 3 Click License > Update License. 4 Select Network. 5 Click Update License. Using MarkVision Professional 1 In MarkVision Professional, select the device where the application is installed. 2 Click Settings > Embedded Solutions > Solutions Management. 3 Under the appropriate application, click Update License. 4 In the Update License window, select Use a network license server. 5 Click Update License. Configuring Eco-Copy 1 Access the application configuration settings from the Embedded Web Server or MarkVision Professional. 2 Change the default Eco-Copy options as necessary: Note: For more information about the Eco-Copy settings, see the mouse-over help next to each field. • Display Darkness Setting-Select this check box to allow users to change this setting from the printer home screen. • Default Darkness Setting-Select a darkness level from 1-9. The factory default darkness setting is 5. • Display Sides (Duplex) Options-Select this check box to allow users to change this setting from the printer home screen. • Default Sides (Duplex) Option-Specify the duplex option. • Display Paper Saver Options-Select this check box to allow users to change this setting from the printer home screen. • Default Paper Saver Option-Specify the number of pages to print on each sheet. • Print Page Borders-Select this check box to print each page with a border. This setting applies only when the Paper Saver option is enabled. • Display Color Option-Specify whether to print in color or black and white. • Default Color Option-Select this check box to allow users to change this setting from the printer home screen. • Default Number of Copies-Specify the default number of copies. 3 Do one of the following: Using the Embedded Web Server • Click Restore Defaults to return all fields to factory default settings. • Click Reset to cancel changes to all fields and begin again. Configuring the application 11
-
 1
1 -
2
-
3
-
4
-
5
-
 6
6 -
 7
7 -
 8
8 -
 9
9 -
 10
10 -
 11
11 -
 12
12 -
 13
13 -
 14
14 -
 15
15 -
 16
16 -
17
-
18
 |
 |