Lexmark Apps Multi Send Administrator's Guide - Page 4
Adding a profile
 |
View all Lexmark Apps manuals
Add to My Manuals
Save this manual to your list of manuals |
Page 4 highlights
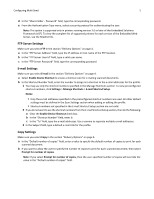
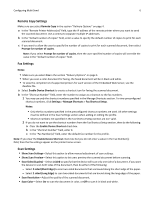
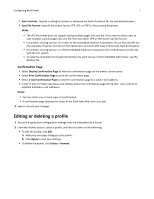
Configuring Multi Send 4 Configuring Multi Send Adding a profile 1 Access the application configuration settings from the Embedded Web Server. 2 From the Profiles section, click Add, and then customize the settings. Home Screen • Type a new icon text, which will appear above the icon on the home screen. • Click Browse to browse to a new icon image file to represent the profile on the home screen. • Click Browse to browse to a new image file which will appear while the profile icon is being pressed. Delivery Options Select Copy FTP E‑mail Remote Copy Share Folder Fax Allow user to enter filename To Print the scanned document. Send the scanned document to a configured FTP location. Send the scanned document to a valid e‑mail address. Print the scanned document on a configured remote printer. Upload the scanned document to a configured network share folder. Send the scanned document to a fax number. Note: The application supports faxing only in black and white. Let the user create a unique file name for the scanned documents. Notes: • In the "Default filename" field, you may also type a default file name for each of the scanned document. • If you allow the user to create a unique file name for the scanned document, then the user-created file name overwrites the default file name. Append Timestamp Include a time stamp in the file name of the scanned document. Note: You may select one or more destinations. Network Shared Folder Settings Make sure you select Share Folder in the section "Delivery Options" on page 4. a Type the correct path to the network folder in the Share Path field. An example is \\sharedserver\sharedfolder. b In the "Share Folder ‑ Domain" field, type the domain to which the user belongs. This field is optional. c In the "Share Folder ‑ Username" field, type a valid user name.
-
 1
1 -
 2
2 -
 3
3 -
 4
4 -
 5
5 -
 6
6 -
 7
7 -
 8
8 -
 9
9 -
 10
10 -
11
-
12
-
13
-
14
-
15
-
16
-
17
 |
 |
