Lexmark C530DN Troubleshooting Guide - Page 5
Dark lines, Light colored line, white line, or, incorrectly colored line, Streaked horizontal lines - cartridges
 |
UPC - 734646030908
View all Lexmark C530DN manuals
Add to My Manuals
Save this manual to your list of manuals |
Page 5 highlights
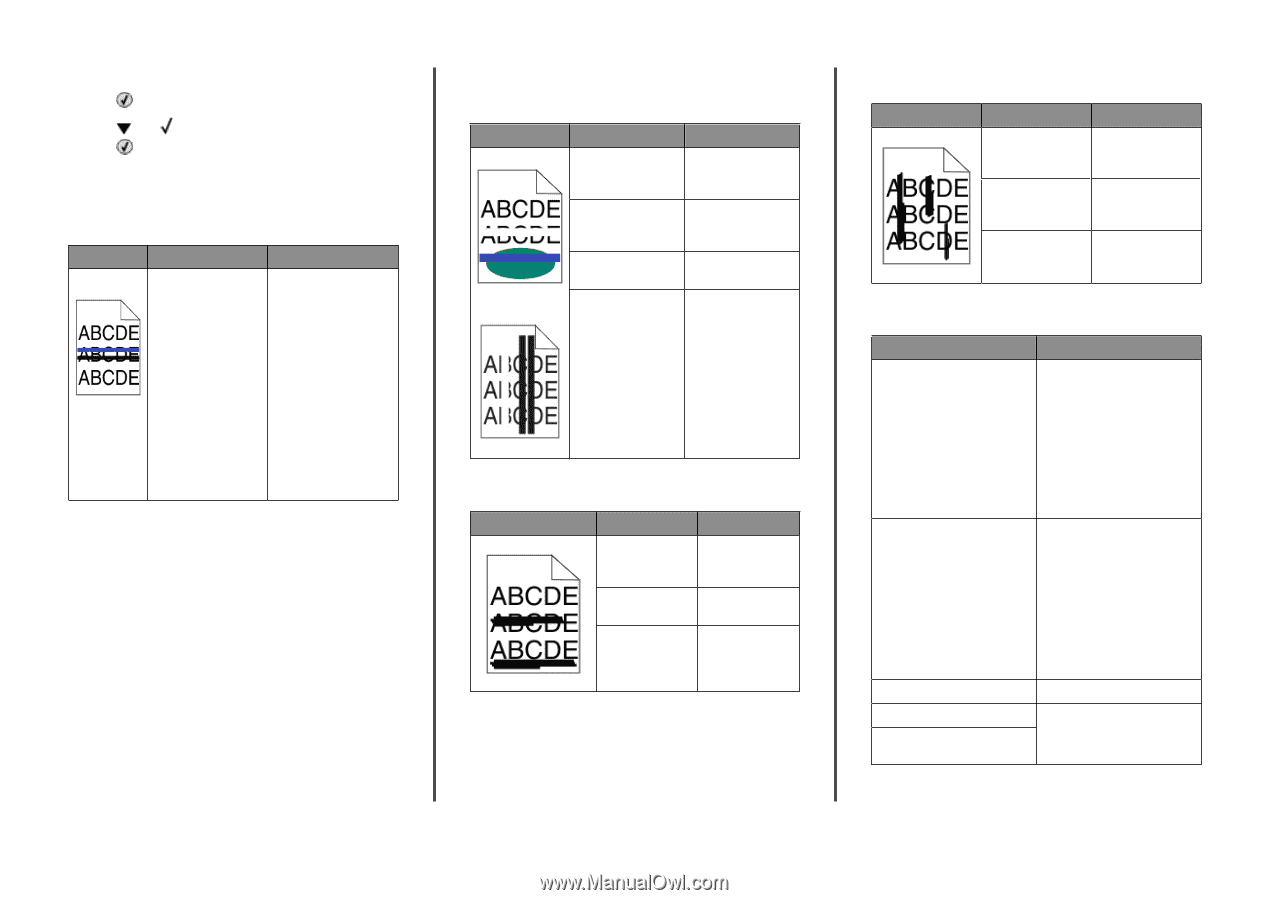
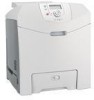
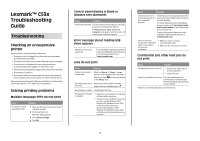
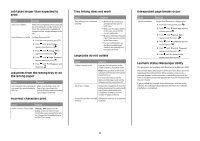
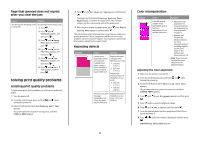
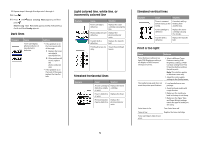
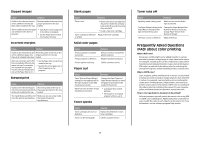
9 Repeat steps 6 through 8 to align sets A through L. 10 Press . 11 Press until Exit Config Menu appears, and then press . Resetting the Printer appears briefly, followed by a clock, and then Ready appears. Dark lines Example Cause Toner cartridge(s), photoconductor, or transfer belt is defective. Solution • If the problem is on the front (print side) of the page: 1 Replace the toner cartridge(s) causing the line. 2 If the problem still occurs, replace the photoconductor unit. • If the problem is on the back of the page, replace the transfer belt. Light colored line, white line, or incorrectly colored line Example Cause Solution Toner cartridge is defective. Replace the color cartridge causing the line. Photoconductors are Replace the defective. photoconductor units. Transfer belt is defective. Replace the transfer belt. Printhead lenses are Clean the printhead dirty. lenses. Streaked horizontal lines Example Cause Solution A toner cartridge is Replace the toner defective, empty, cartridge. or worn. Fuser is defective Replace the fuser. or worn. Photoconductors may be defective. Replace the photoconductor units. Streaked vertical lines Example Cause Solution Toner is smeared If media is stiff, try before fusing to the feeding from media. another tray. Toner cartridge is defective. Replace the toner cartridge causing the streaks. Transfer belt is defective. Replace the transfer belt. Print is too light Cause Solution Toner Darkness setting is too light, RGB Brightness setting is too bright, or RGB Contrast setting is incorrect. • Select a different Toner Darkness setting, RGB Brightness setting, or RGB Contrast setting from Print Properties before sending the job to print. Note: This solution applies to Windows users only. • Adjust the color quality settings in the Quality menu. The media being used does not meet the printer specifications. • Load media from a new package. • Avoid textured media with rough finishes. • Make sure the media you load in the trays is not damp. • Make sure the Paper Type and Paper Weight settings match the type of media you are using. Color Saver is On. Turn Color Saver off. Toner is low. Replace the toner cartridge. Toner cartridge is defective or worn. 5
-
 1
1 -
 2
2 -
 3
3 -
 4
4 -
 5
5 -
 6
6 -
 7
7 -
 8
8 -
 9
9
 |
 |