Lexmark Interact S600 SmartSolutions User's Guide - Page 14
Customizing Google Calendar solutions
 |
View all Lexmark Interact S600 manuals
Add to My Manuals
Save this manual to your list of manuals |
Page 14 highlights
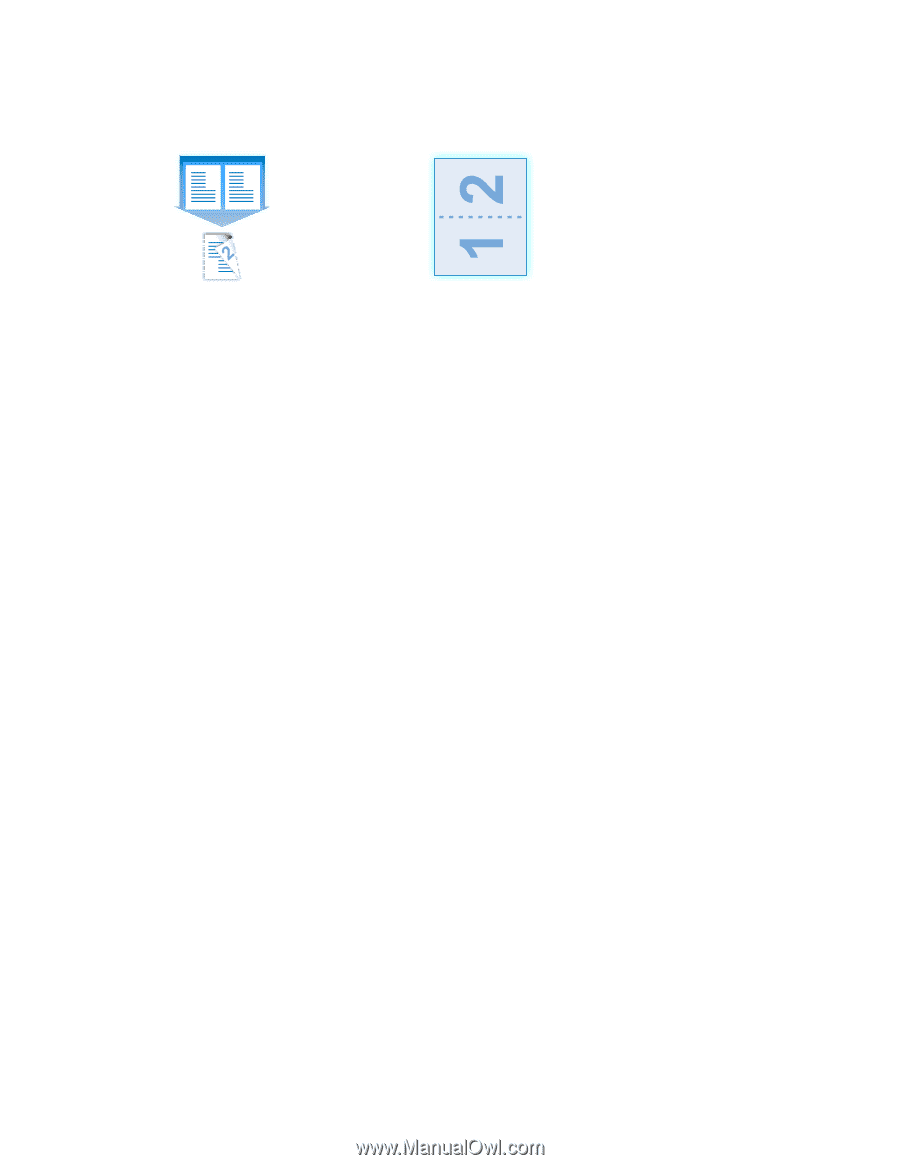
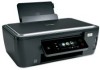
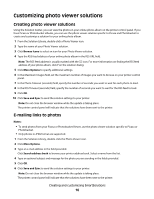
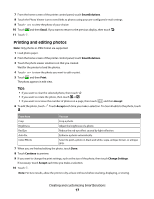
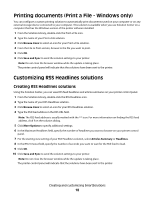
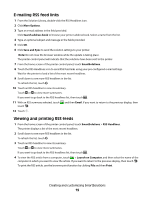
4 The Eco-Copy settings are automatically set to print in duplex, two pages per sheet. Duplex Pages per sheet 12 1 If you want to use different settings, then select different duplex and pages per sheet settings from the list. 5 Select the number of copies you want to print or select Prompt at touch screen if you want to be prompted from the printer control panel. 6 Click More Options to specify additional settings such as darkness, quality, paper type and copies per sheet. 7 Click OK. 8 Click Save and Sync to send the solution settings to your printer. Note: Do not close the browser window while the update is taking place. The printer control panel will indicate that the solutions have been sent to the printer. Customizing Google Calendar solutions Creating Google Calendar solutions Using the Solution Center, you can view your Google Calendar on your printer control panel. 1 From the Solution Library, double-click the Google Calendar icon. 2 Type the name of your Google Calendar solution. 3 Click Browse Icons to select an icon for your solution. 4 Type the Web address or URL of your calendar in the Calendar URL field. Note: The Web address or URL of your calendar is different from the Web site URL. For more information on finding the Web address of your calendar, click ? on the solution dialog. 5 From the Starting Day of Week list, select what day of the week you want your calendar to start. 6 From the Date Display Format list, select the date format you want to use in your calendar. 7 For the Time Display Format, select 12 hr or 24 hr time format. 8 Click More Options to specify additional settings. 9 For the Starting View setting, select month or agenda as the default view of your calendar. Creating and customizing SmartSolutions 14
-
 1
1 -
2
-
3
-
4
-
5
-
6
-
7
-
8
-
 9
9 -
 10
10 -
 11
11 -
 12
12 -
 13
13 -
 14
14 -
 15
15 -
 16
16 -
 17
17 -
 18
18 -
 19
19 -
20
-
21
-
22
-
23
-
24
-
25
-
26
-
27
-
28
-
29
-
30
-
31
-
32
-
33
-
34
-
35
-
36
-
37
-
38
-
39
-
40
-
41
-
42
-
43
-
44
-
45
-
46
-
47
-
48
-
49
-
50
-
51
 |
 |