Lexmark MarkNet N4050e User's Guide for Macintosh - Page 11
Connect the print server to your printer, Configuring your wireless print server - wireless printer server
 |
View all Lexmark MarkNet N4050e manuals
Add to My Manuals
Save this manual to your list of manuals |
Page 11 highlights
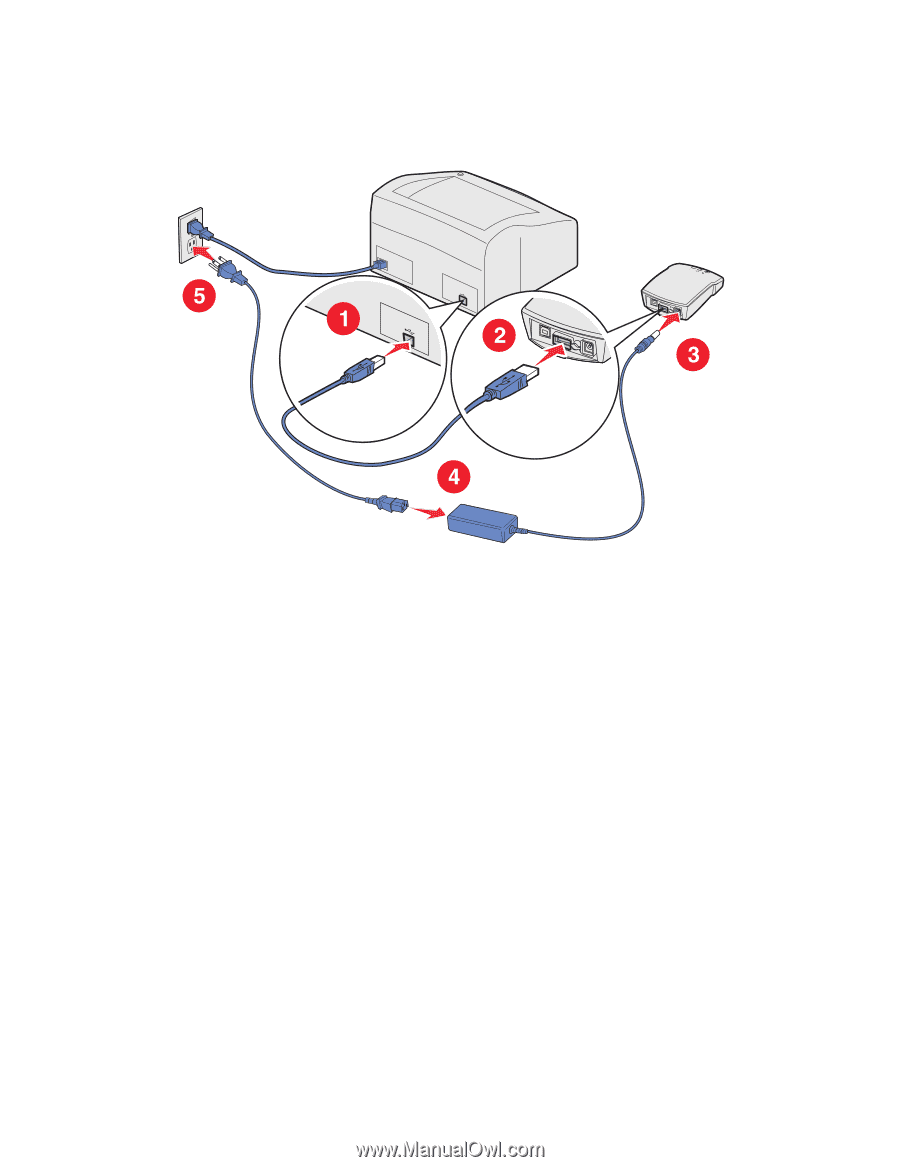
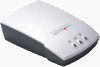
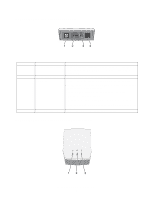
Connect the print server to your printer 1 Insert the small end of the USB cable into the printer USB port. 2 Insert the large end of the USB cable into the middle USB port on the back of the print server. 3 Connect the power supply to the print server. 4 Connect the power supply to the power cord. 5 Connect the power cord to a properly-grounded electrical outlet that is near the product and easily accessible. Configuring your wireless print server 1 In the Applications folder, open Internet Connect, and click the AirPort icon in the toolbar. 2 In the Network pop-up menu, select the print server network. 3 Open the Safari Web browser, and select Show All Bookmarks from the Bookmarks menu. 4 Select Rendezvous from the Collections column on the left-hand side of the window. 5 In the right-hand column, double-click the N4050e wireless print server bookmark. 6 Once the print server internal Web page loads, in the left-hand column, click Settings. 7 Under the Print Server Settings subgroup, click Wireless. Connect the print server to your printer 6
-
 1
1 -
2
-
3
-
4
-
5
-
 6
6 -
 7
7 -
 8
8 -
 9
9 -
 10
10 -
 11
11 -
 12
12 -
 13
13 -
 14
14 -
 15
15 -
 16
16 -
17
-
18
 |
 |