Lexmark X792 Maintenance Guide - Page 5
Cleaning the ADF parts
 |
View all Lexmark X792 manuals
Add to My Manuals
Save this manual to your list of manuals |
Page 5 highlights
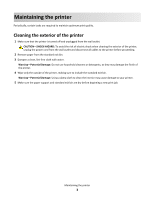
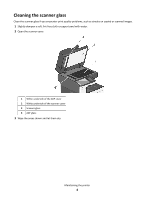
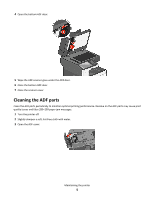
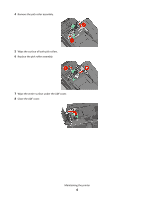
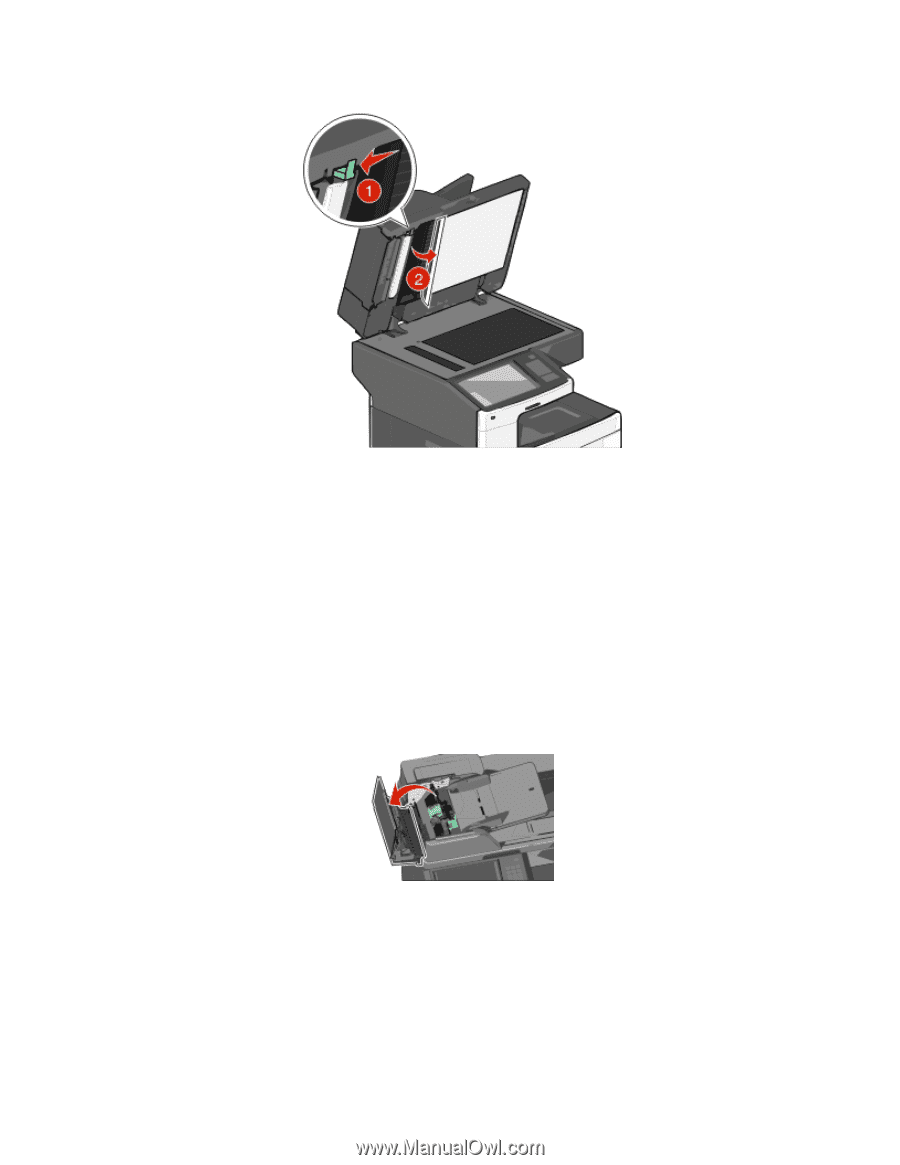
4 Open the bottom ADF door. 5 Wipe the ADF scanner glass under the ADF door. 6 Close the bottom ADF door. 7 Close the scanner cover. Cleaning the ADF parts Clean the ADF parts periodically to maintain optimal printing performance. Residue on the ADF parts may cause print quality issues and false 280-299 paper jam messages. 1 Turn the printer off. 2 Slightly dampen a soft, lint-free cloth with water. 3 Open the ADF cover. Maintaining the printer 5
-
 1
1 -
 2
2 -
 3
3 -
 4
4 -
 5
5 -
 6
6 -
 7
7 -
 8
8 -
 9
9 -
 10
10 -
 11
11 -
12
-
13
-
14
-
15
-
16
 |
 |
4
Open the bottom ADF door.
5
Wipe the ADF scanner glass under the ADF door.
6
Close the bottom ADF door.
7
Close the scanner cover.
Cleaning the ADF parts
Clean the ADF parts periodically to maintain optimal printing performance. Residue on the ADF parts may cause print
quality issues and false 280–299 paper jam messages.
1
Turn the printer off.
2
Slightly dampen a soft, lint-free cloth with water.
3
Open the ADF cover.
Maintaining the printer
5