MSI PR420 User Manual - Page 68
Connecting the External SATA Hard Disk device, connect the cable of the device to the E-SATA
 |
View all MSI PR420 manuals
Add to My Manuals
Save this manual to your list of manuals |
Page 68 highlights
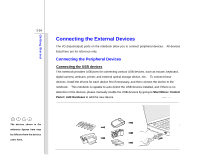
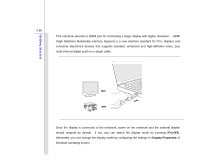
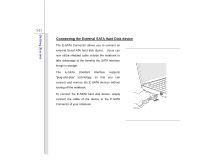
Getting Started 3-27 Connecting the External SATA Hard Disk device The E-SATA Connector allows you to connect an external Serial ATA hard disk device. Users can now utilize shielded cable outside the notebook to take advantage of the benefits the SATA interface brings to storage. The E-SATA standard interface supports "plug-and-play" technology, so that you can connect and remove the E-SATA devices without turning off the notebook. To connect the E-SATA hard disk device, simply connect the cable of the device to the E-SATA Connector of your notebook.
-
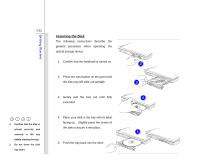
 1
1 -
2
-
3
-
4
-
5
-
6
-
7
-
8
-
9
-
10
-
11
-
12
-
13
-
14
-
15
-
16
-
17
-
18
-
19
-
20
-
21
-
22
-
23
-
24
-
25
-
26
-
27
-
28
-
29
-
30
-
31
-
32
-
33
-
34
-
35
-
36
-
37
-
38
-
39
-
40
-
41
-
42
-
43
-
44
-
45
-
46
-
47
-
48
-
49
-
50
-
51
-
52
-
53
-
54
-
55
-
56
-
57
-
58
-
59
-
60
-
61
-
62
-
 63
63 -
 64
64 -
 65
65 -
 66
66 -
 67
67 -
 68
68 -
 69
69 -
 70
70 -
 71
71 -
 72
72 -
 73
73 -
74
-
75
-
76
-
77
-
78
-
79
-
80
-
81
-
82
-
83
-
84
-
85
 |
 |
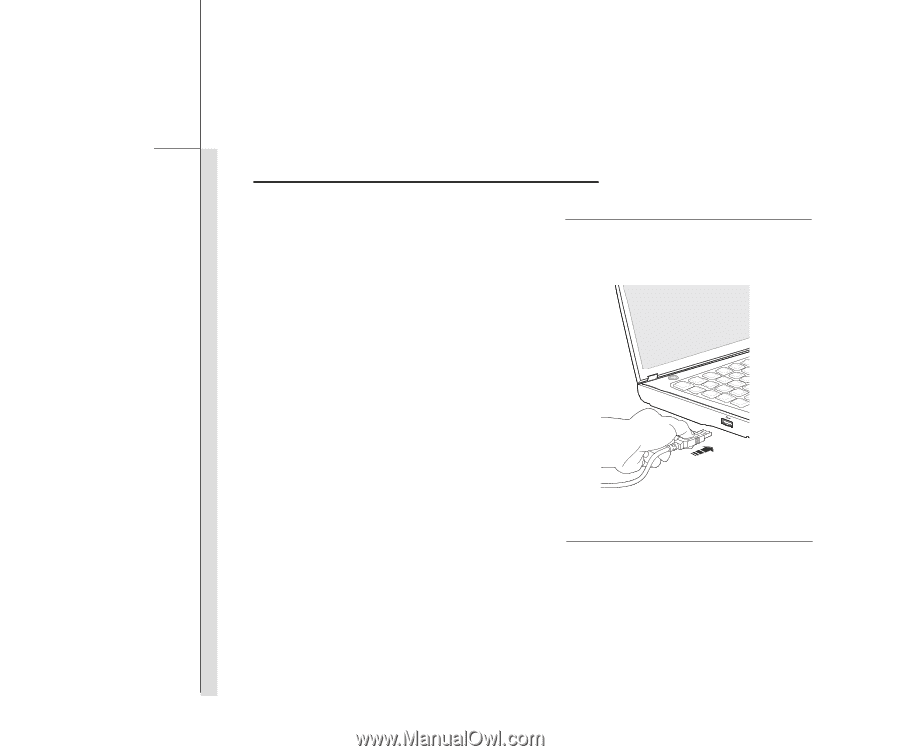
3-27
Getting Started
Connecting the External SATA Hard Disk device
The E-SATA Connector allows you to connect an
external Serial ATA hard disk device.
Users can
now utilize shielded cable outside the notebook to
take advantage of the benefits the SATA interface
brings to storage.
The
E-SATA
standard
interface
supports
“plug-and-play” technology, so that you can
connect and remove the E-SATA devices without
turning off the notebook.
To connect the E-SATA hard disk device, simply
connect the cable of the device to the E-SATA
Connector of your notebook.