Makita AF505 Owners Manual - Page 5
Functional Description, Assembly - nailer
 |
View all Makita AF505 manuals
Add to My Manuals
Save this manual to your list of manuals |
Page 5 highlights
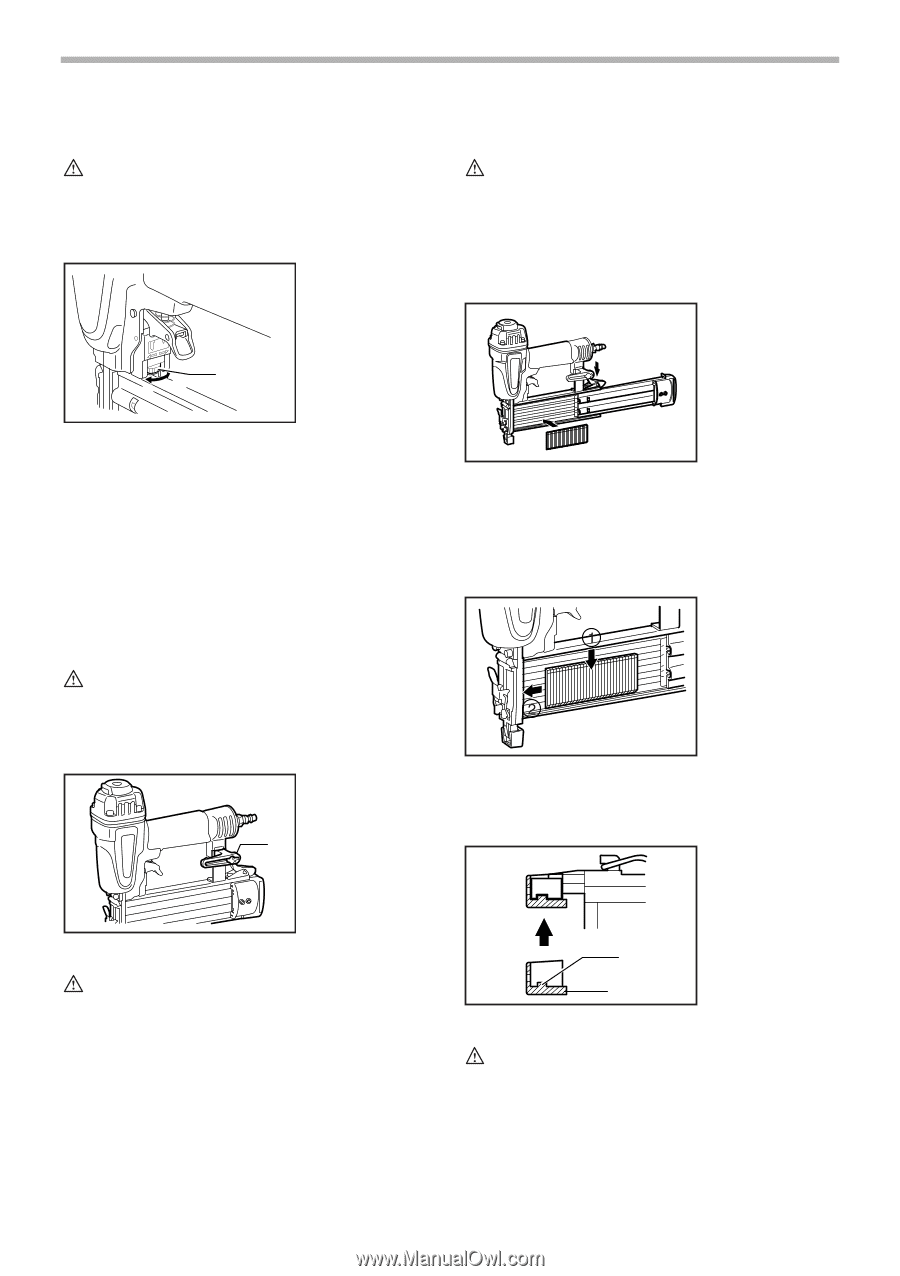
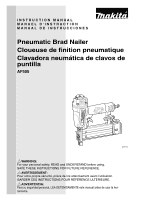
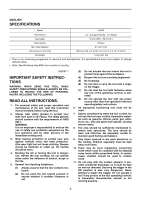
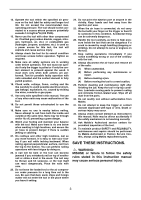
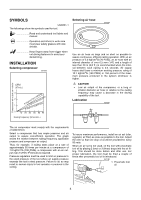
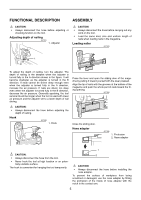
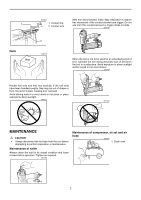
FUNCTIONAL DESCRIPTION ASSEMBLY CAUTION: • Always disconnect the hose before adjusting or checking function on the tool. Adjusting depth of nailing 007181 1. Adjuster CAUTION: • Always disconnect the hose before carrying out any work on the tool. • Load the same kind, size and uniform length of nails when loading nails in the magazine. Loading nailer 007183 AB 1 To adjust the depth of nailing, turn the adjuster. The depth of nailing is the deepest when the adjuster is turned fully in the A direction shown in the figure. It will become shallower as the adjuster is turned in the B direction. If nails cannot be driven deep enough even when the adjuster is turned fully in the A direction, increase the air pressure. If nails are driven too deep even when the adjuster is turned fully in the B direction, decrease the air pressure. Generally speaking, the tool service life will be longer when the tool is used with lower air pressure and the adjuster set to a lower depth of nail driving. Press the lever and open the sliding door of the magazine by pulling it toward yourself with the lever pressed. Align the tip of nails with the grooves at the bottom of the magazine and push the whole part of nails toward the firing opening. 007184 CAUTION: • Always disconnect the hose before adjusting the depth of nailing. Hook 007182 1. Hook 1 Close the sliding door. Nose adapter 007185 1. Protrusion 2. Nose adapter 1 CAUTION: • Always disconnect the hose from the tool. • Never hook the tool at high location or on poten- tially unstable surface. The hook is convenient for hanging the tool temporarily. 2 CAUTION: • Always disconnect the hose before installing the nose adapter. To prevent the surface of workpiece from being scratched or damaged, use the nose adapter by fittiing the protrusion of the inside of nose adapter with the notch in the contact arm. 5
-
 1
1 -
 2
2 -
 3
3 -
 4
4 -
 5
5 -
 6
6 -
 7
7 -
 8
8 -
 9
9 -
 10
10 -
 11
11 -
12
-
13
-
14
-
15
-
16
-
17
-
18
-
19
-
20
-
21
-
22
-
23
-
24
-
25
-
26
-
27
-
28
 |
 |