Makita BVR850Z Owners Manual - Page 5
Operation, Maintenance, Accessories
 |
View all Makita BVR850Z manuals
Add to My Manuals
Save this manual to your list of manuals |
Page 5 highlights
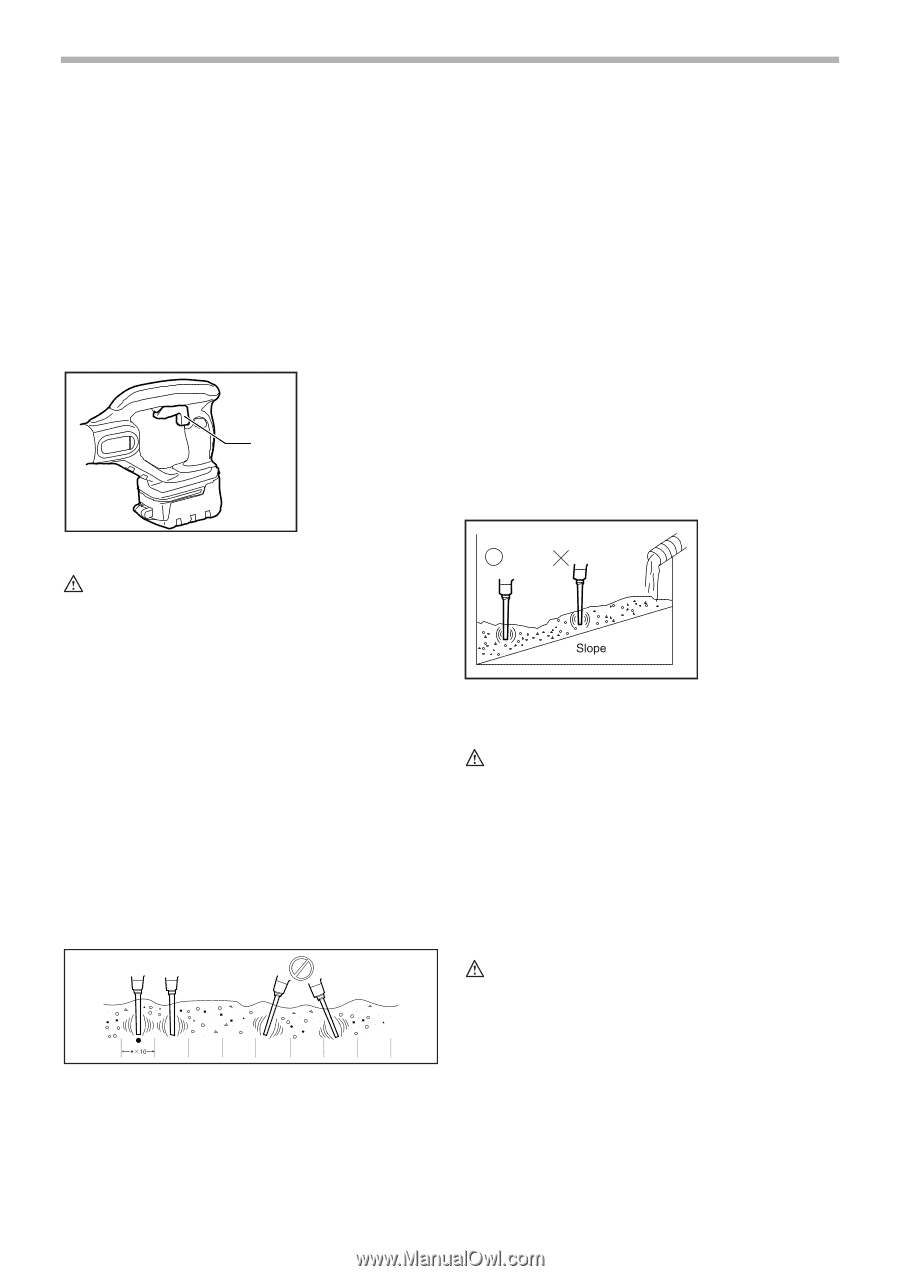
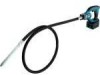
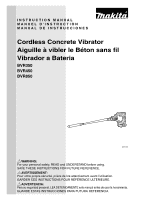
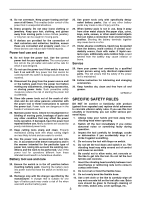
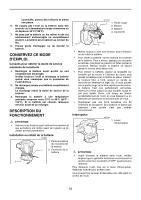
• To insert the battery cartridge, align the tongue on the battery cartridge with the groove in the housing and slip it into place. Always insert it all the way until it locks in place with a little click. If you can see the red part on the upper side of the button, it is not locked completely. Insert it fully until the red part cannot be seen. If not, it may accidentally fall out of the tool, causing injury to you or someone around you. • Do not use force when inserting the battery cartridge. If the cartridge does not slide in easily, it is not being inserted correctly. Switch action 007144 1. Switch lever 1 Effective leveling and removal of air bubbles Removal of the air bubbles is complete after you have worked the tool throughout each effective range, the concrete stops shrinking, and the mortar has risen evenly to the surface, giving off a light appearance. Gently remove the operating tool not to leave holes. NOTE: • Vibrating too long in a single place causes concrete segregation. • When the coarse aggregates segregates when placing concrete, shovel out the coarse aggregate and put it where there is plenty of mortar. Then use the tool on it. Don't leave coarse aggregate in the segregated condition. When concreting a slope site, always pour from the bottom at the beginning. This way the weight of the freshly poured concrete and vibration will lead to effective removal of air bubbles. Conversely, if the pouring is done first from above, the mortar will separate and eventually slide to the bottom. 001961 CAUTION: • Before inserting the battery cartridge into the tool, always check to see that the switch lever actuates properly and returns to the "OFF" position when released. To start the tool, simply pull the switch lever. Release the switch lever to stop. Switch lever can be pulled from either top or back side of the tool. OPERATION Hold the tool straight when inserting/operating. Use the tool within the effective vibrations range at equidistant intervals. The effective air bubble removal range is about ten times diameter of the vibrating head, or around 250 mm (9-27/32"). Do not use this tool to move concrete within a form. The mortar will just move away and the coarse aggregate will remain, causing segregation. 001960 MAINTENANCE CAUTION: • Always be sure that the tool is switched off and the battery cartridge is removed before attempting to perform inspection or maintenance. To maintain product SAFETY and RELIABILITY, repairs, any other maintenance or adjustment should be performed by Makita Authorized or Factory Service Centers, always using Makita replacement parts. ACCESSORIES CAUTION: • These accessories or attachments are recom- mended for use with your Makita tool specified in this manual. The use of any other accessories or attachments might present a risk of injury to persons. Only use accessory or attachment for its stated purpose. If you need any assistance for more details regarding these accessories, ask your local Makita Service Center. • Various type of Makita genuine batteries and chargers 5
-
 1
1 -
 2
2 -
 3
3 -
 4
4 -
 5
5 -
 6
6 -
 7
7 -
 8
8 -
 9
9 -
 10
10 -
 11
11 -
12
-
13
-
14
-
15
-
16
-
17
-
18
-
19
-
20
 |
 |