Maytag MAH2400AWW Installation Instructions - Page 6
Important To Installer, Step 1, Step 2 - door
 |
UPC - 719881145655
View all Maytag MAH2400AWW manuals
Add to My Manuals
Save this manual to your list of manuals |
Page 6 highlights
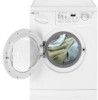
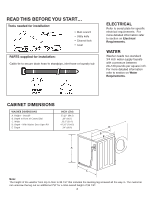
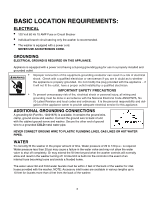
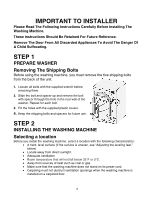
IMPORTANT TO INSTALLER Please Read The Following Instructions Carefully Before Installing The Washing Machine. These Instructions Should Be Retained For Future Reference. Remove The Door From All Discarded Appliances To Avoid The Danger Of A Child Suffocating. STEP 1 PREPARE WASHER Removing The Shipping Bolts Before using the washing machine, you must remove the five shipping bolts from the back of the unit. 1. Loosen all bolts with the supplied wrench before removing them. 2. Slide the bolt and spacer up and remove the bolt with spacer through the hole in the rear wall of the washer. Repeat for each bolt. 3. Fill the holes with the supplied plastic covers. 4. Keep the shipping bolts and spacers for future use. STEP 2 INSTALLING THE WASHING MACHINE Selecting a location Before you install the washing machine, select a location with the following characteristics: • A hard, level surface (if the surface is uneven, see "Adjusting the leveling feet," below) • Locate away from direct sunlight. • Adequate ventilation • Room temperature that will not fall below 032°°CF or 0°C. • Away from sources of heat such as coal or gas • Make sure that the washing machine does not stand on its power cord. • Carpeting must not obstruct ventilation openings when the washing machine is installed on a carpeted floor. 6
-
 1
1 -
 2
2 -
 3
3 -
 4
4 -
 5
5 -
 6
6 -
 7
7 -
 8
8
 |
 |
