Metabo SE 17-200 RT Operating Instructions - Page 15
Attaching the tools, working, notes, Maintenance, Troubleshooting
 |
View all Metabo SE 17-200 RT manuals
Add to My Manuals
Save this manual to your list of manuals |
Page 15 highlights
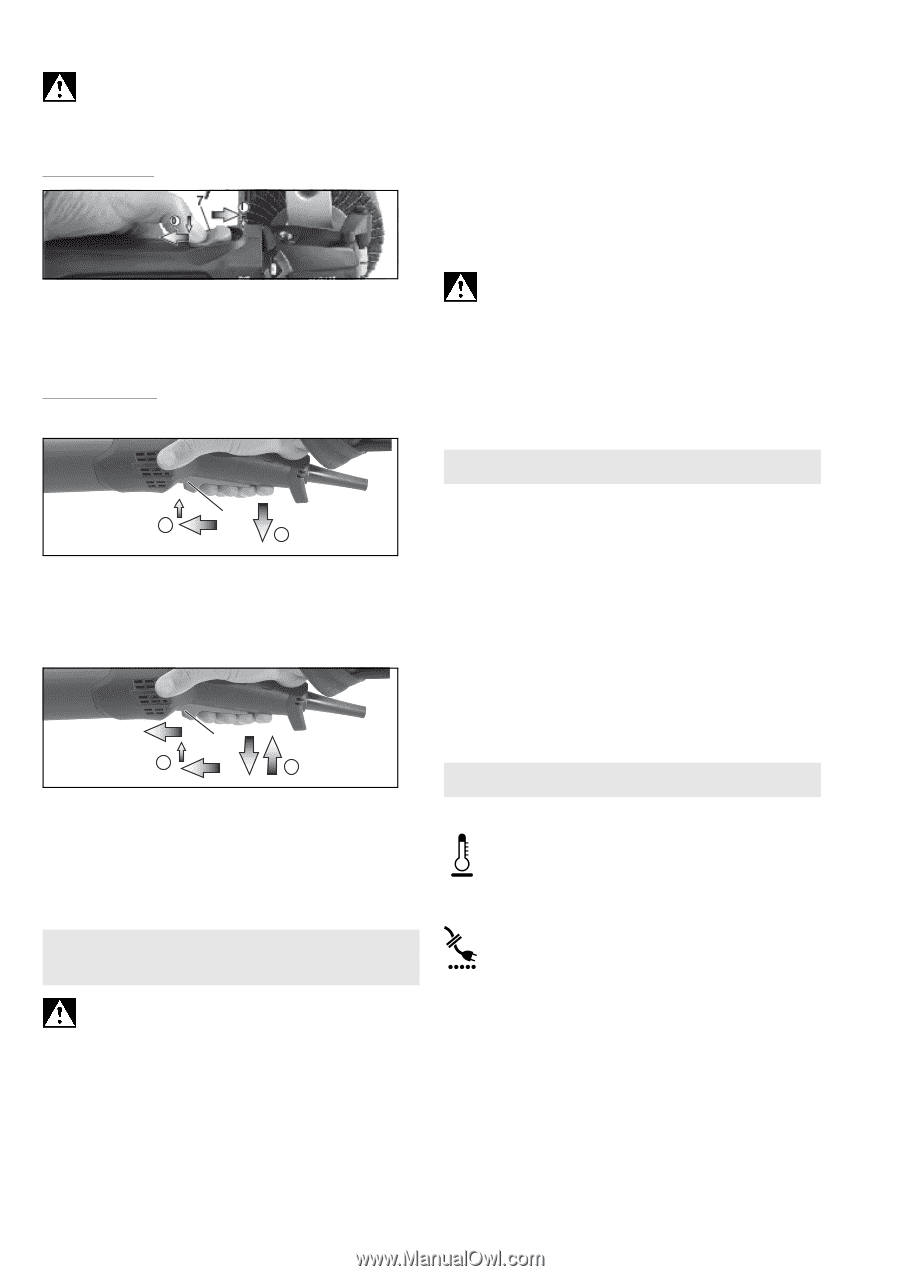
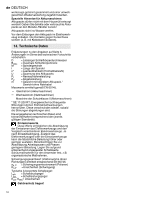
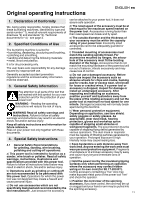
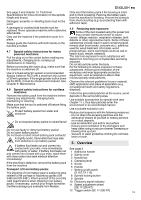
In continuous operation, the machine continues running if it is forced out of your hands. Therefore, always hold the machine with both hands using the handles provided, stand securely and concentrate. S 18 LTX 115: Switching on: push the sliding switch (7) forwards. For continuous operation, now tilt it downwards until it engages. Switching off: press the rear end of the slide switch (7) and release it. PE 17-200 RT: Torque activation (with dead man's lever) ENGLISH en 8.2 Tools for tensioning spindle: - Attach the tensioning spindle (14) if necessary. Press in spindle locking button (8) and hold in place. Tighten the tensioning spindle using the open-ended spanner (15). - Slide the tool onto the tensioning spindle. - Press in spindle locking button (8) and hold in place. - Screw the tool fixing screw (13) onto the tensioning spindle and tighten (the spindle locking knob engages and the tool can be secured). If the tools used are shorter than the tensioning spindle, insert the relevant distance sleeves (16). This is the only way to properly secure the tool. 8.3 Working Directions Sanding, polishing, working with wire brushes: Apply moderate pressure on the machine and move it to and fro across the surface 9. Maintenance 0 I 12 Switching on: Slide the trigger switch (12) forwards and then push the trigger switch (12) upwards. Switching off: Release the trigger switch (12). Continuous operation (depending on features) 12 Disconnect the mains plug or remove the battery pack from the machine before starting any maintenance work. It is possible that particles deposit inside the power tool during operation. This impairs the cooling of the power tool. Conductive build-up can impair the protective insulation of the power tool and cause electrical hazards. The power tool should be cleaned regularly, often and thoroughly through all front and rear air vents using a vacuum cleaner or by blowing in dry air. Prior to this operation, separate the power tool from the power source and wear protective goggles and a dust mask. 0 I 10. Troubleshooting Switching on: Switch the machine on as described above. Now slide the trigger switch (12) forwards again and release in the front position to lock the trigger switch (12) (continuous operation). Switching off: Push the trigger switch (12) upwards and release. 10.1 Mains powered machines The electronic signal indicator (10) lights up and the load speed decreases (not W...RT). There is too much load on the machine! Run the machine in idling until the electronic signal indicator switches off. 8. Attaching the tools, working notes Press in the spindle locking knob (8) only when the spindle is stationary! 8.1 Tools with threaded insert: The machine does not start. The electronic signal indicator (10) flashes (depending on the model). The restart protection is active. If the mains plug is inserted with the machine switched on or if the power supply is restored following an interruption, the machine does not start up. Switch the machine off and back on again. 1. Remove the tensioning spindle (14) if necessary. Press in spindle locking button (8) and hold in place. Unscrew the tensioning spindle using the open-ended spanner (15). 2. Press in spindle locking button and hold in place. 3. Screw the tool onto the spindle and tighten. 10.2 Cordless machines - The electronic signal indicator (10) lights up and the load speed decreases. The temperature is too high! Run the machine in idling until the electronic signal indicator switches off. - The electronic signal display (10) flashes and the machine does not start. The restart protection is active. The machine will not start if 15
-
 1
1 -
2
-
3
-
4
-
5
-
6
-
7
-
8
-
9
-
 10
10 -
 11
11 -
 12
12 -
 13
13 -
 14
14 -
 15
15 -
 16
16 -
 17
17 -
 18
18 -
 19
19 -
 20
20 -
21
-
22
-
23
-
24
-
25
-
26
-
27
-
28
-
29
-
30
-
31
-
32
-
33
-
34
-
35
-
36
-
37
-
38
-
39
-
40
-
41
-
42
-
43
-
44
-
45
-
46
-
47
-
48
-
49
-
50
-
51
-
52
-
53
-
54
-
55
-
56
-
57
-
58
-
59
-
60
-
61
-
62
-
63
-
64
-
65
-
66
-
67
-
68
-
69
-
70
-
71
-
72
-
73
-
74
-
75
-
76
-
77
-
78
-
79
-
80
-
81
-
82
-
83
-
84
-
85
-
86
-
87
-
88
-
89
-
90
-
91
-
92
-
93
-
94
-
95
-
96
-
97
-
98
-
99
-
100
-
101
-
102
-
103
-
104
-
105
-
106
-
107
-
108
 |
 |