Netgear RN31211D Software Manual - Page 85
Access Shared Folders Using ReadyNAS Remote
 |
View all Netgear RN31211D manuals
Add to My Manuals
Save this manual to your list of manuals |
Page 85 highlights
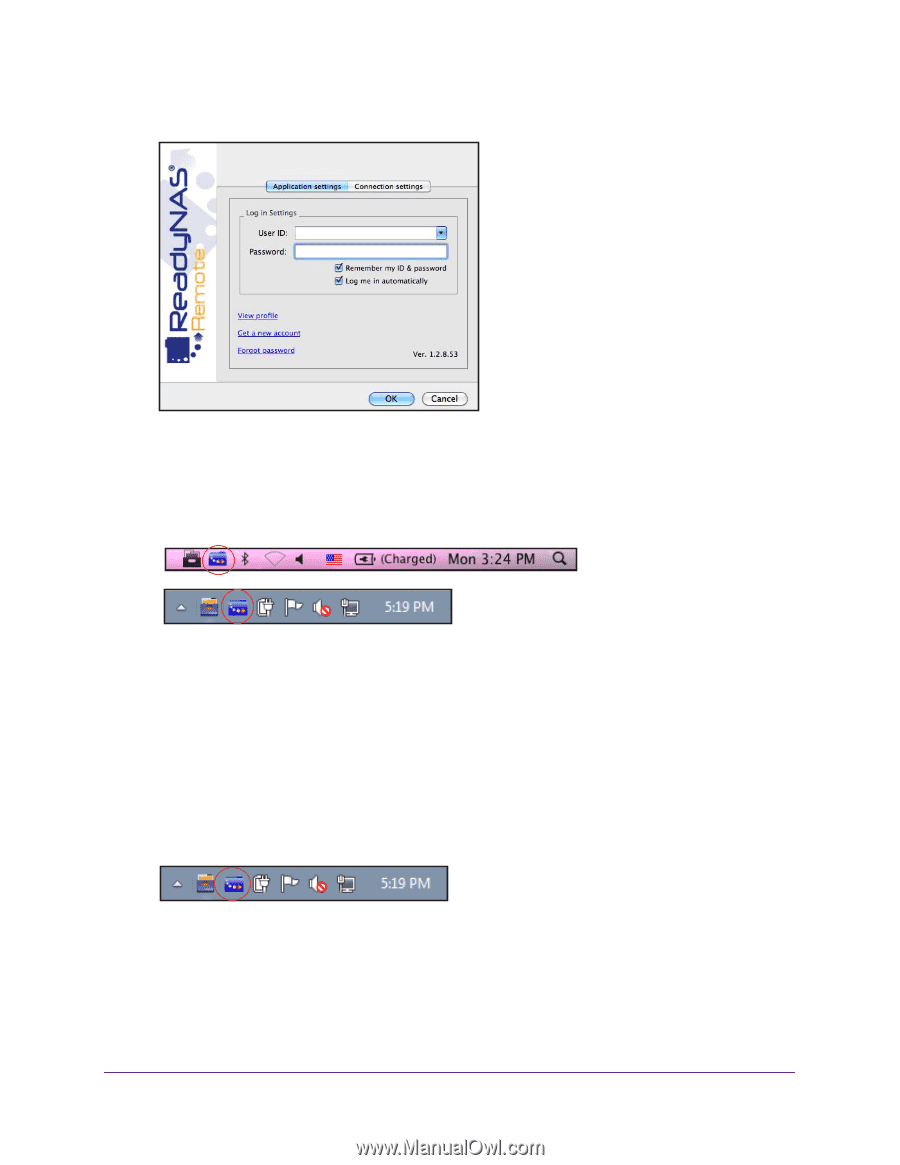
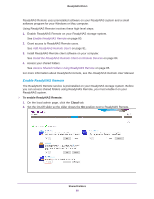
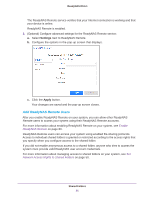
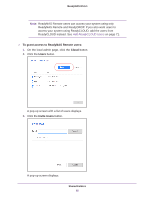
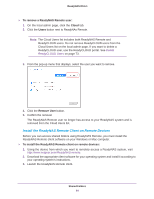
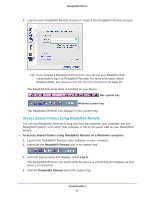
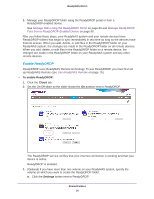
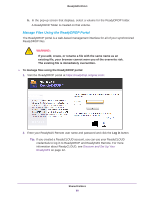
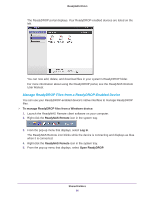
ReadyNAS OS 6.1 4. Log in to your ReadyNAS Remote account or create a free ReadyNAS Remote account. Tip: If you created a ReadyCLOUD account, you can use your ReadyCLOUD credentials to log in to ReadyNAS Remote. For more information about ReadyCLOUD, see Discover and Set Up Your ReadyNAS on page 12. The ReadyNAS Remote client is installed on your device. Mac system tray Windows system tray The ReadyNAS Remote icon displays in your system tray. Access Shared Folders Using ReadyNAS Remote You can use ReadyNAS Remote to drag and drop files between your computer and your ReadyNAS system, even when your computer is not on the same LAN as your ReadyNAS system. To access shared folders using ReadyNAS Remote on a Windows computer: 1. Launch the ReadyNAS Remote client software on your computer. 2. Right-click the ReadyNAS Remote icon in the system tray. 3. From the pop-up menu that displays, select Log In. The ReadyNAS Remote icon blinks while the device is connecting and displays as blue when it is connected. 4. Click the ReadyNAS Remote icon in the system tray. Shared Folders 85
-
 1
1 -
2
-
3
-
4
-
5
-
6
-
7
-
8
-
9
-
10
-
11
-
12
-
13
-
14
-
15
-
16
-
17
-
18
-
19
-
20
-
21
-
22
-
23
-
24
-
25
-
26
-
27
-
28
-
29
-
30
-
31
-
32
-
33
-
34
-
35
-
36
-
37
-
38
-
39
-
40
-
41
-
42
-
43
-
44
-
45
-
46
-
47
-
48
-
49
-
50
-
51
-
52
-
53
-
54
-
55
-
56
-
57
-
58
-
59
-
60
-
61
-
62
-
63
-
64
-
65
-
66
-
67
-
68
-
69
-
70
-
71
-
72
-
73
-
74
-
75
-
76
-
77
-
78
-
79
-
 80
80 -
 81
81 -
 82
82 -
 83
83 -
 84
84 -
 85
85 -
 86
86 -
 87
87 -
 88
88 -
 89
89 -
 90
90 -
91
-
92
-
93
-
94
-
95
-
96
-
97
-
98
-
99
-
100
-
101
-
102
-
103
-
104
-
105
-
106
-
107
-
108
-
109
-
110
-
111
-
112
-
113
-
114
-
115
-
116
-
117
-
118
-
119
-
120
-
121
-
122
-
123
-
124
-
125
-
126
-
127
-
128
-
129
-
130
-
131
-
132
-
133
-
134
-
135
-
136
-
137
-
138
-
139
-
140
-
141
-
142
-
143
-
144
-
145
-
146
-
147
-
148
-
149
-
150
-
151
-
152
-
153
-
154
-
155
-
156
-
157
-
158
-
159
-
160
-
161
-
162
-
163
-
164
-
165
-
166
-
167
-
168
-
169
-
170
-
171
-
172
-
173
-
174
-
175
-
176
-
177
-
178
-
179
-
180
-
181
-
182
-
183
-
184
-
185
-
186
-
187
-
188
-
189
-
190
-
191
-
192
-
193
-
194
-
195
-
196
-
197
-
198
-
199
-
200
-
201
-
202
-
203
-
204
-
205
-
206
-
207
-
208
-
209
-
210
-
211
-
212
-
213
-
214
-
215
-
216
-
217
-
218
-
219
-
220
-
221
-
222
-
223
-
224
-
225
-
226
-
227
-
228
-
229
-
230
-
231
-
232
-
233
-
234
-
235
-
236
-
237
-
238
-
239
-
240
-
241
-
242
-
243
-
244
-
245
-
246
-
247
-
248
-
249
-
250
-
251
-
252
-
253
-
254
-
255
-
256
-
257
-
258
-
259
-
260
-
261
-
262
-
263
-
264
-
265
-
266
-
267
-
268
-
269
-
270
-
271
-
272
-
273
-
274
-
275
-
276
 |
 |