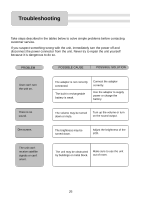
Nextar I4-BC User Guide - Page 21
Reversing Camera - - navigation system w back up camera
 |
UPC - 714129937269
View all Nextar I4-BC manuals
Add to My Manuals
Save this manual to your list of manuals |
Page 21 highlights
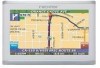
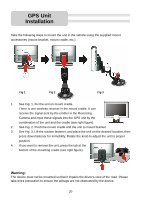
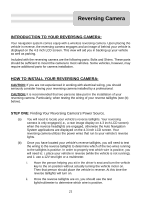
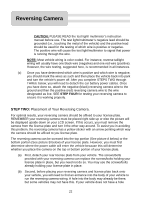
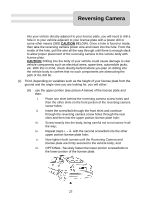
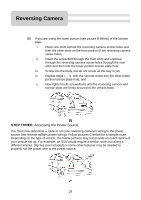
Reversing Camera INTRODUCTION TO YOUR REVERSING CAMERA: Your navigation system comes equip with a wireless reversing camera. Upon placing the vehicle in reverse, the reversing camera engages and an image of behind your vehicle is displayed on the 4.3 inch LCD screen. This view will aid you in backing up your vehicle as well as parking. Included with the reversing camera are the following parts: Bolts and Shims. These parts should be sufficient to mount the camera to most vehicles. Some vehicles, however, may require additional parts for camera installation. HOW TO INSTALL YOUR REVERSING CAMERA: CAUTION: If you are not experienced in working with electrical wiring, you should seriously consider having your reversing camera installed by a professional. CAUTION: It is recommended that two persons take part in the installation of your reversing camera. Particularly, when testing the wiring of your reverse taillights (see (b) below). STEP ONE: Finding Your Reversing Camera's Power Source. (a) You will need to locate your vehicle's reverse taillights. Your reversing camera is only engaged (i.e., a rear image display on 4.3 inch LCD screen) when the reverse headlights are engaged, otherwise the Auto Navigation System applications are displayed on the 4.3 inch LCD screen. Your reversing camera utilizes the power wires that run to your vehicle's reverse lights. (b) Once you have located your vehicle's reverse taillights, you will need to test the wiring to the reverse taillights to determine which of the two wires running to the taillights is positive. In order to properly test which wire is positive, you will need to: i. place your vehicle in reverse (while the vehicle is not running), and ii. use a 12V test light or a multimeter. i. Have the person helping you sit in the driver's seat and turn the vehicle key to the on position without actually turning the vehicle motor on. Then that person should place the vehicle in reverse. At this time the reverse taillights will turn on. ii. Once the reverse taillights are on, you should use the test light/mulitmeter to determine which wire is positive. 21
-
 1
1 -
2
-
3
-
4
-
5
-
6
-
7
-
8
-
9
-
10
-
11
-
12
-
13
-
14
-
15
-
 16
16 -
 17
17 -
 18
18 -
 19
19 -
 20
20 -
 21
21 -
 22
22 -
 23
23 -
 24
24 -
 25
25 -
 26
26 -
27
-
28
-
29
 |
 |