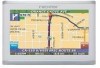
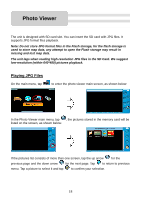
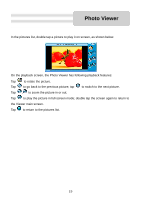
Nextar I4-BC User Guide - Page 22
Step Two - problem
 |
UPC - 714129937269
View all Nextar I4-BC manuals
Add to My Manuals
Save this manual to your list of manuals |
Page 22 highlights
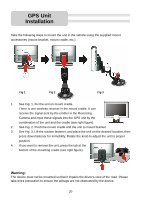
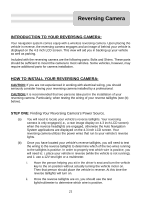
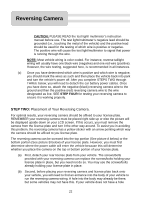
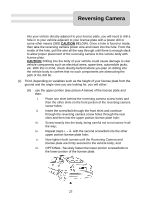
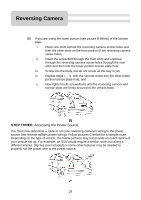
Reversing Camera CAUTION: PLEASE READ the test light/ multimeter's instruction manual before use. The test light/multimeter's negative lead should be grounded (i.e., touching the metal of the vehicle) and the positive lead should be used for the testing of which wire is positive or negative. The positive wire will cause the test light/mulitmeter to signal that power is running through the wire. NOTE: Most vehicle wiring is color coded. For instance, reverse taillight wiring will usually have one black wire (negative) and one red wire (positive). However, the wire testing, suggested here, is recommended in all instances. (c) Once you have determined which wire is positive and which wire is negative, you should mark the wires as such and then place the vehicle back into park and turn the vehicle's power off. After you complete STEPS TWO through THREE below, you will need to detach the car battery power cables. Once you have done so, attach the negative (black) reversing camera wire to the ground and then the positive (red) reversing camera wire to the wire designated as live. SEE STEP FOUR for testing your reversing camera to ensure it is working properly. STEP TWO: Placement of Your Reversing Camera. For optimal results, your reversing camera should be affixed to your license plate. REMEMBER your reversing camera must be placed right side up or else the picture will be displayed upside down on your LCD screen. If this occurs, you must remove the camera from the license plate and turn it the other way around. To assist you in avoiding this problem, the reversing camera has a yellow sticker with an arrow pointing which way the camera should be affixed to you license plate. The reversing camera can be screwed into the top portion (See picture A below) or the bottom portion (See picture B below) of your license plate. However, you must first determine where the power cable will enter the vehicle because this will determine whether you place the camera on the top or bottom portion of your license plate. (a) First, detach your rear license plate from your vehicle. The screws/bolts provided with your reversing camera can replace the screws/bolts holding your license plate in place, but you need not do so. You may use the screws/bolts already holding your license plate in place. (b) Second, before placing your reversing camera and license plate back onto your vehicle, you will need to find an entrance into the body of your vehicle to run the reversing camera wiring. A hole into the body may already be there, but some vehicles may not have this. If your vehicle does not have a hole 22
-
 1
1 -
2
-
3
-
4
-
5
-
6
-
7
-
8
-
9
-
10
-
11
-
12
-
13
-
14
-
15
-
16
-
 17
17 -
 18
18 -
 19
19 -
 20
20 -
 21
21 -
 22
22 -
 23
23 -
 24
24 -
 25
25 -
 26
26 -
 27
27 -
28
-
29
 |
 |